
Introduction
Welcome back to Earth Volumetric Studio. In this tutorial, we'll use the Windows and Window Layout controls to customize the EVS workspace. We'll show and hide individual windows, create and save a custom layout, switch between layouts, and restore the default arrangement.
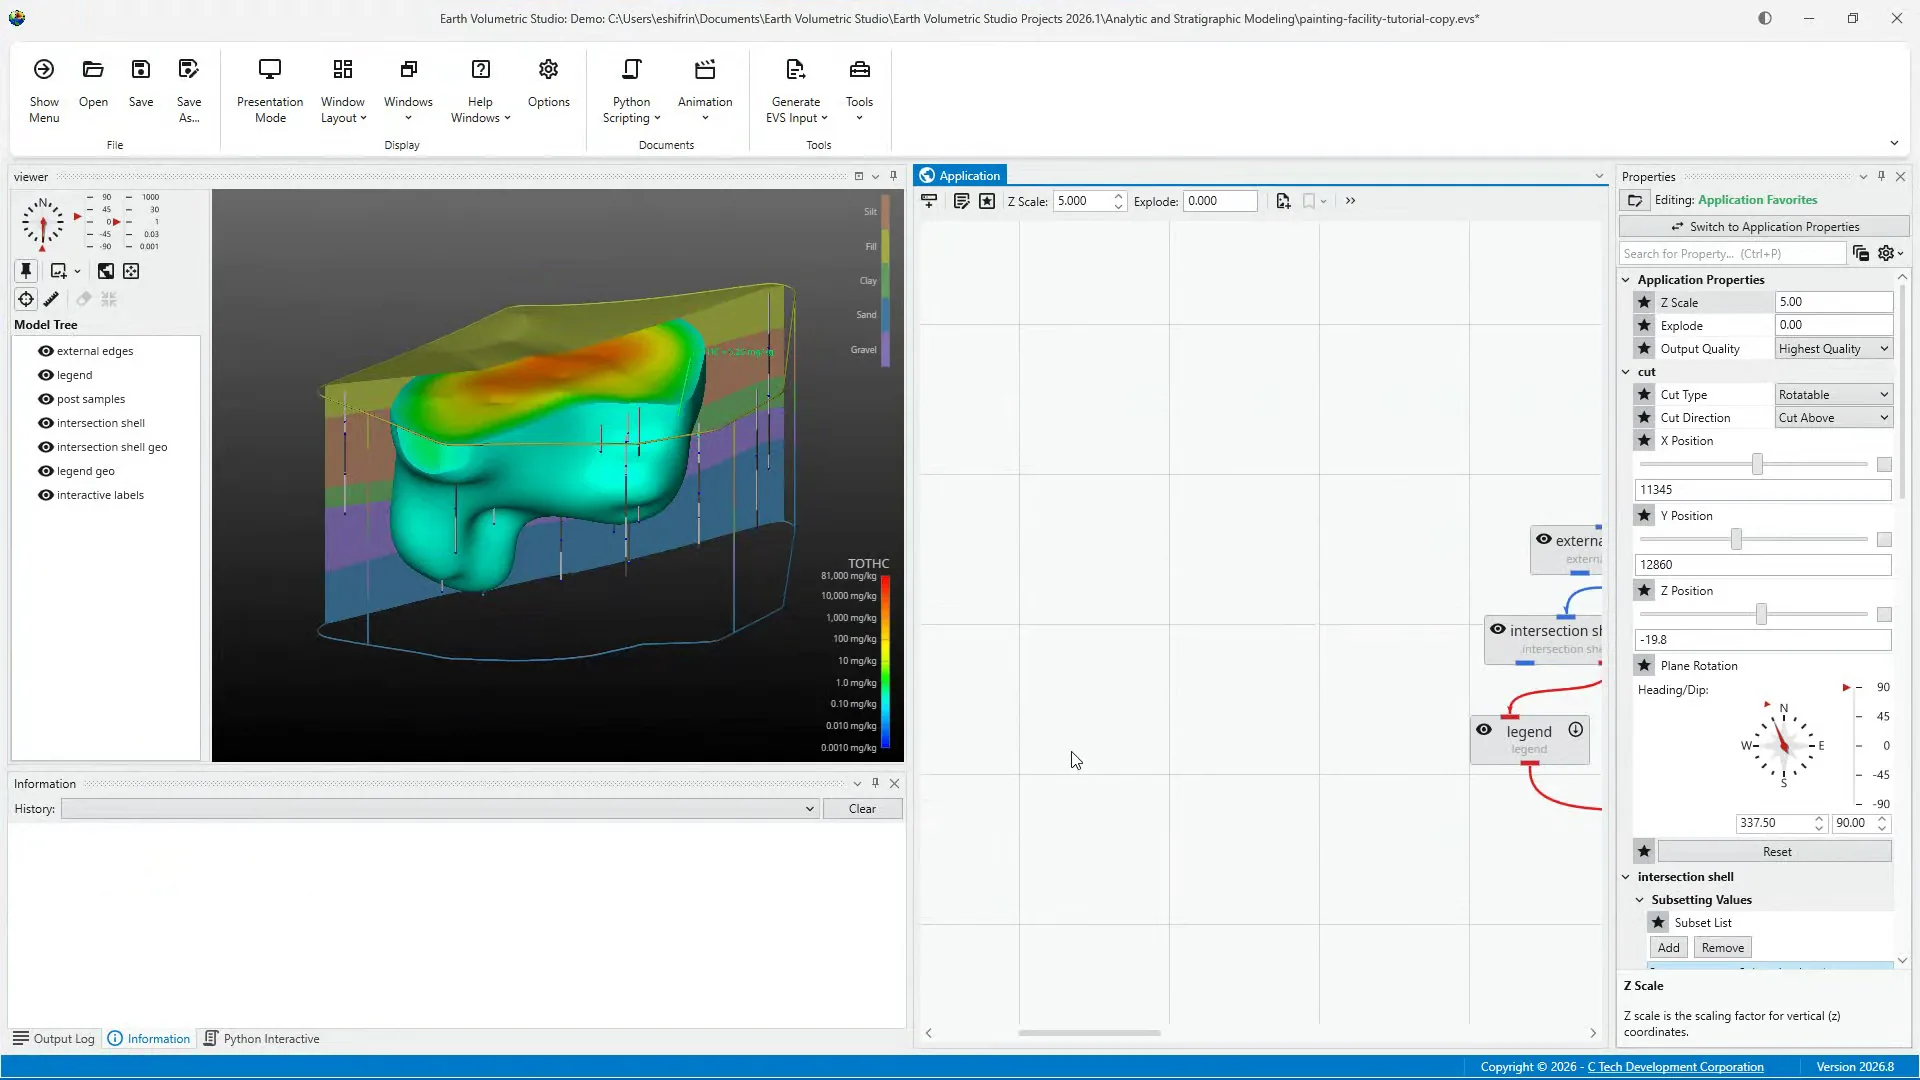
The Main Toolbar provides two related controls for managing the workspace. Windows controls which individual EVS windows are visible. Window Layout allows us to apply complete arrangements of those windows.
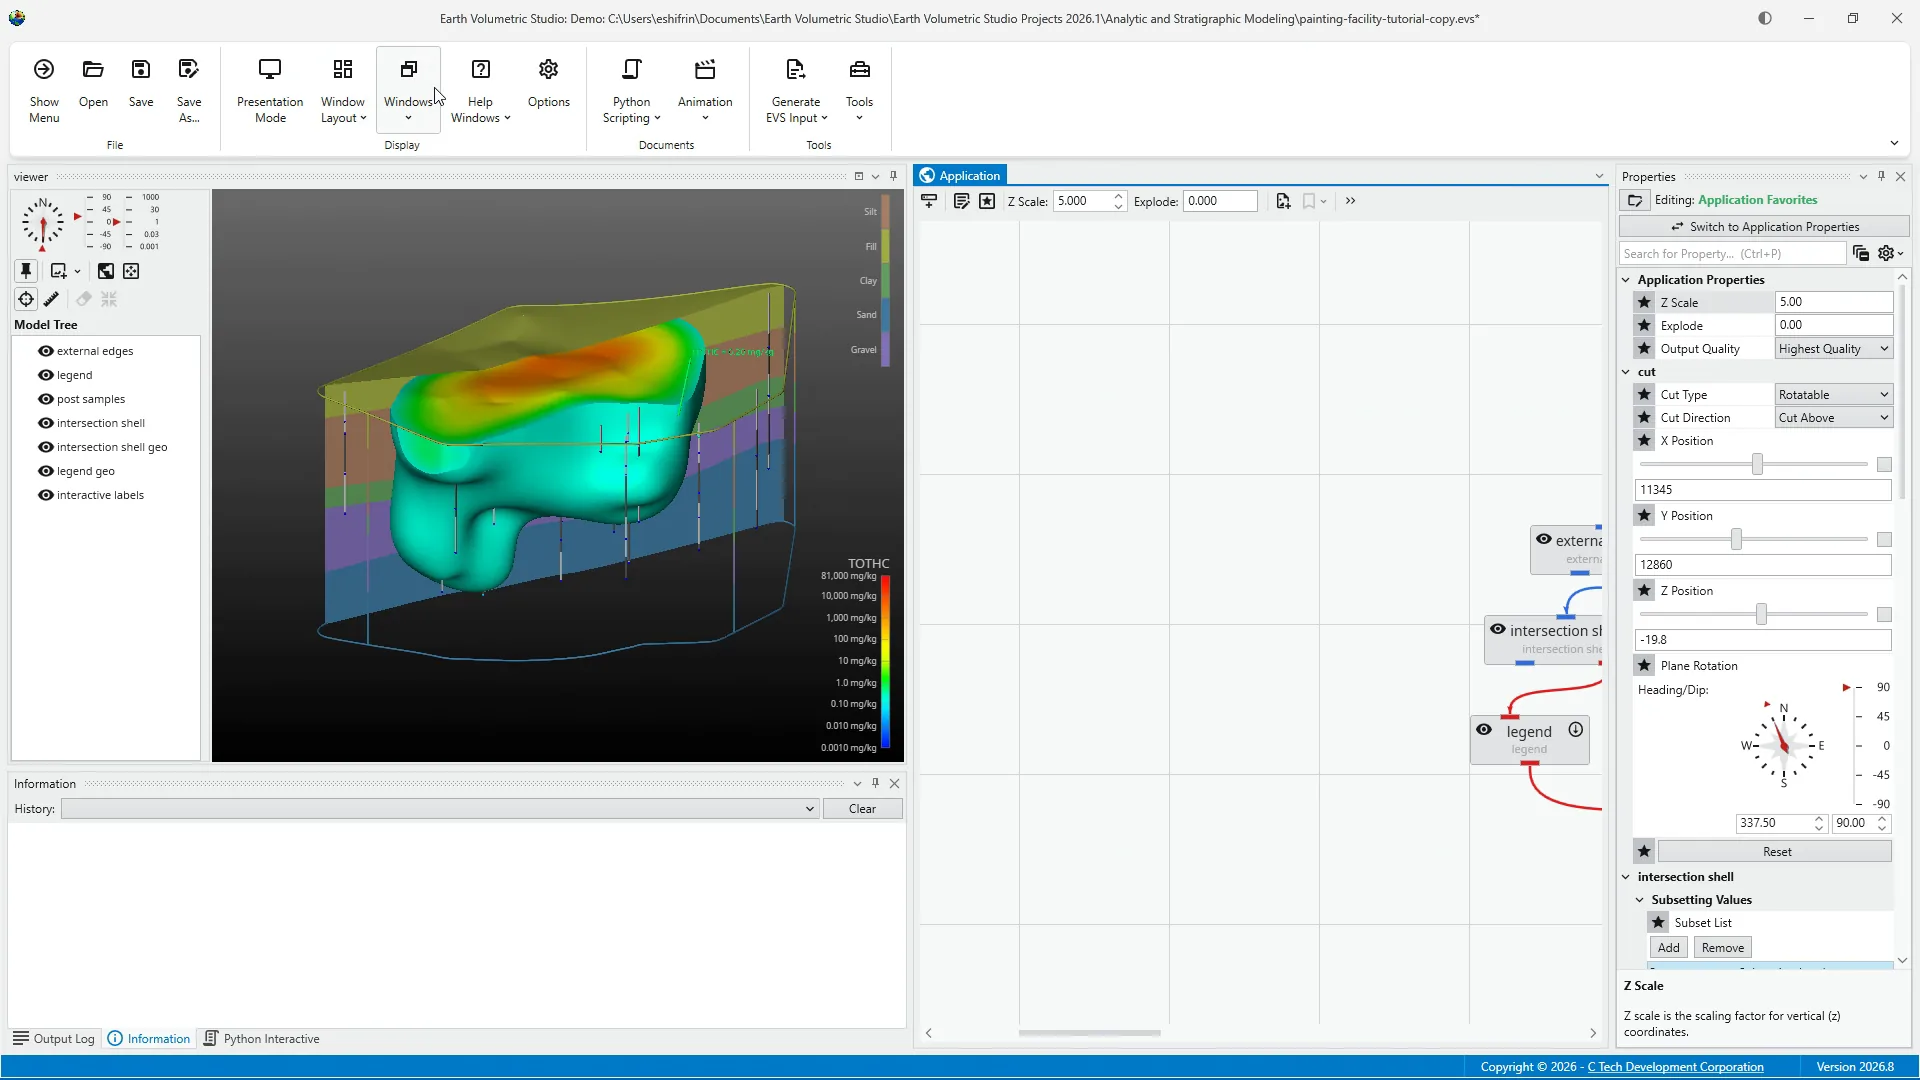
Open the Windows menu to see the windows available in the EVS workspace. This menu can be used to show, hide, or bring focus to windows such as Properties, Information, and Output Log.
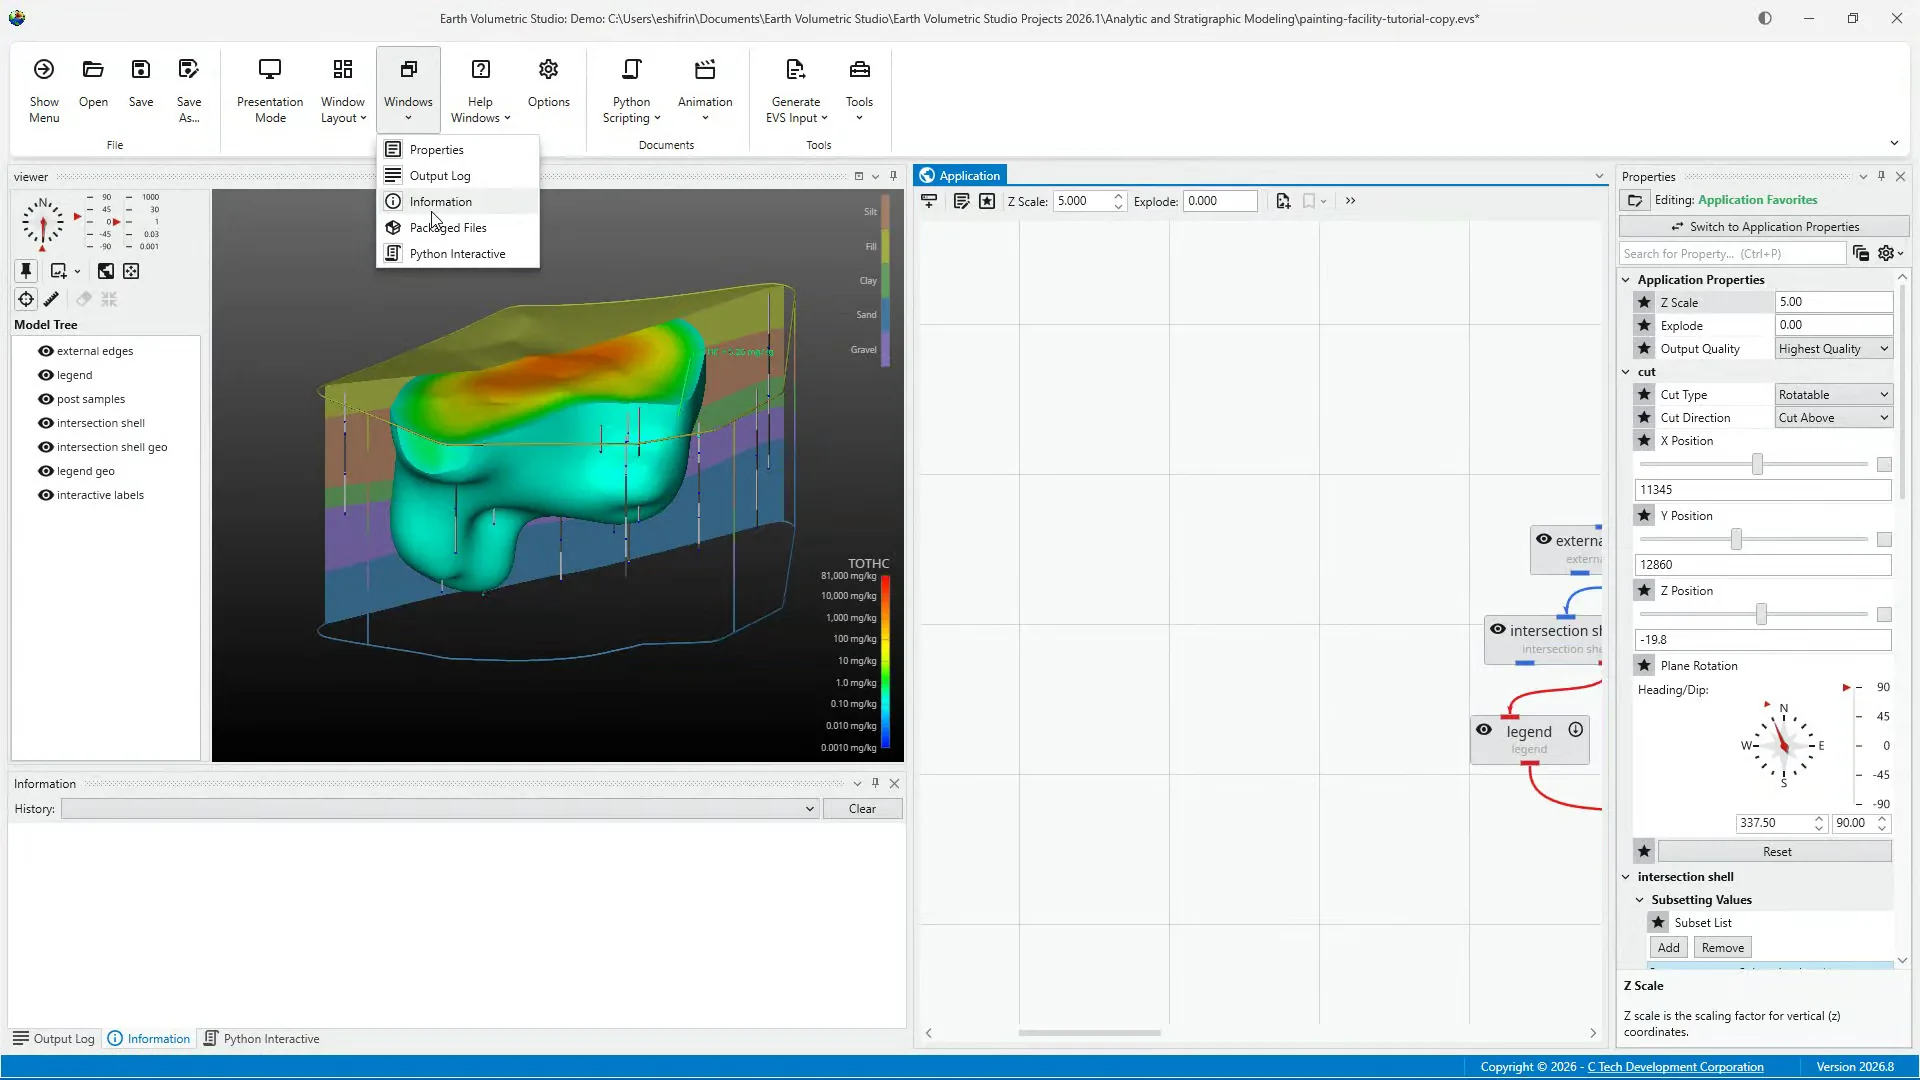
To create more workspace, select a visible window to hide it. To bring the window back, reopen the Windows menu and select it again. This allows us to control individual windows without changing the entire workspace layout.
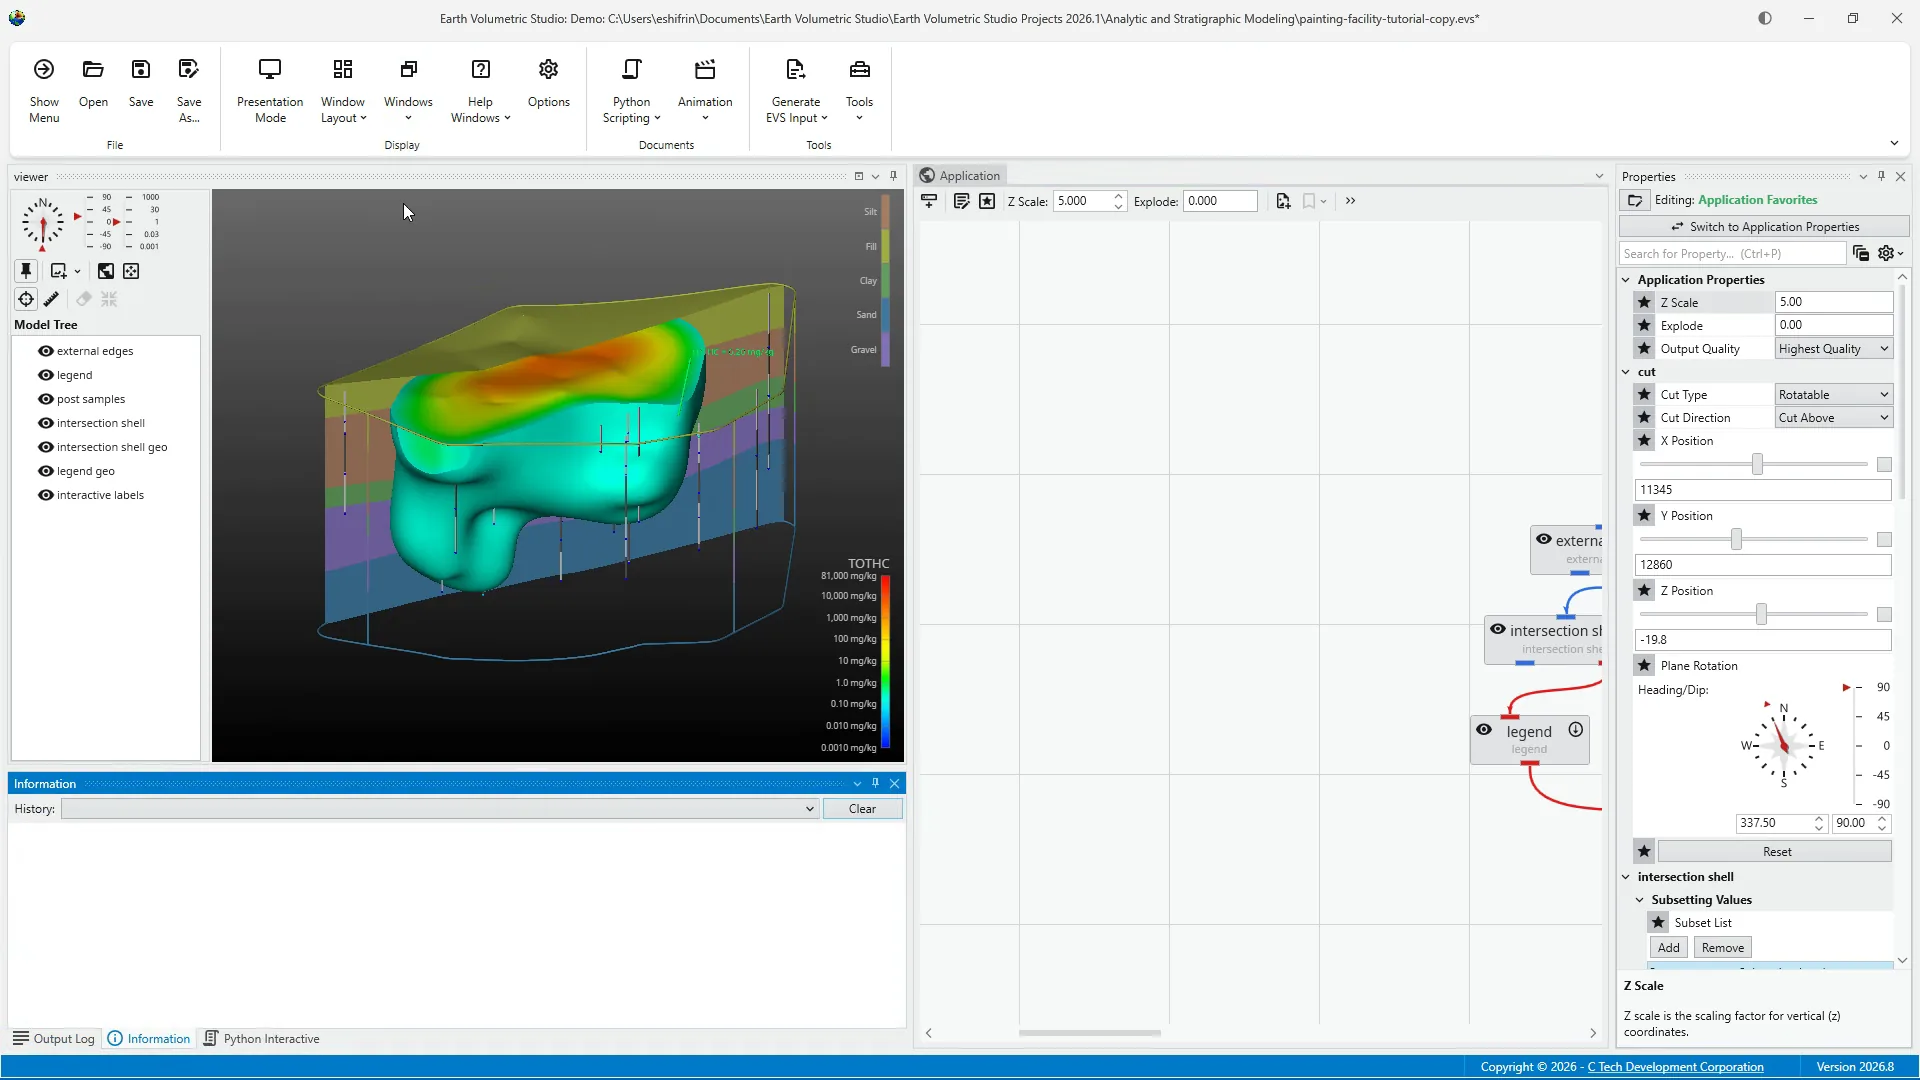
Most EVS windows can be resized, moved, grouped, or hidden. However, there are a few important exceptions. The Application window remains part of the main EVS workspace during normal operation. The Viewer cannot be closed, although it can be undocked and moved, for example, to a second monitor.
For this example, I'll make the Viewer larger to create more space for inspecting the visualization. Also, I'll hide a supporting window that I don't need for this layout. This arrangement could be useful for reviewing and presenting a visualization. Once the windows are arranged, we can save the complete workspace as a layout.
To save the current arrangement, select Options from the Main Toolbar. Under User Interface Options, expand Window Layouts. This section lists the layouts currently available and provides controls for creating, applying, updating, and removing custom layouts.
Select the plus button to save the current window arrangement as a new layout. Enter a descriptive name that identifies the purpose of the layout. I'll name this layout Viewer Focus. The new layout now appears in the list with the other available configurations.
Select Return to Application to return to the EVS workspace. The current window arrangement remains active.
Saved layouts can be applied directly from the Main Toolbar. Open Window Layout to see the Default layout and any custom layouts that have been saved. Our new Viewer Focus layout is now available alongside the Default configuration.
If the arrangement needs to be adjusted, make the changes directly in the workspace, such as moving the properties window aside.
Return to the Window Layouts section in Options. Select the layout you want to update. Select Overwrite Current Layout to replace the previously saved arrangement with the workspace currently shown. The Viewer Focus layout now includes the latest window arrangement.
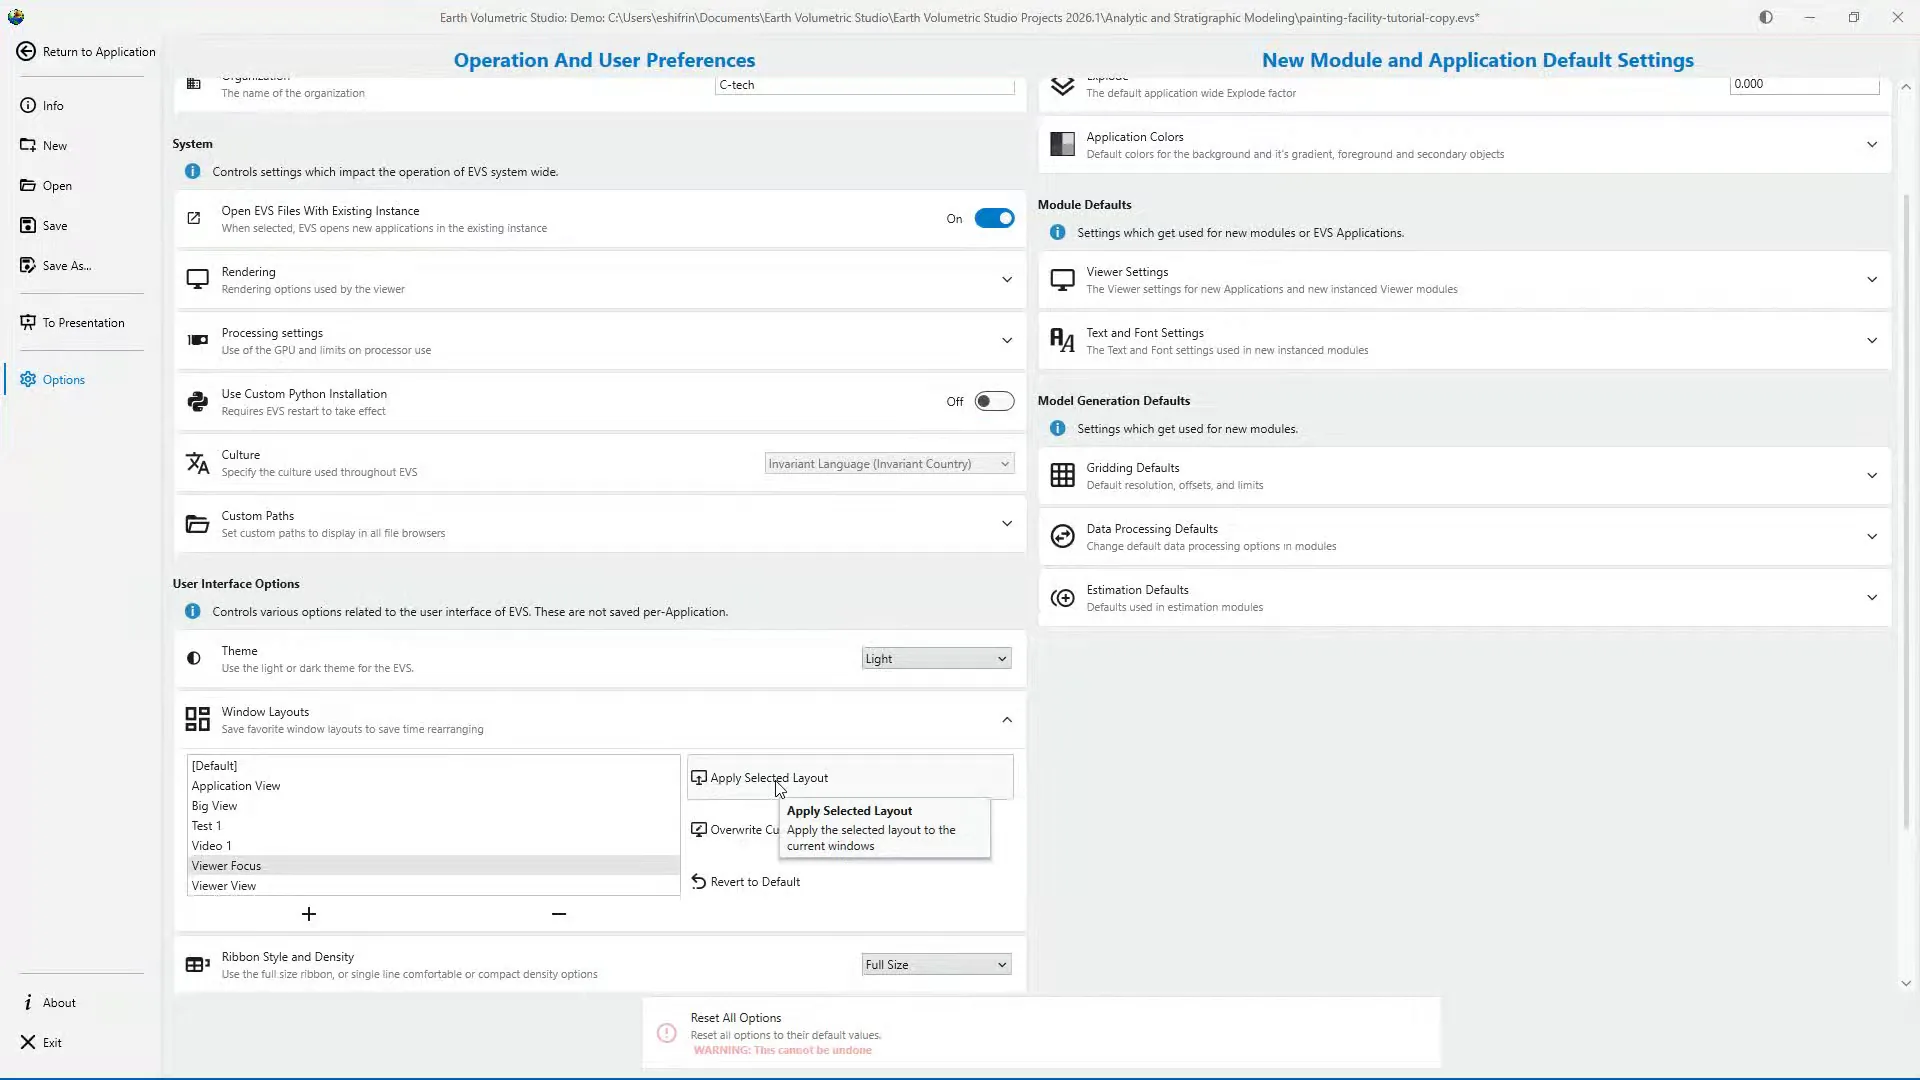
Layouts can also be applied from this page. Choose a layout from the list, then select Apply Selected Layout. This performs the same basic task as choosing a layout from the Maine Toolbar .
You can also use Revert to Default to return directly to the standard EVS workspace. This is useful if the workspace has been rearranged and you want a familiar starting point without manually repositioning each window.
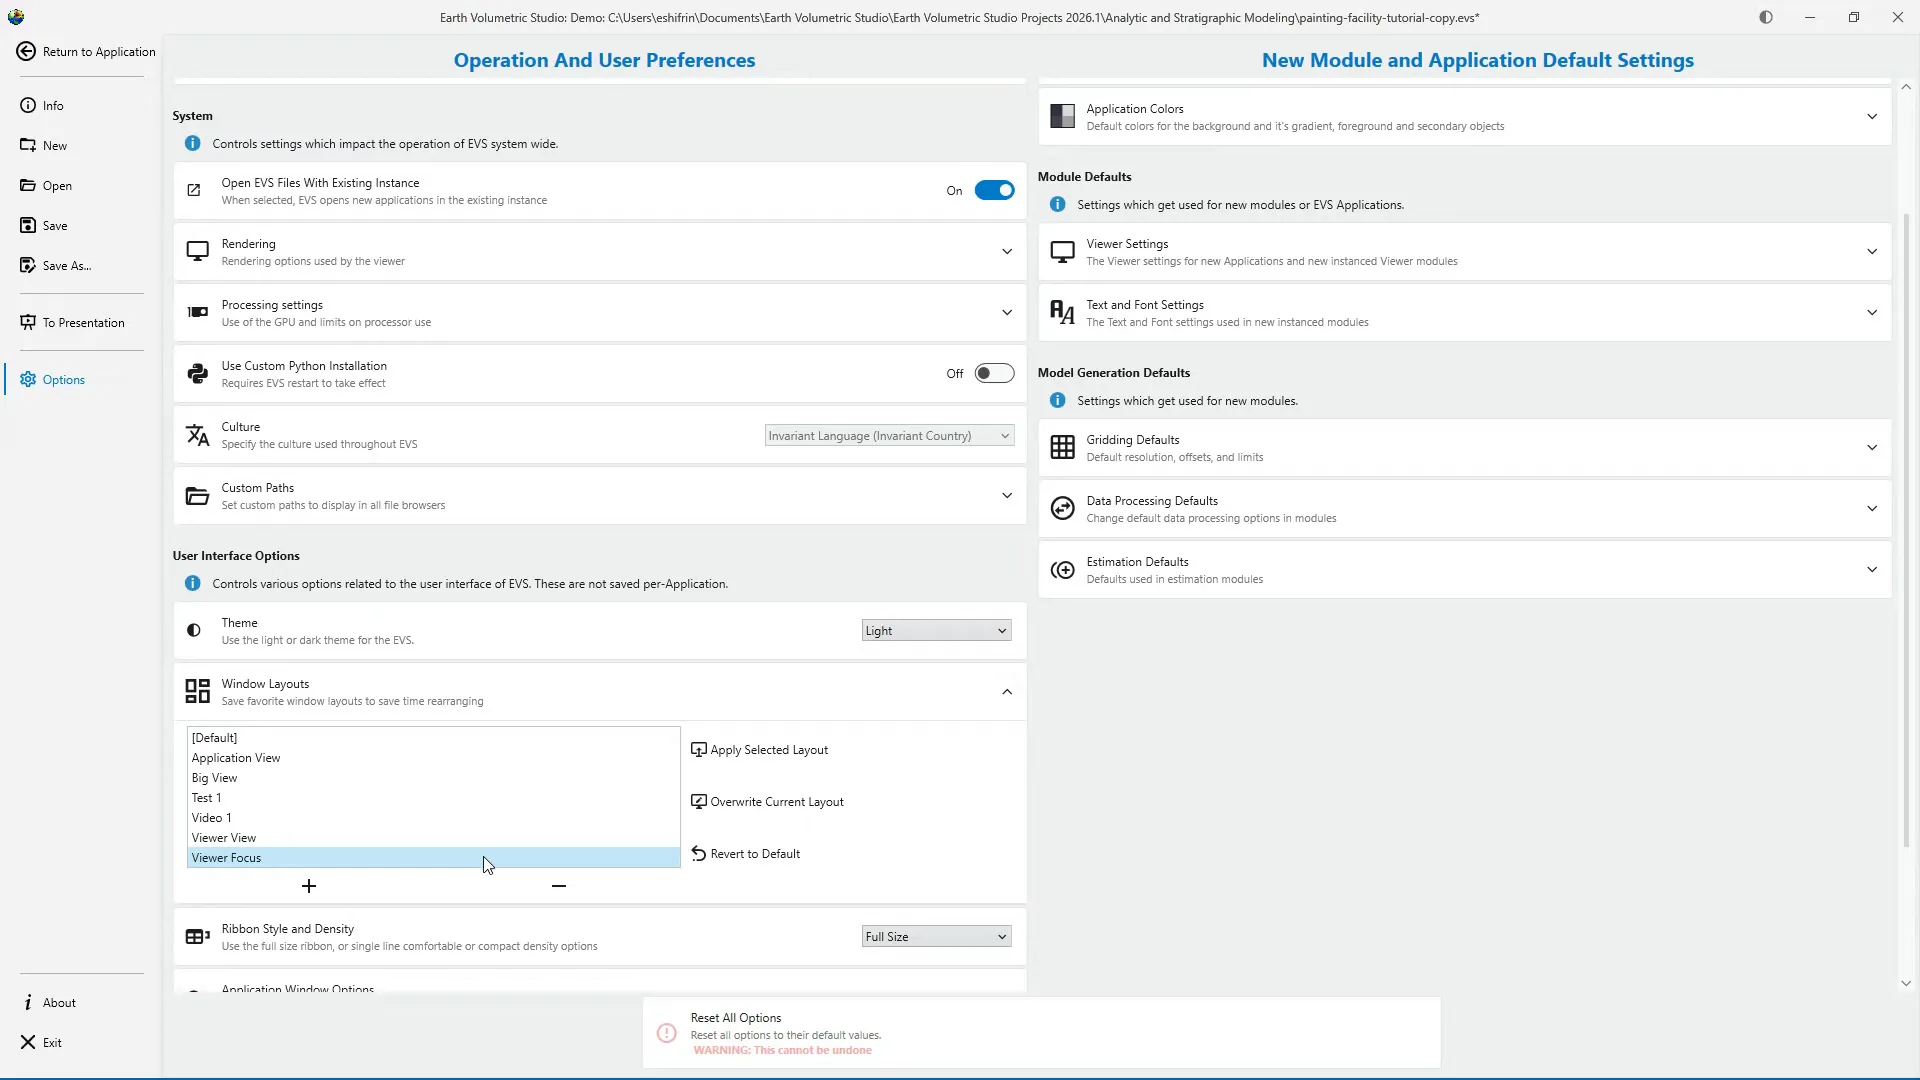
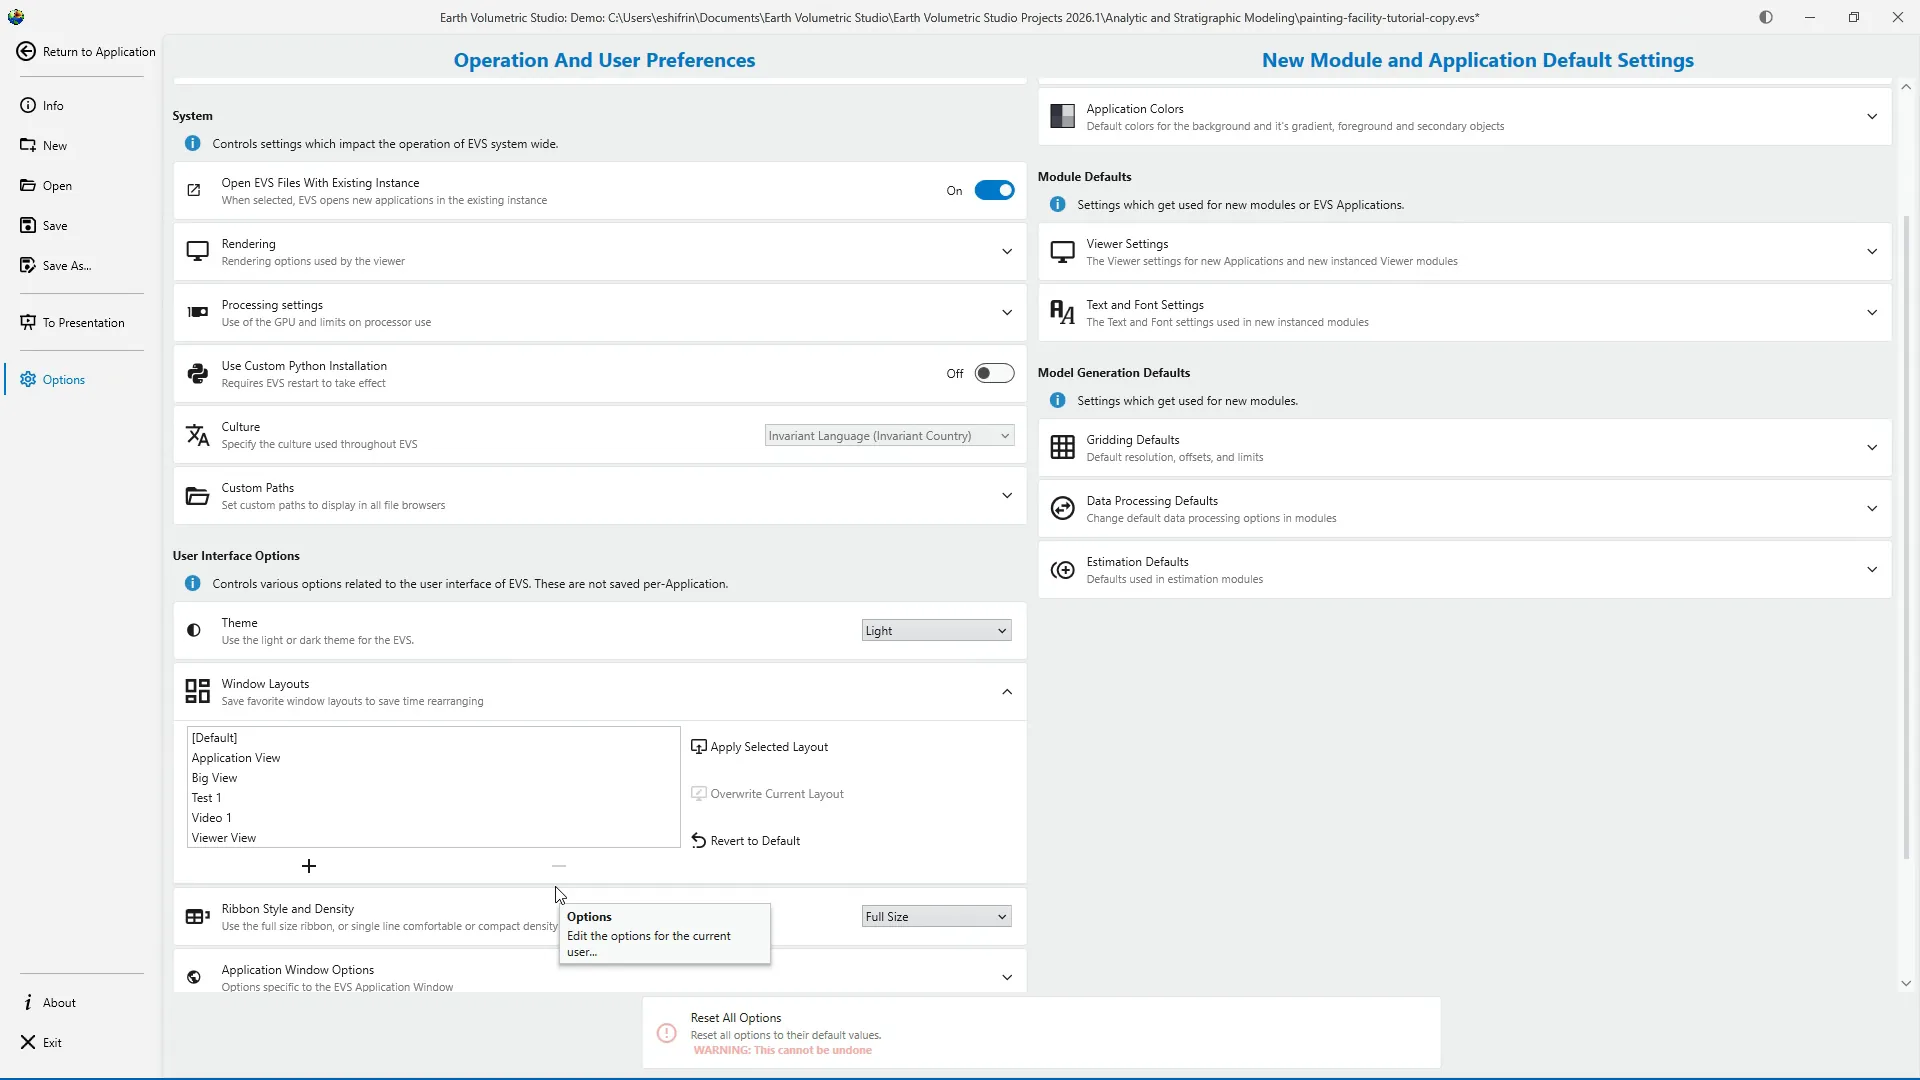
If a custom layout is no longer needed, select it from the list. Select the minus button to remove the selected custom layout. This removes the saved layout from the list. It does not delete or change the EVS application. The Default configuration remains available as the standard EVS workspace.
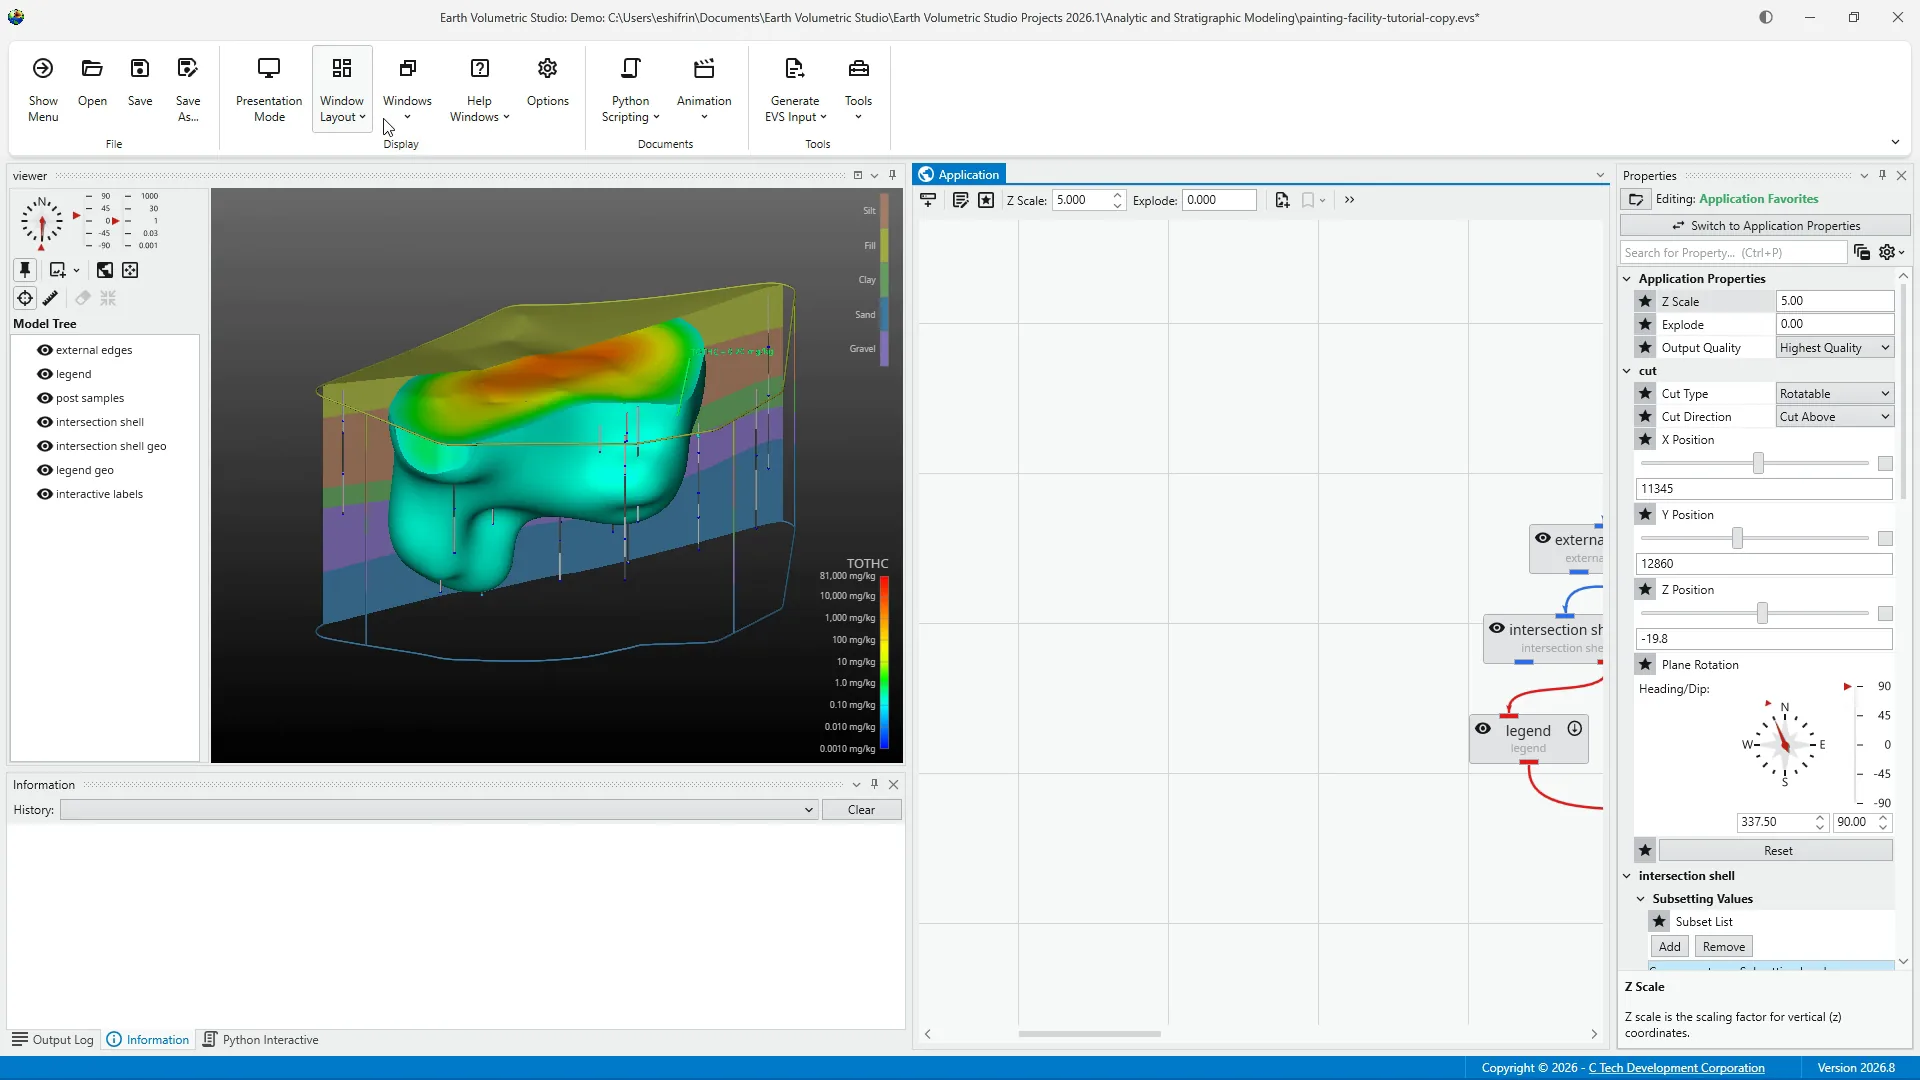
Select Return to Application to leave Options and return to the EVS workspace.
To recap, use Windows to control the visibility of individual workspace windows. Use Window Layout to apply a complete saved arrangement. Custom layouts are created and managed under Options in the Window Layouts section. From there you can save a new layout, apply or overwrite an existing layout, delete a custom layout, or restore the Default configuration .
In this tutorial we customized the EVS workspace and saved it as a reusable window layout. We also learned how to switch between layouts and return to the default arrangement. This allows you to create different workspaces for building applications editing properties reviewing visualizations or working across multiple monitors.
Introduction
Welcome back to Earth Volumetric Studio. In this tutorial, we'll use the Windows and Window Layout controls to customize the EVS workspace. We'll show and hide individual windows, create and save a custom layout, switch between layouts, and restore the default arrangement.
1Main Toolbar
The Main Toolbar provides two related controls for managing the workspace. Windows controls which individual EVS windows are visible. Window Layout allows us to apply complete arrangements of those windows.
2Windows
Open the Windows menu to see the windows available in the EVS workspace. This menu can be used to show, hide, or bring focus to windows such as Properties, Information, and Output Log.
3Show or Hide a Window
To create more workspace, select a visible window to hide it. To bring the window back, reopen the Windows menu and select it again. This allows us to control individual windows without changing the entire workspace layout.
4Important Window Behaviors
Most EVS windows can be resized, moved, grouped, or hidden. However, there are a few important exceptions. The Application window remains part of the main EVS workspace during normal operation. The Viewer cannot be closed, although it can be undocked and moved, for example, to a second monitor.
5Create a Custom Workspace
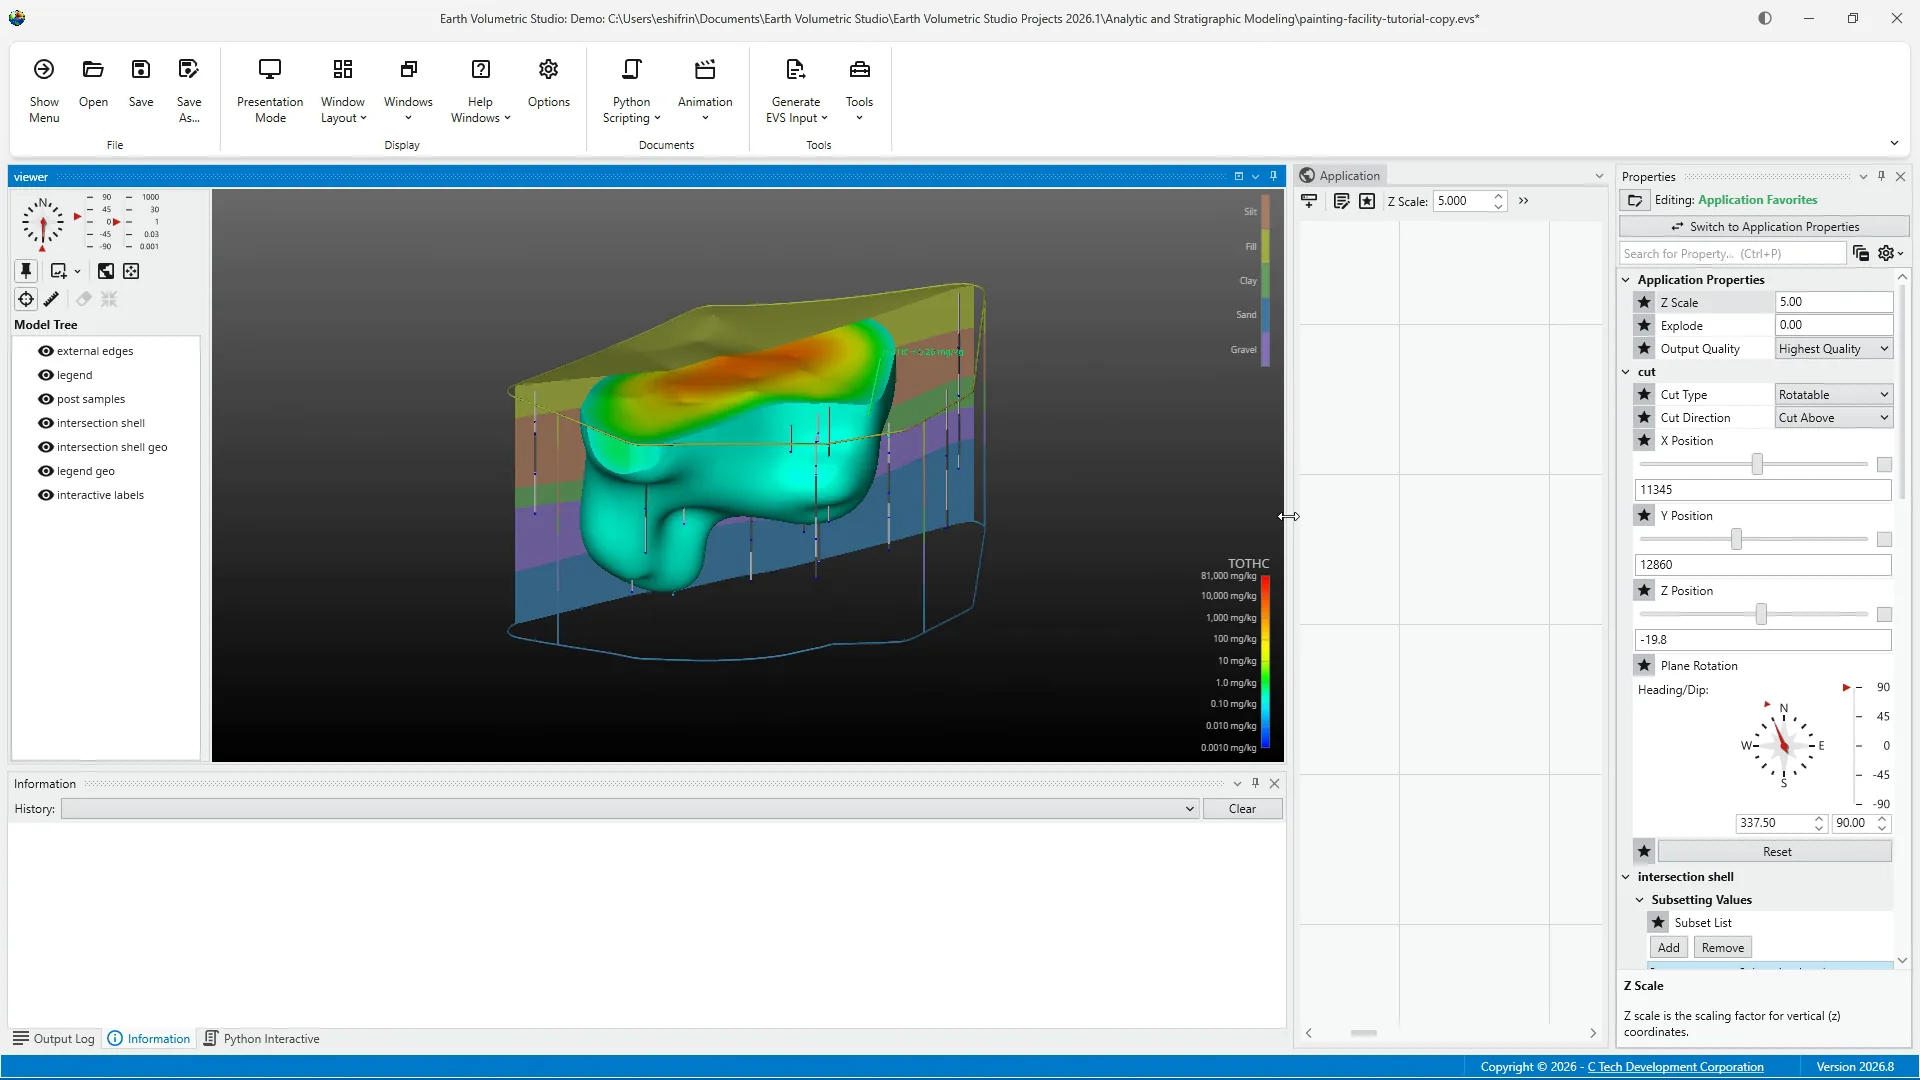
For this example, I'll make the Viewer larger to create more space for inspecting the visualization. Also, I'll hide a supporting window that I don't need for this layout. This arrangement could be useful for reviewing and presenting a visualization. Once the windows are arranged, we can save the complete workspace as a layout.
6Open Window Layout Options
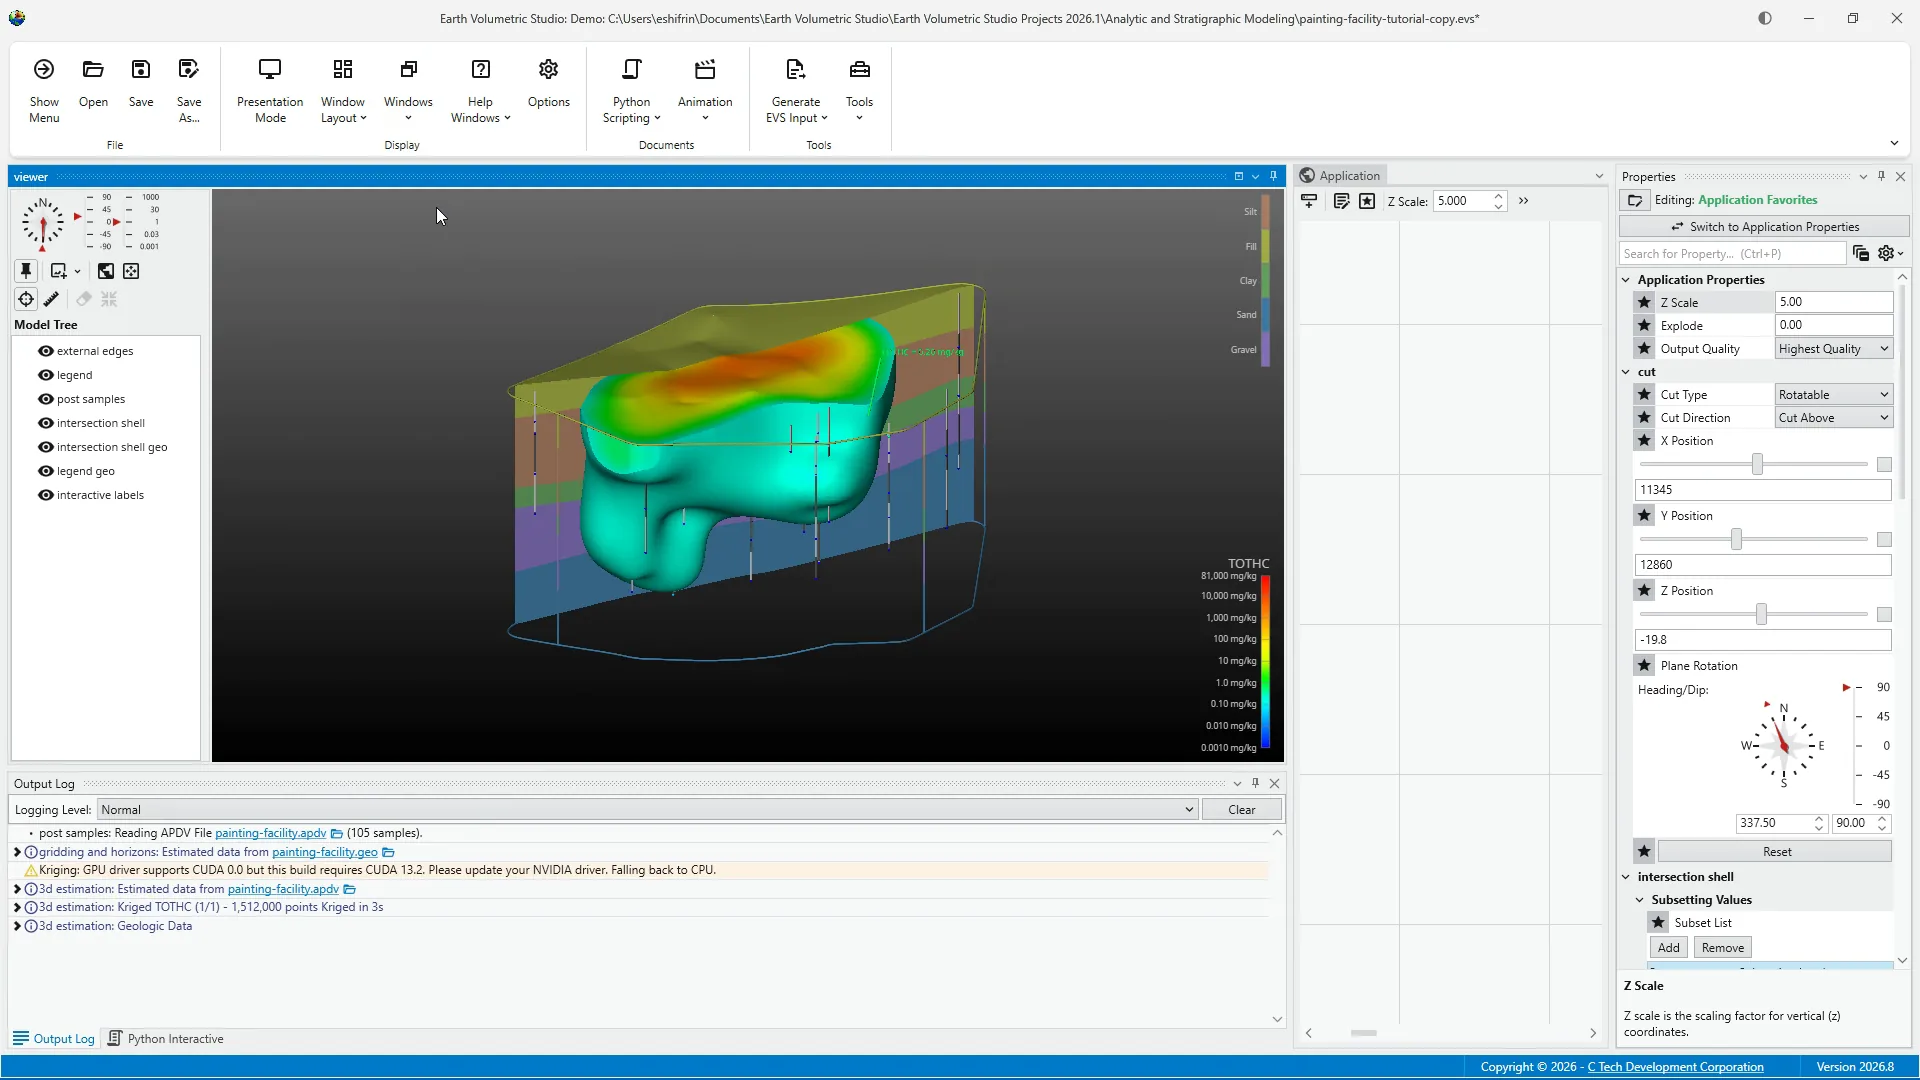
To save the current arrangement, select Options from the Main Toolbar. Under User Interface Options, expand Window Layouts. This section lists the layouts currently available and provides controls for creating, applying, updating, and removing custom layouts.
7Save a New Layout
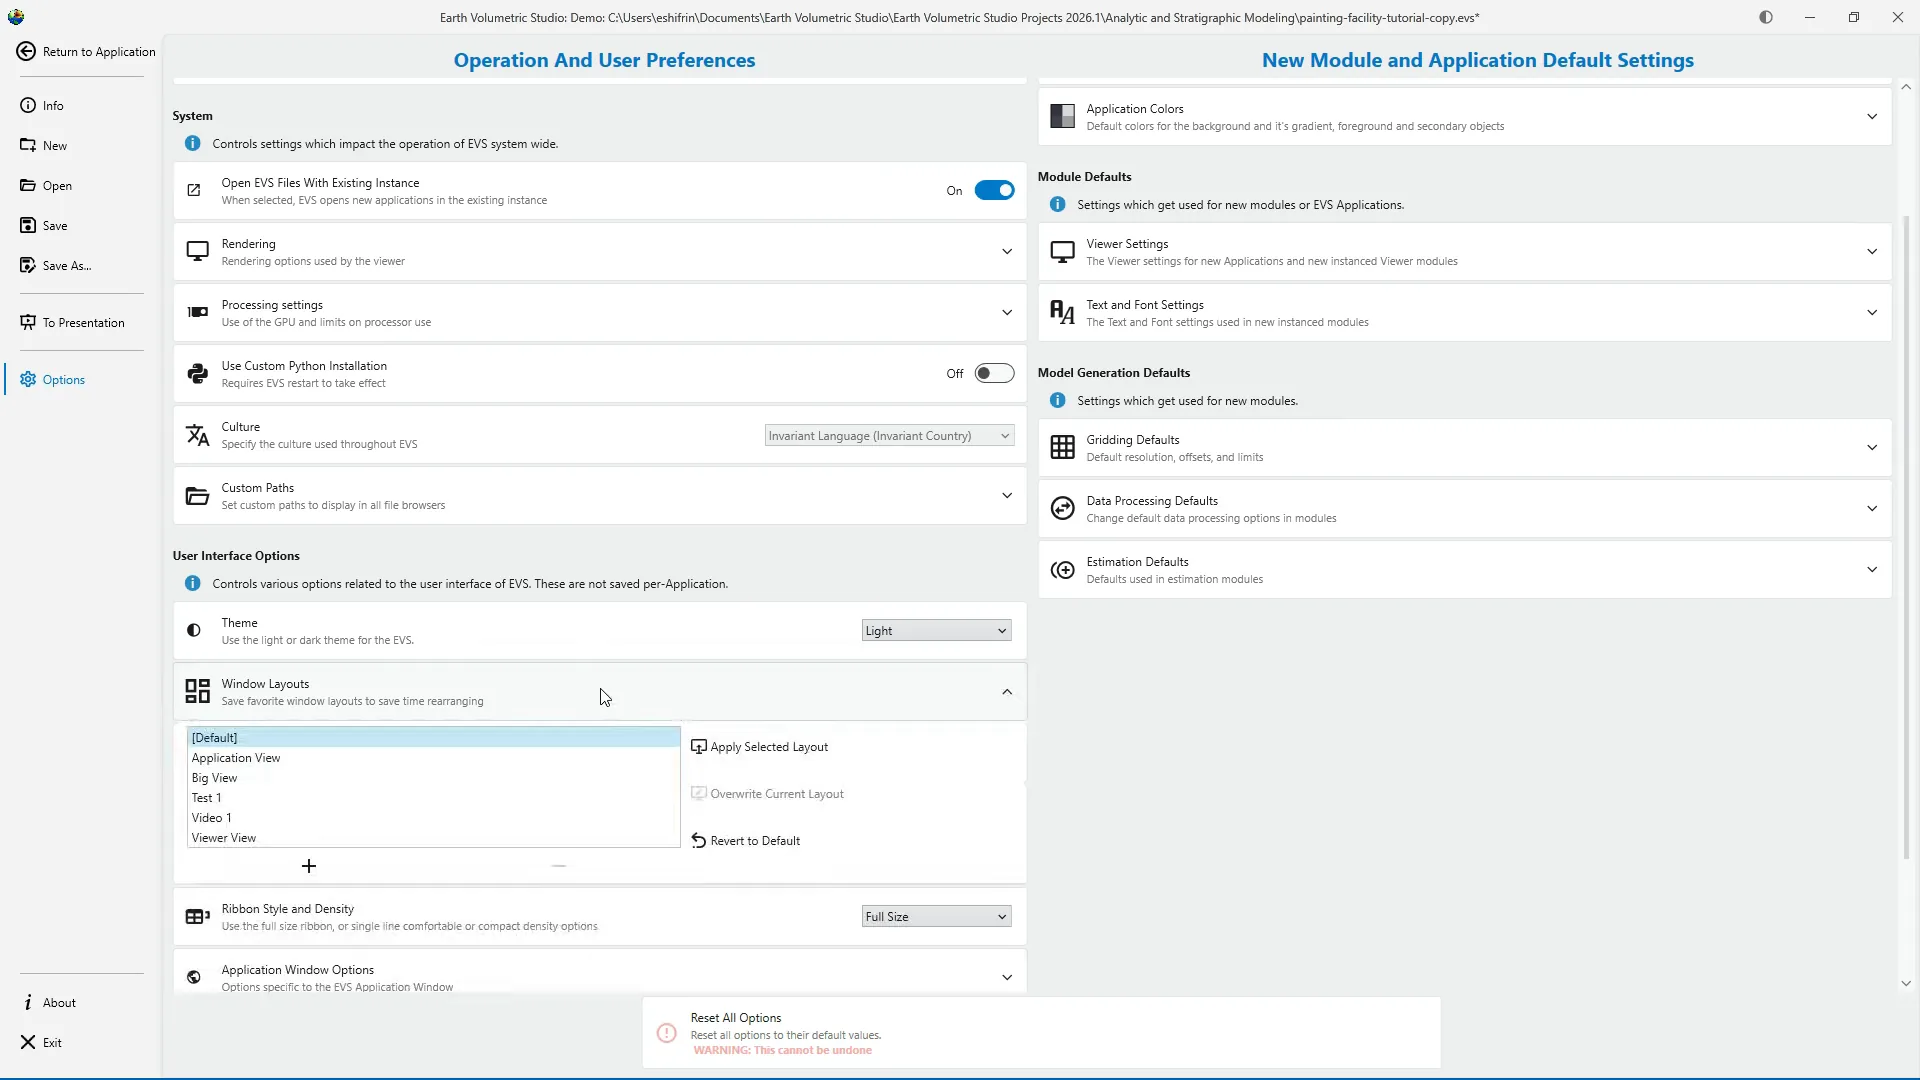
Select the plus button to save the current window arrangement as a new layout. Enter a descriptive name that identifies the purpose of the layout. I'll name this layout Viewer Focus. The new layout now appears in the list with the other available configurations.
8Return to the Application
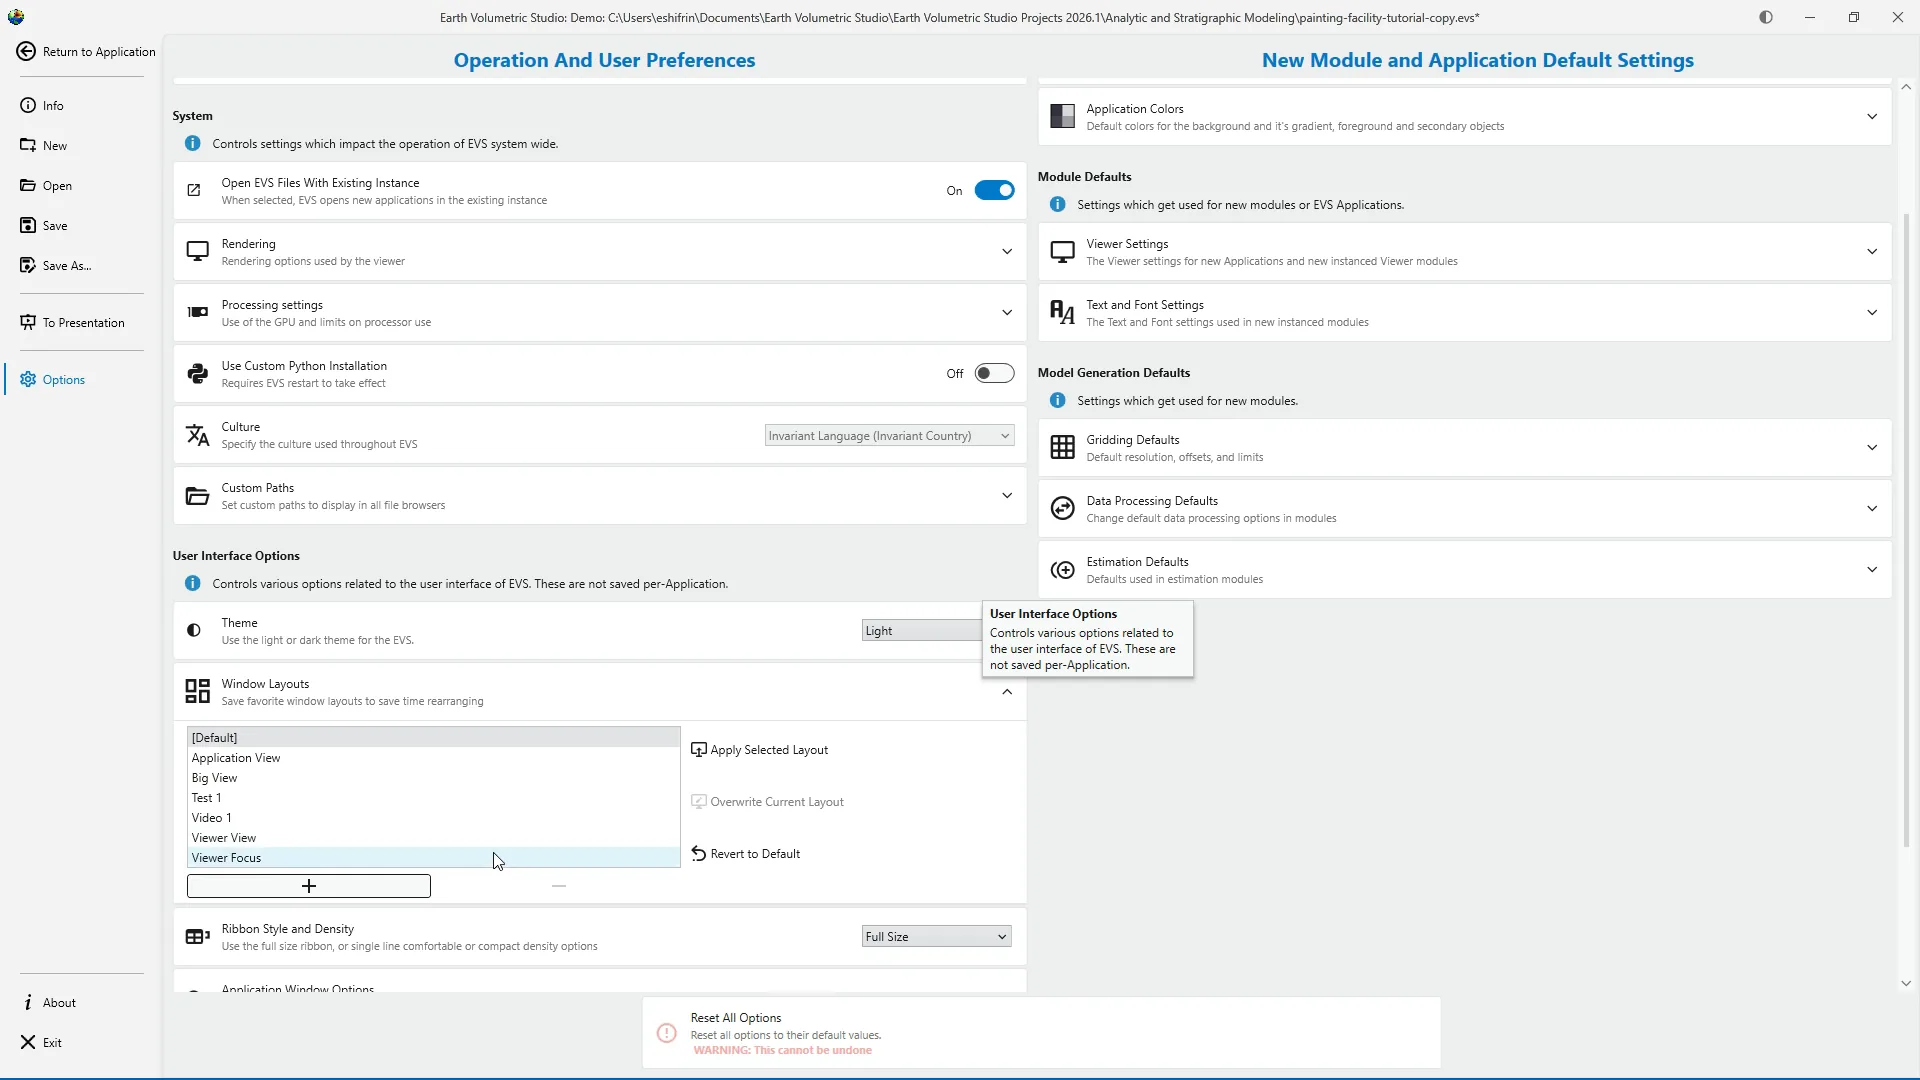
Select Return to Application to return to the EVS workspace. The current window arrangement remains active.
9Apply a Layout from the Main Toolbar
Saved layouts can be applied directly from the Main Toolbar. Open Window Layout to see the Default layout and any custom layouts that have been saved. Our new Viewer Focus layout is now available alongside the Default configuration.
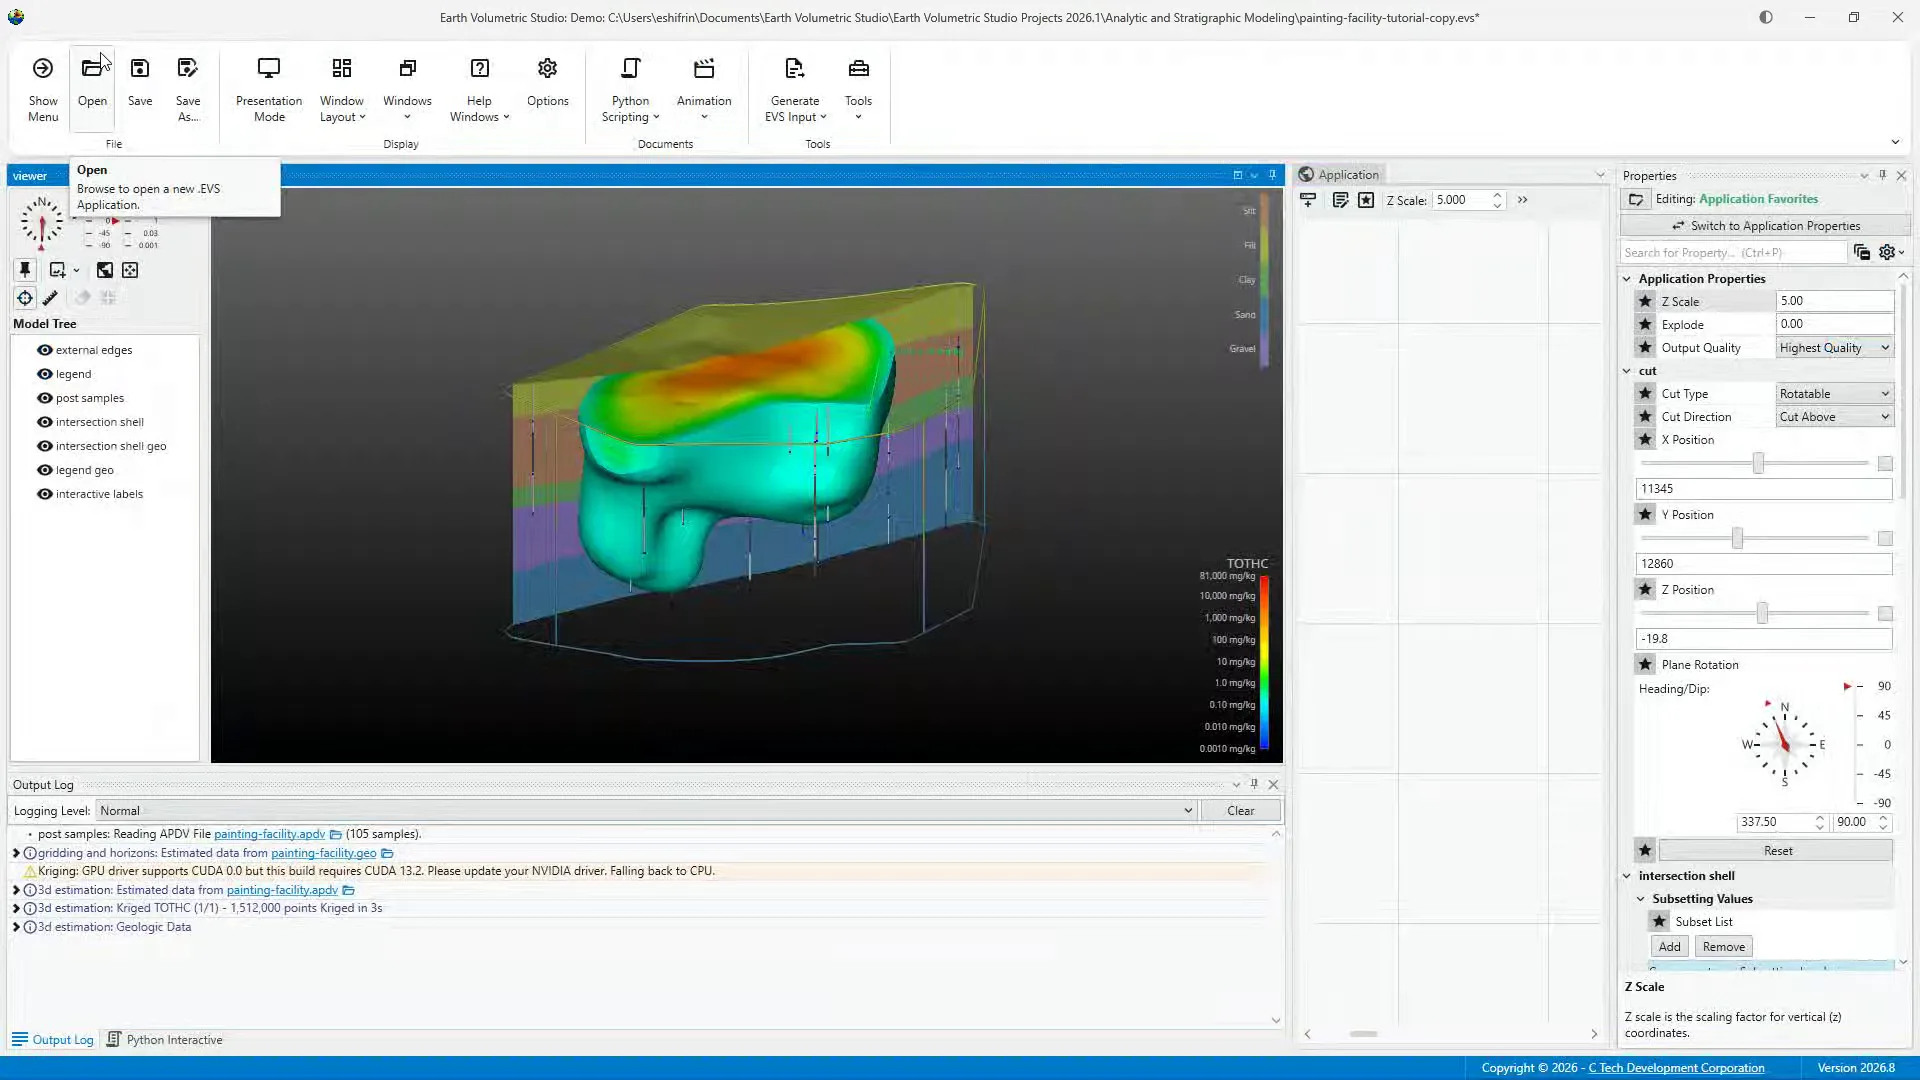
10Update an Existing Layout (1)
If the arrangement needs to be adjusted, make the changes directly in the workspace, such as moving the properties window aside.
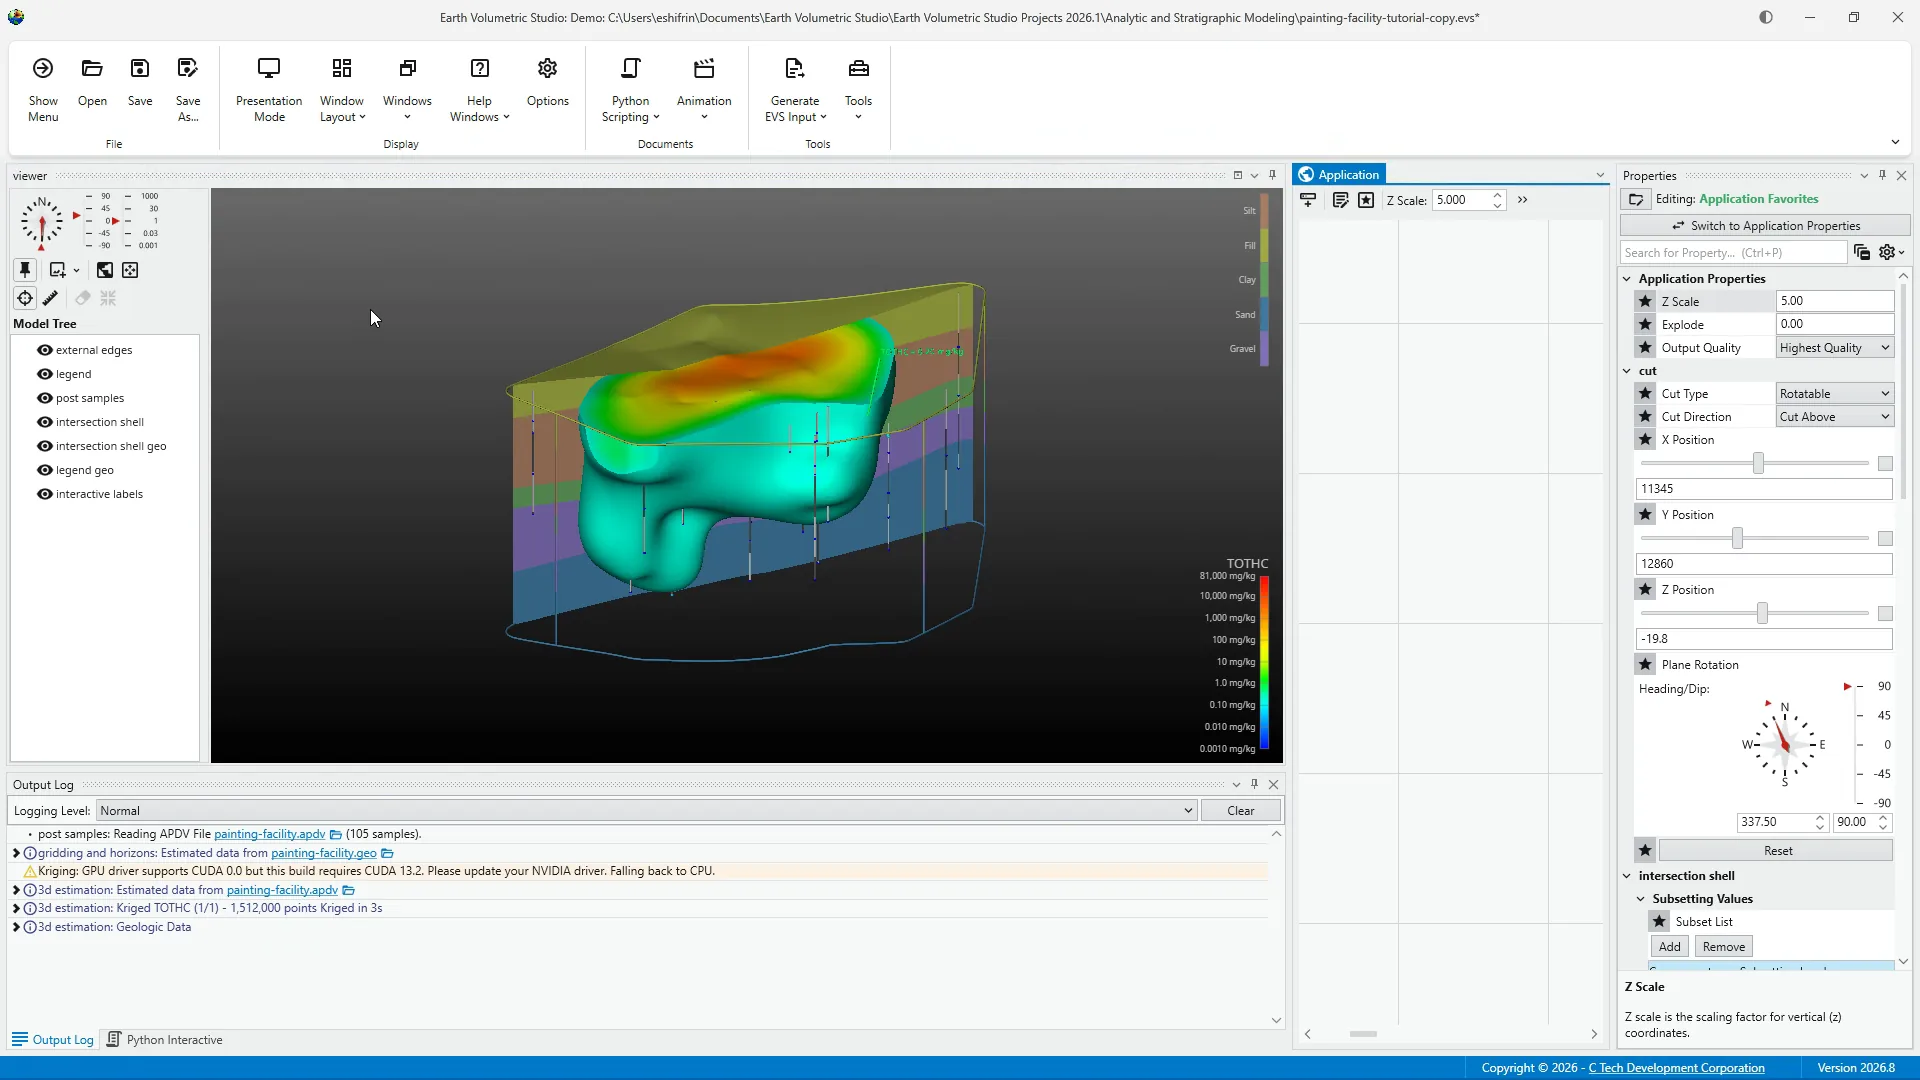
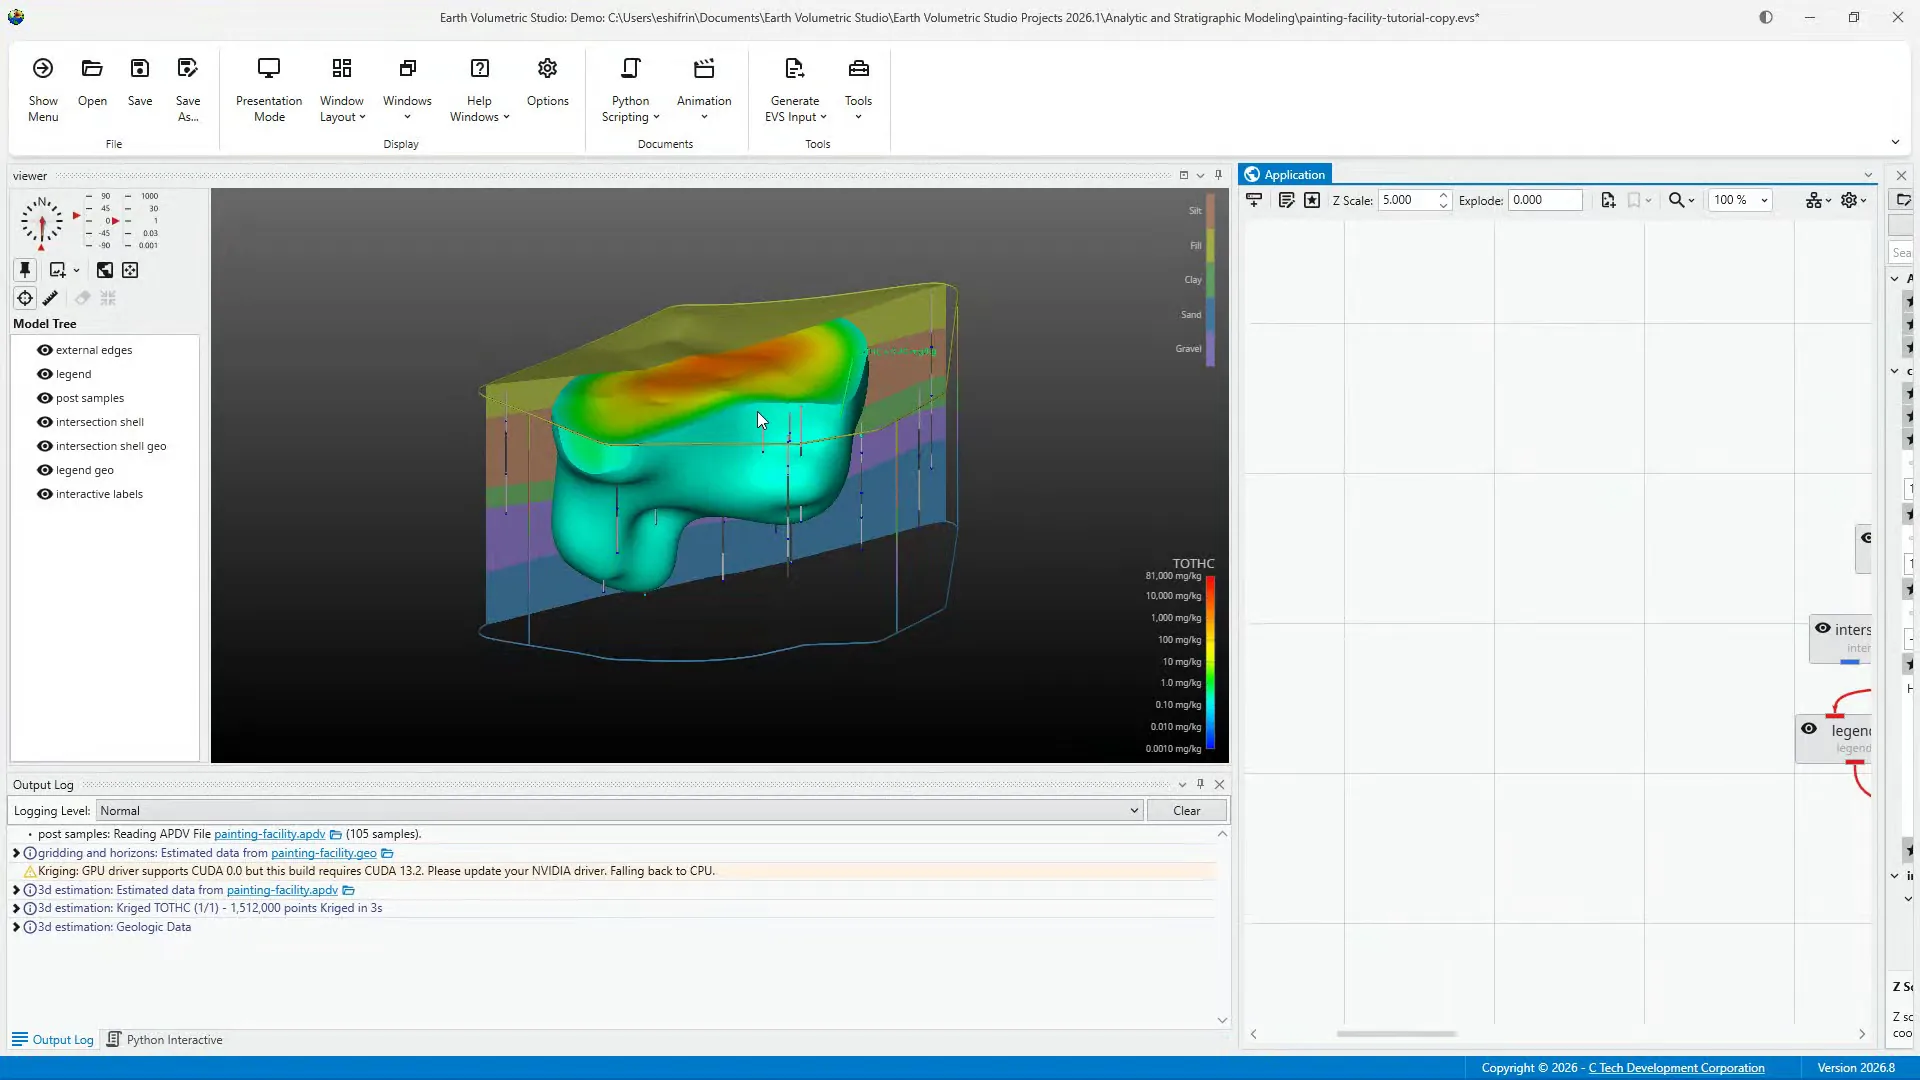
11Update an Existing Layout (2)
Return to the Window Layouts section in Options. Select the layout you want to update. Select Overwrite Current Layout to replace the previously saved arrangement with the workspace currently shown. The Viewer Focus layout now includes the latest window arrangement.
12Apply a Layout from Options
Layouts can also be applied from this page. Choose a layout from the list, then select Apply Selected Layout. This performs the same basic task as choosing a layout from the Maine Toolbar .
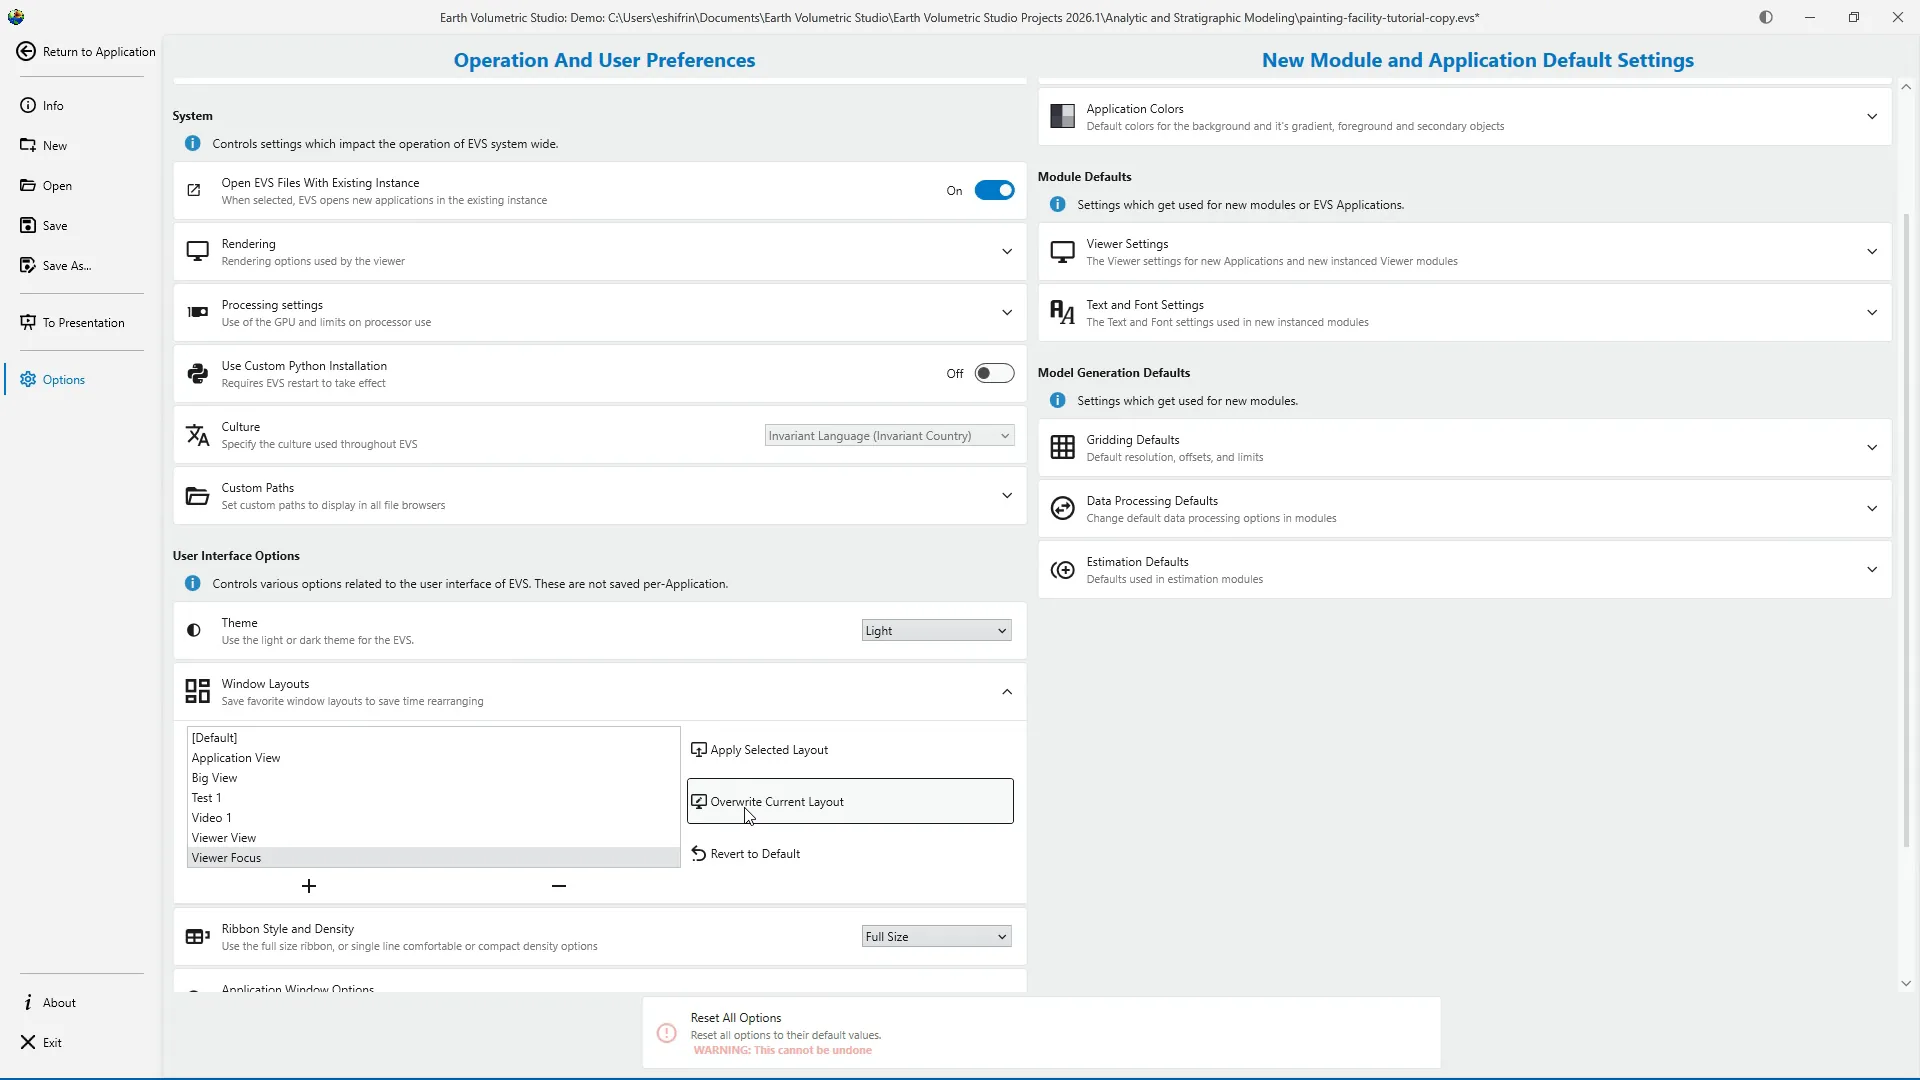
13Revert to Default
You can also use Revert to Default to return directly to the standard EVS workspace. This is useful if the workspace has been rearranged and you want a familiar starting point without manually repositioning each window.
14Delete a Custom Layout
If a custom layout is no longer needed, select it from the list. Select the minus button to remove the selected custom layout. This removes the saved layout from the list. It does not delete or change the EVS application. The Default configuration remains available as the standard EVS workspace.
15Return to Application
Select Return to Application to leave Options and return to the EVS workspace.
16Recap
To recap, use Windows to control the visibility of individual workspace windows. Use Window Layout to apply a complete saved arrangement. Custom layouts are created and managed under Options in the Window Layouts section. From there you can save a new layout, apply or overwrite an existing layout, delete a custom layout, or restore the Default configuration .
Summary
In this tutorial we customized the EVS workspace and saved it as a reusable window layout. We also learned how to switch between layouts and return to the default arrangement. This allows you to create different workspaces for building applications editing properties reviewing visualizations or working across multiple monitors.