
Introduction
This tutorial introduces the Earth Volumetric Studio Viewer Window. You will learn how to navigate and utilize its features to effectively analyze and present your 3D models.
We will be looking at ways to best use EVS's Viewer Window as your primary means of sharing visualizations.
More specifically, the Viewer Window allows you to explore and analyze visual outputs from your application network, as well as assist in delivering a final 3D model. In this example, we will temporarily hide the properties window and resize the viewer window to get a better view of the model.
First thing to note is that modules with red renderable object output ports generate visual objects in the viewer window. The output port contains all information needed to draw that object, including geometry, colors, and rendering properties.
The viewer window essentially renders all objects it receives from these connections, layering them to create a cohesive, composite scene. More specifics about modules and port properties can be found in a later video.
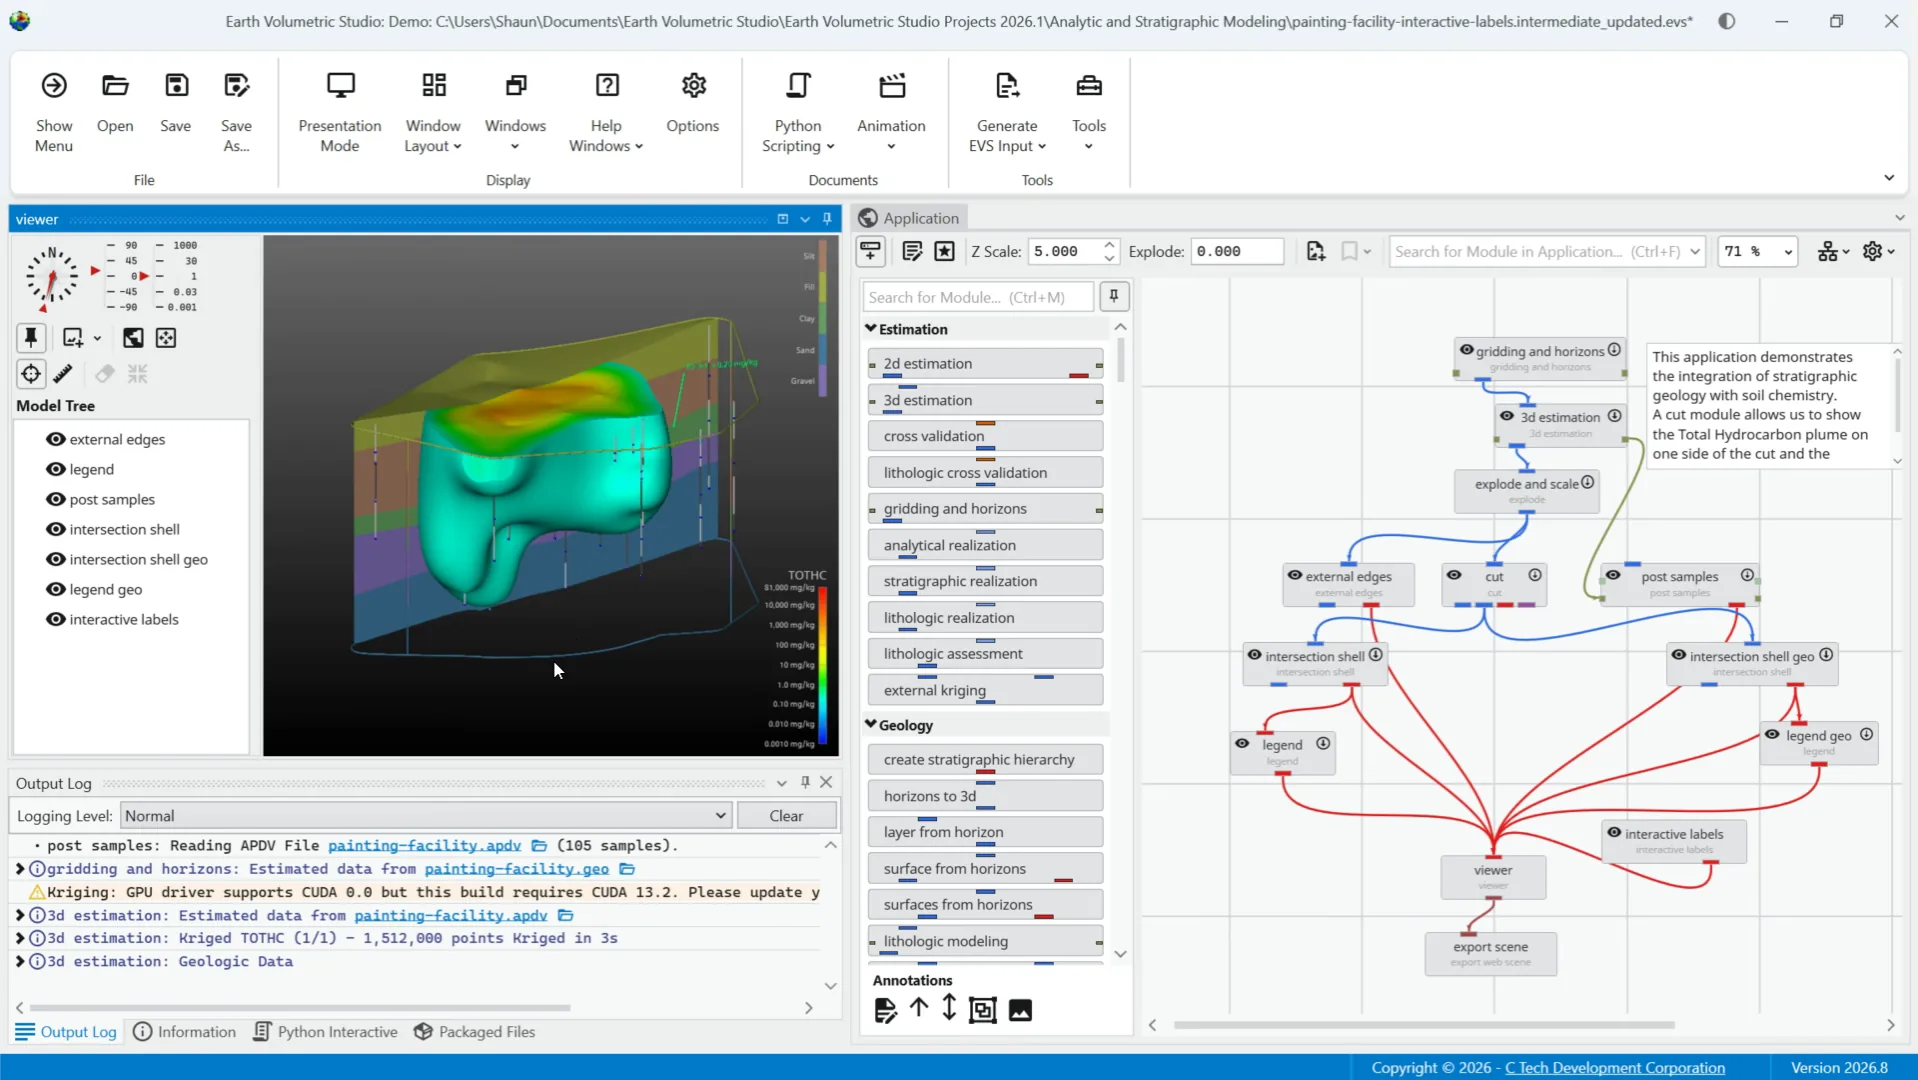
The purpose of the viewer window, is to allow you to inspect your model from any angle to better understand your results. Using your mouse, you can rotate or tilt the model by clicking and dragging it with the left mouse button.
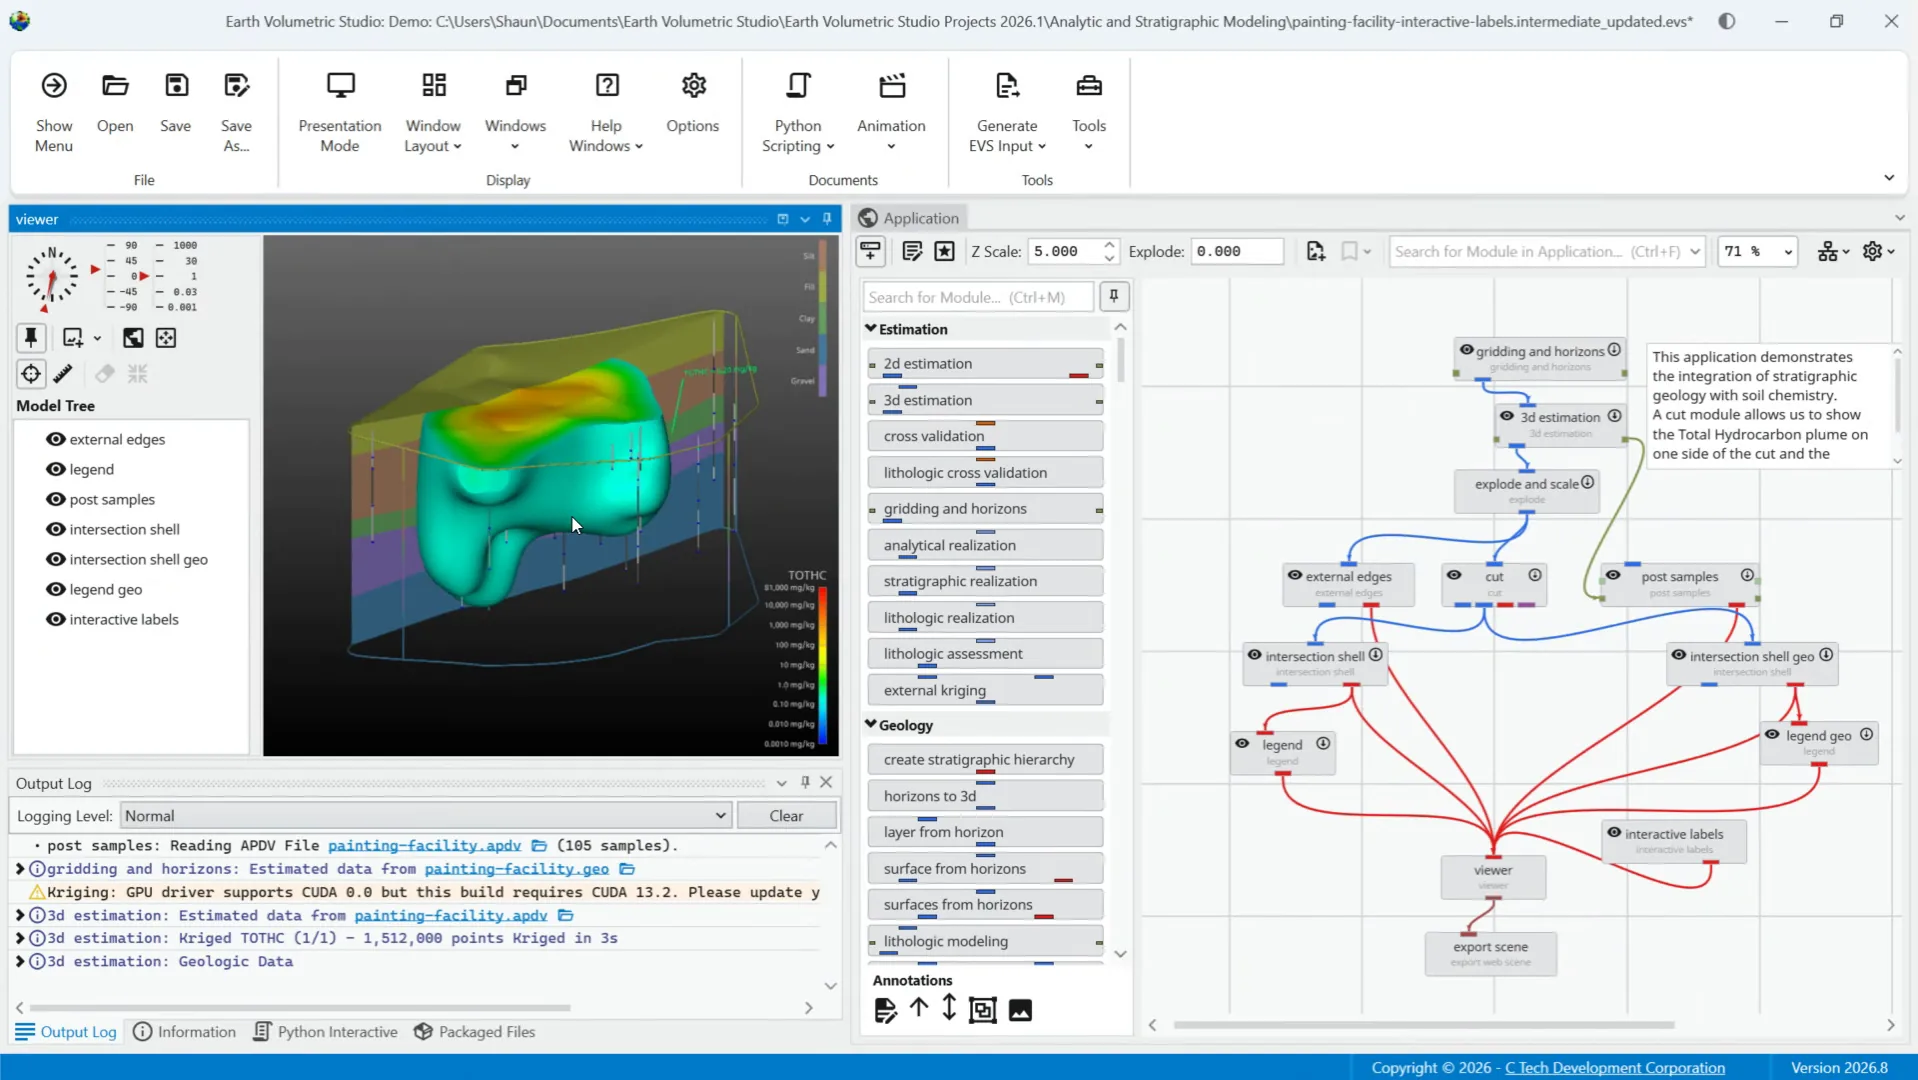
You can also pan the model by dragging with the right mouse button. Or you can zoom in and out of the scene by using the mouse wheel.
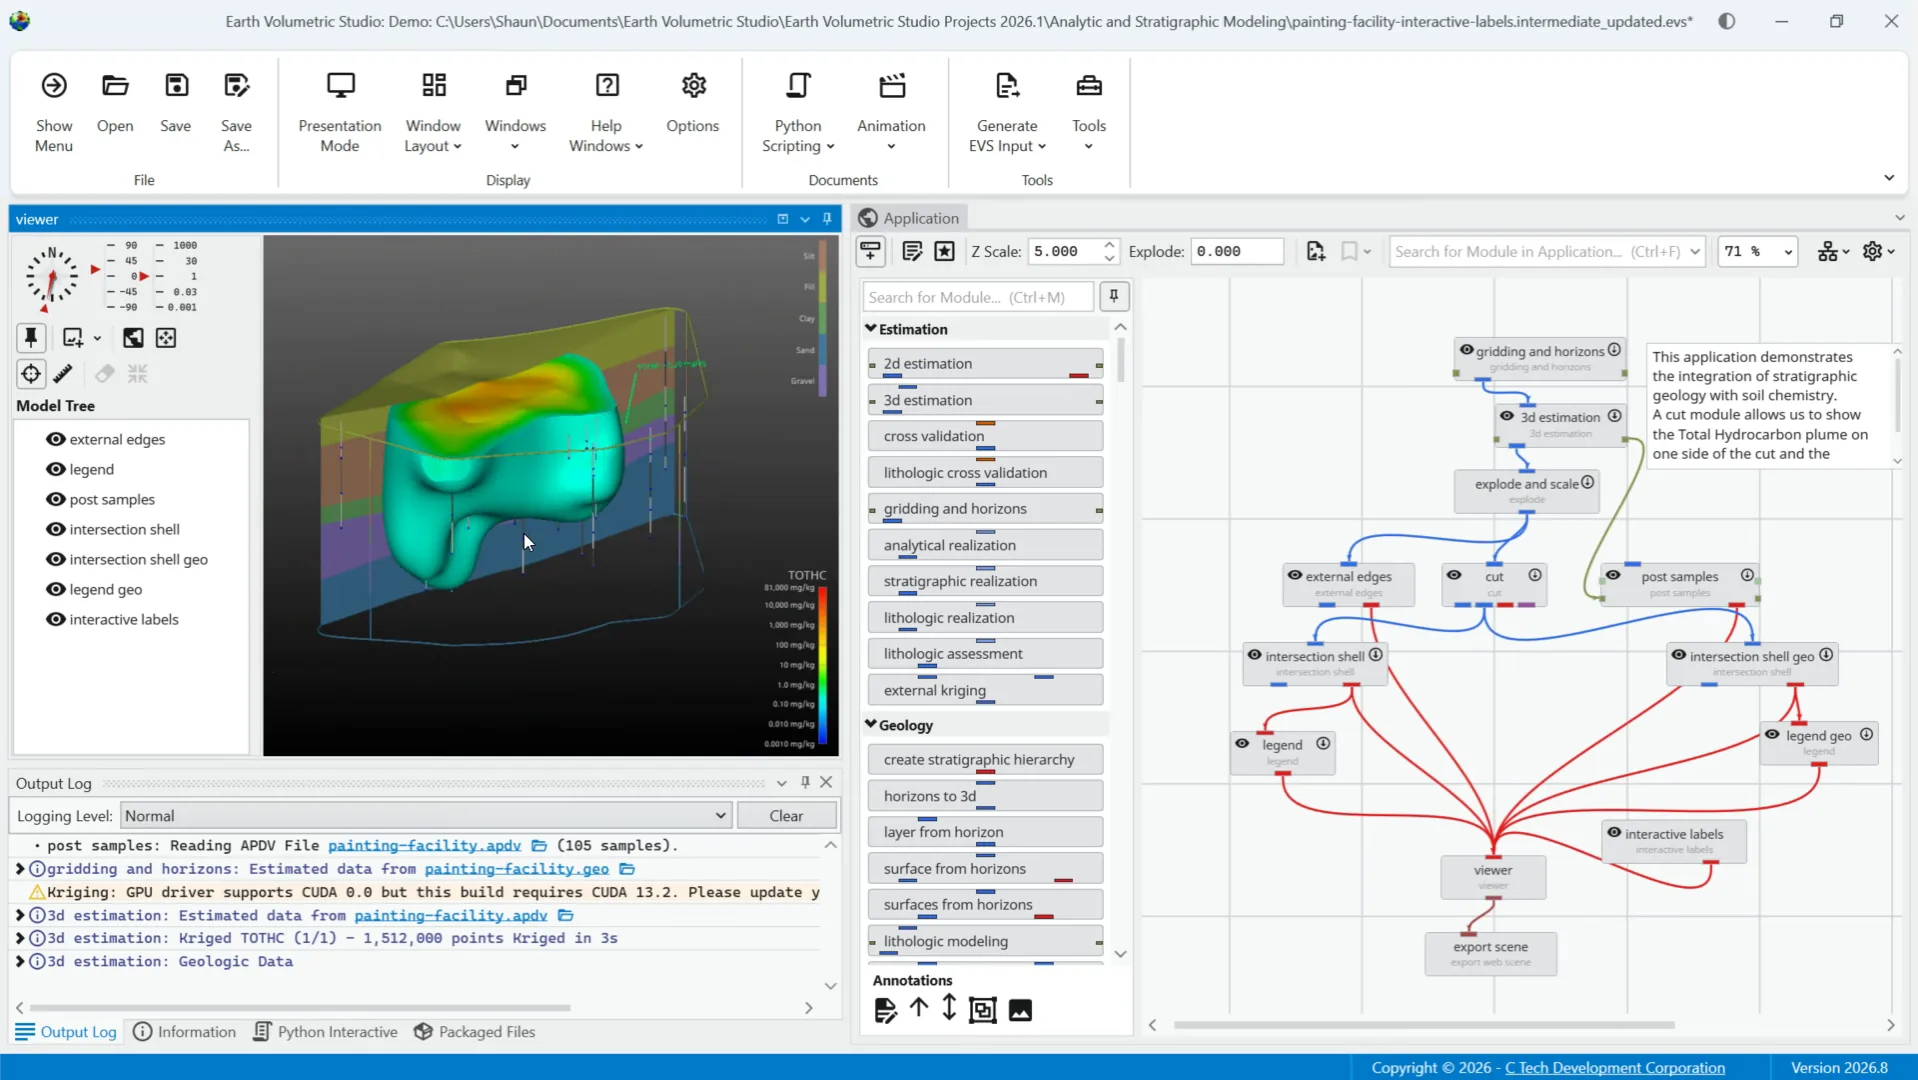
The viewer window includes a dedicated sidebar to the left that provides a variety of tools to manage the scene.
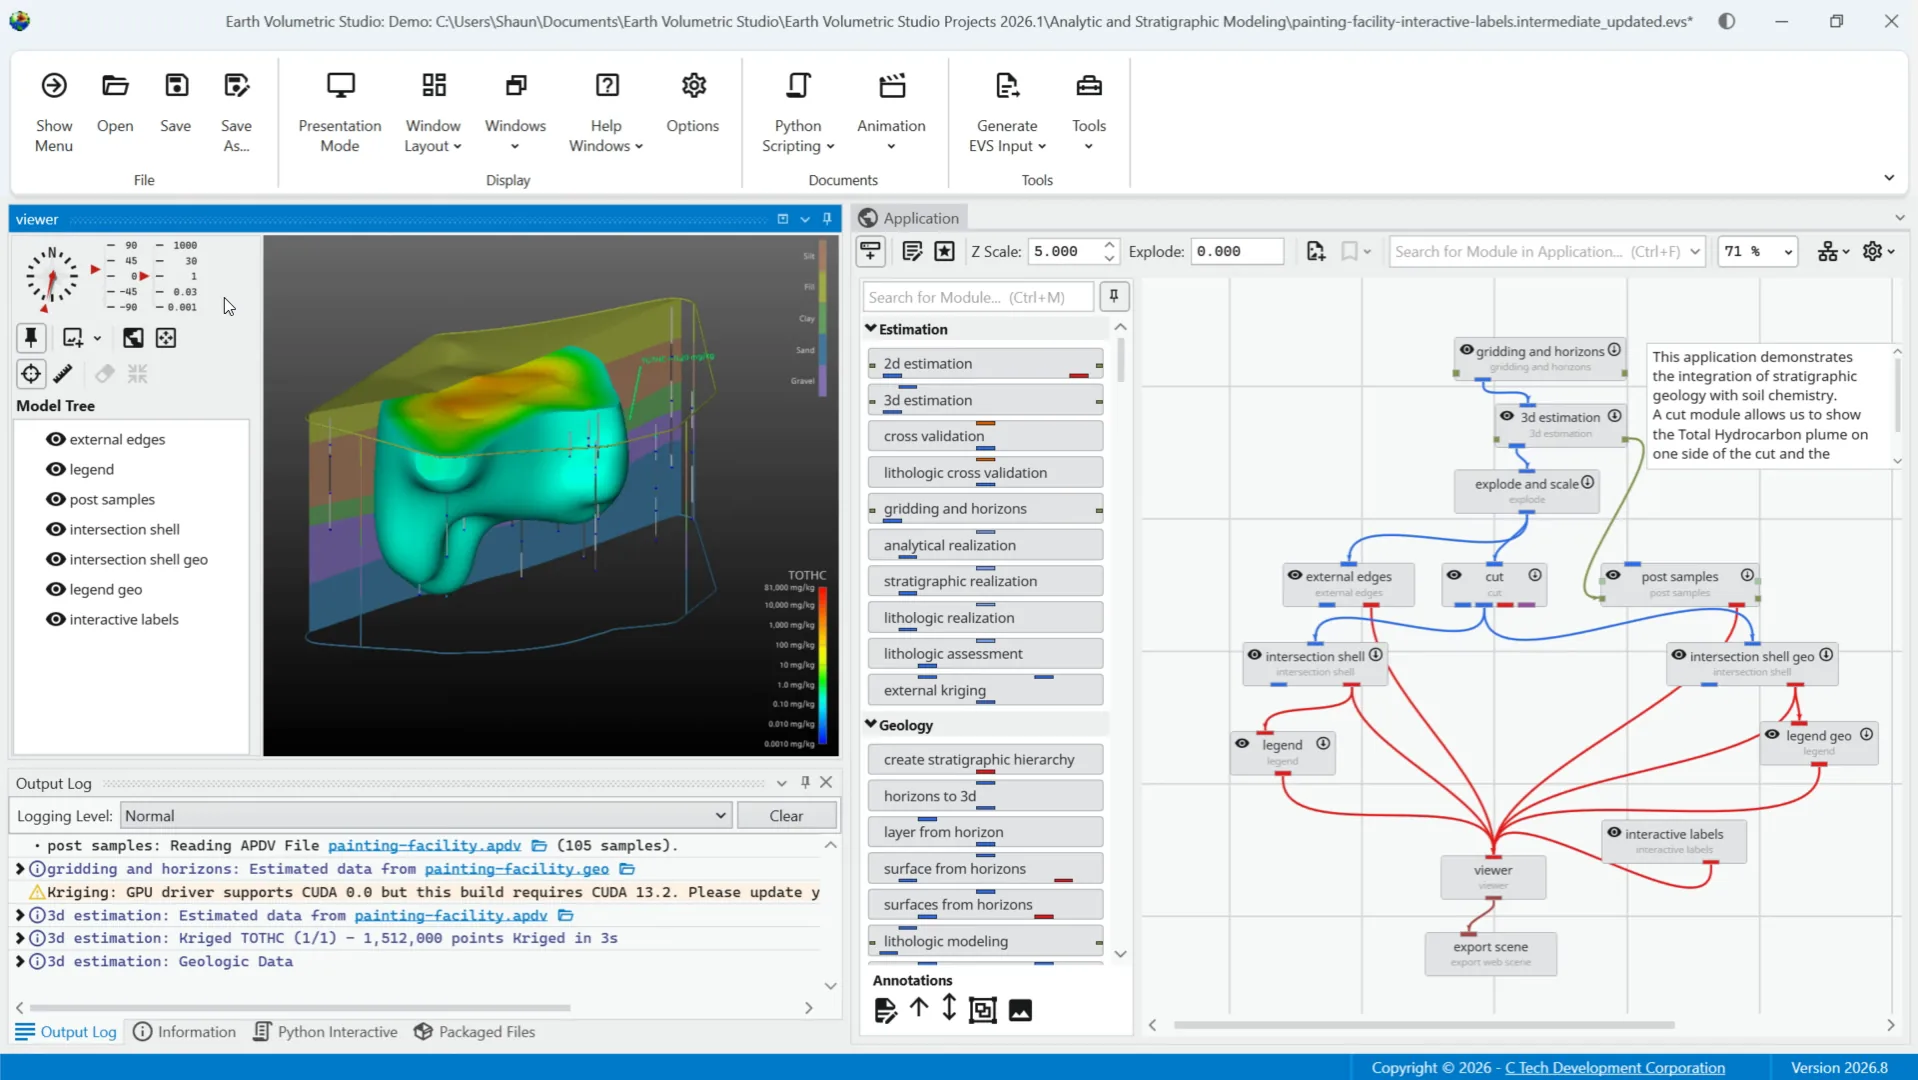
Expanding on the manual mouse movement controls, the view orientation controls allow you to set precise viewing angles through the azimuth and inclination slider.
Additional scene and view controls provide quick access to common scene management functions.
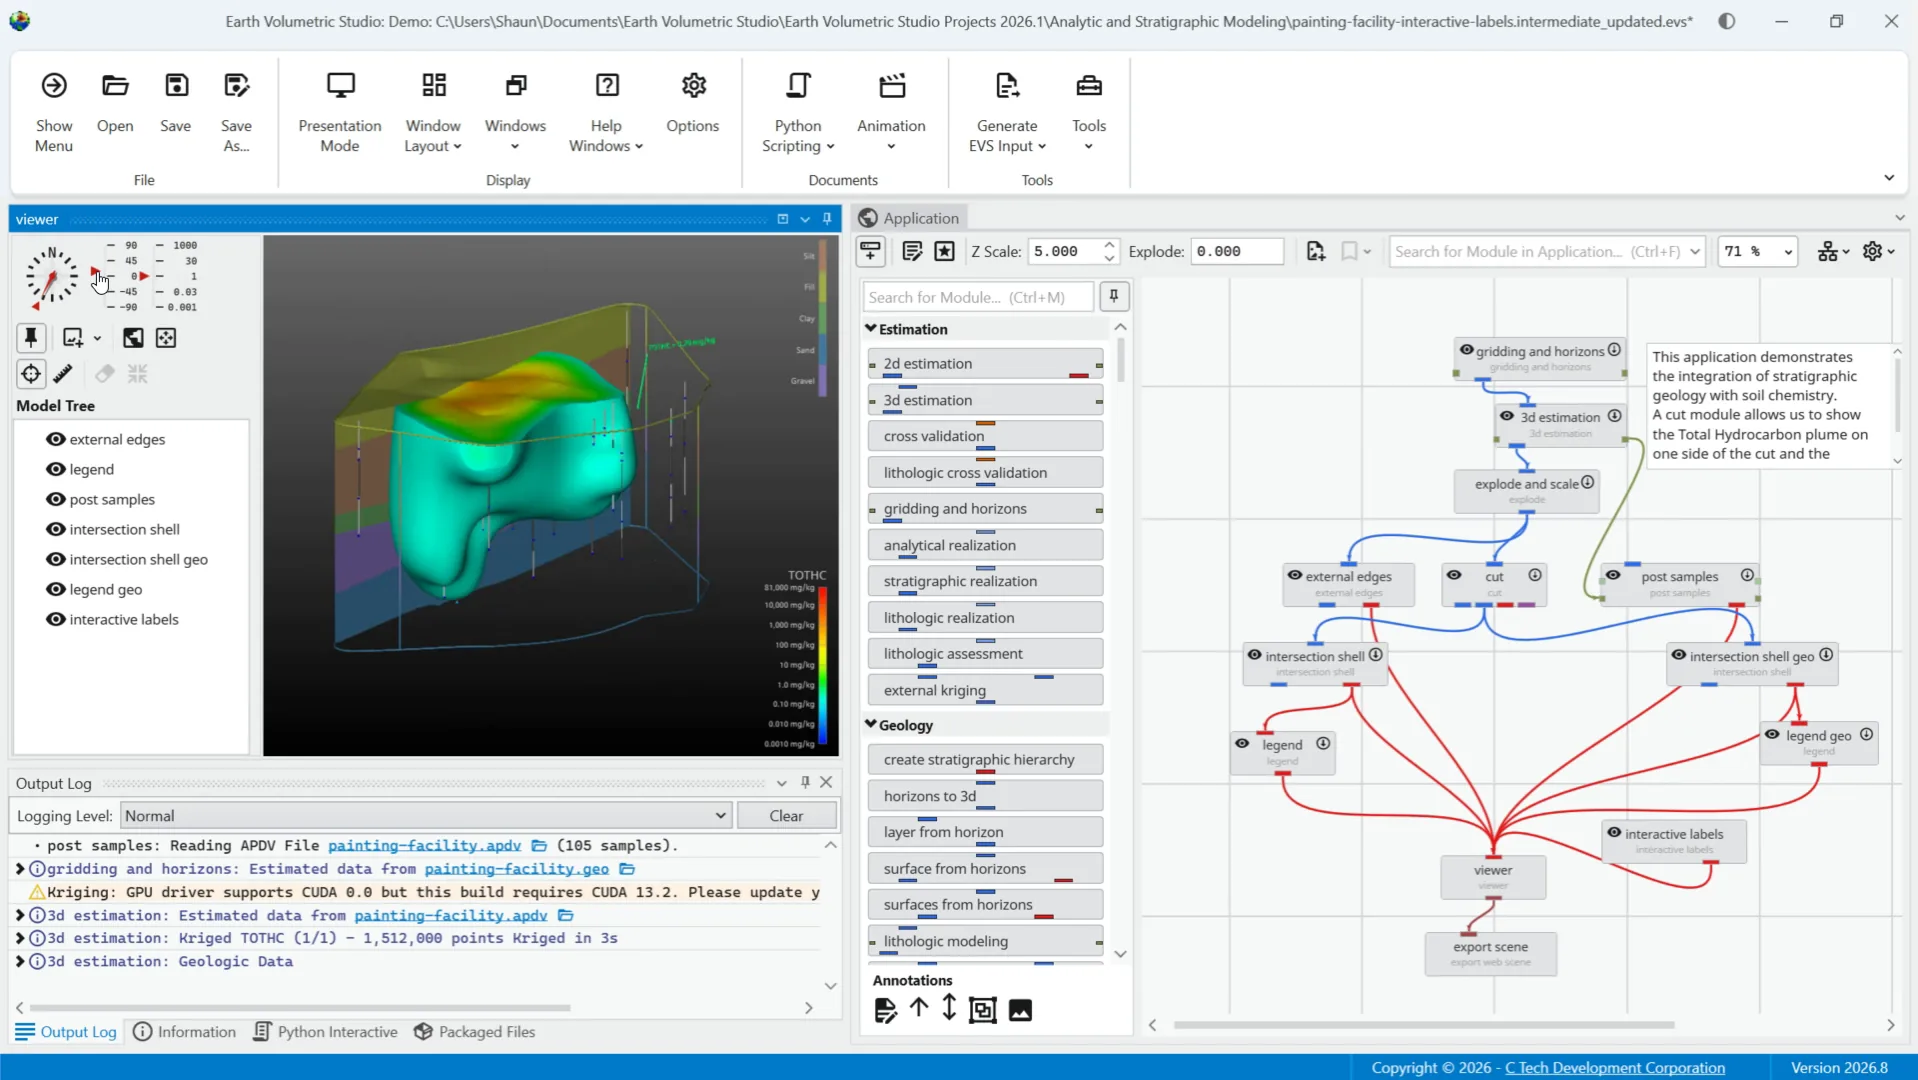
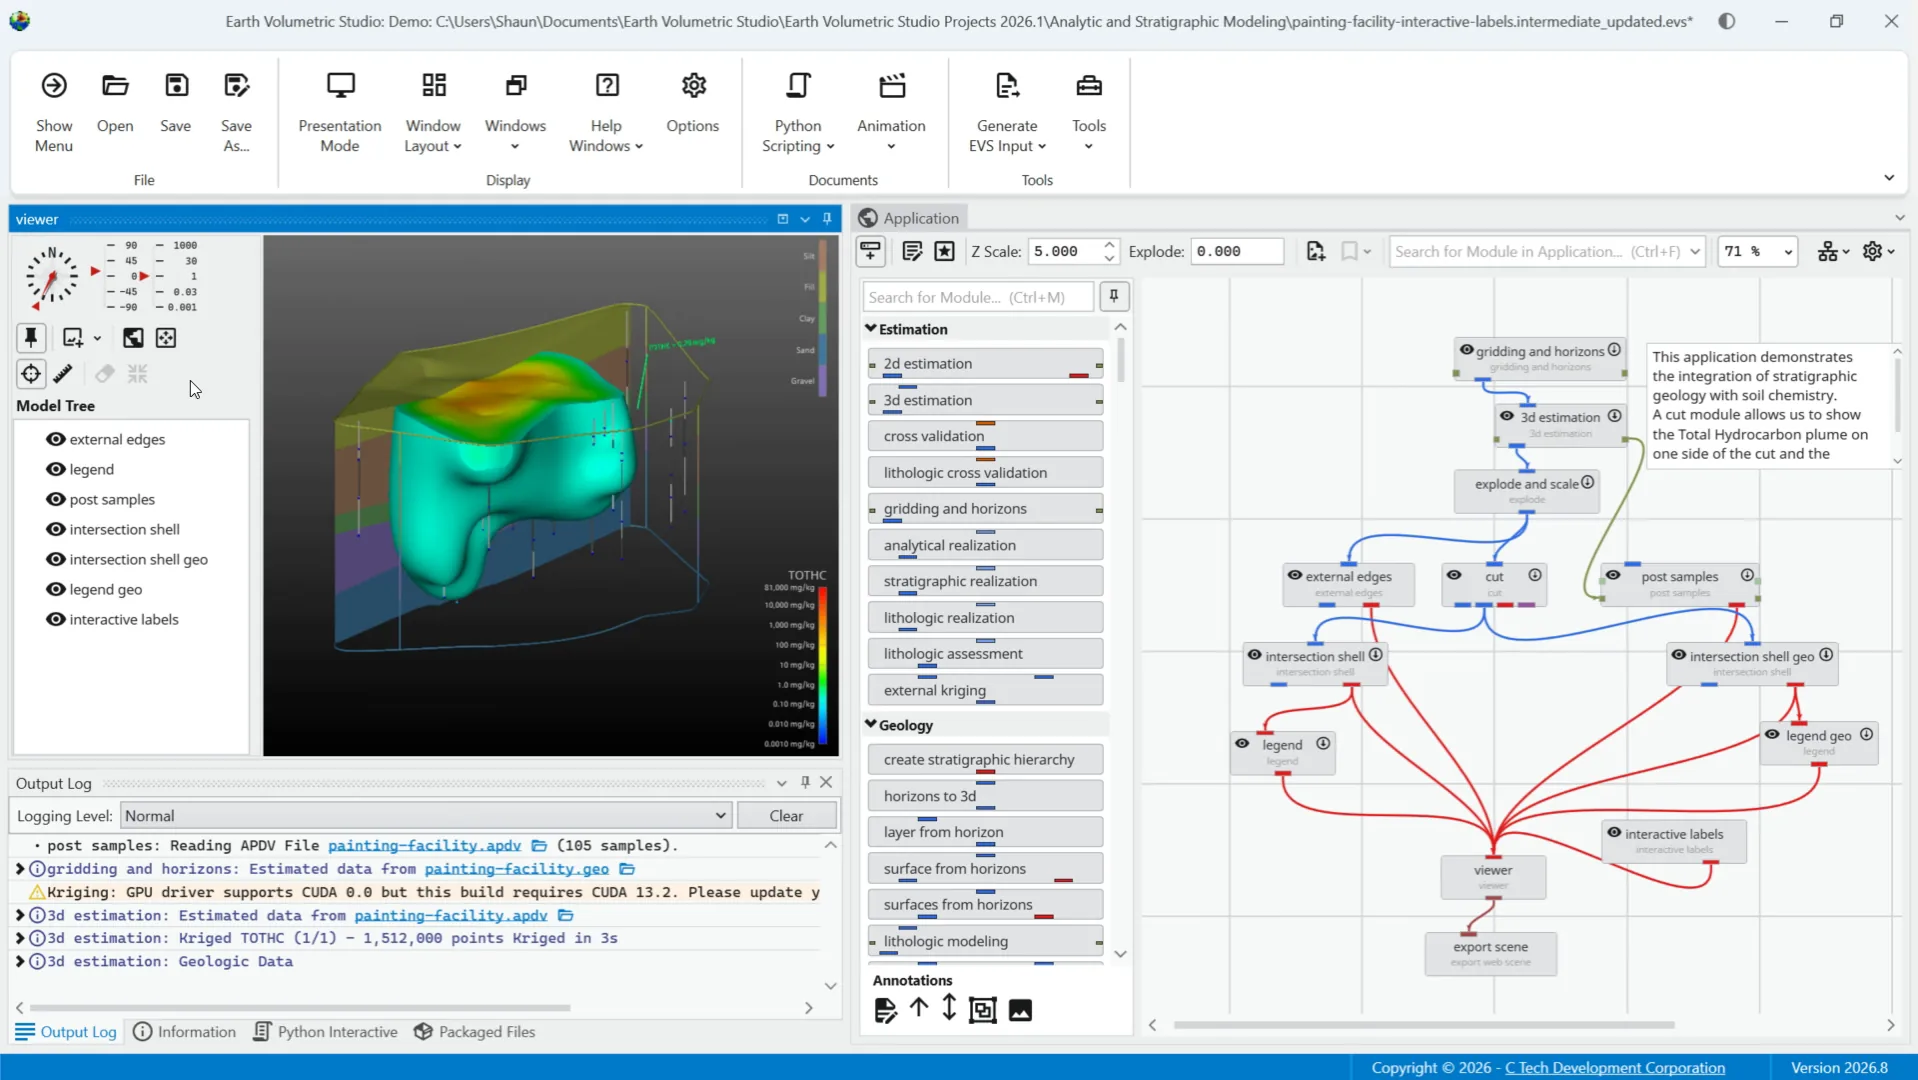
Starting with the Pin Panel Open tool, you can pin the contents panel to keep it docked by default or click the icon to auto hide the panel.
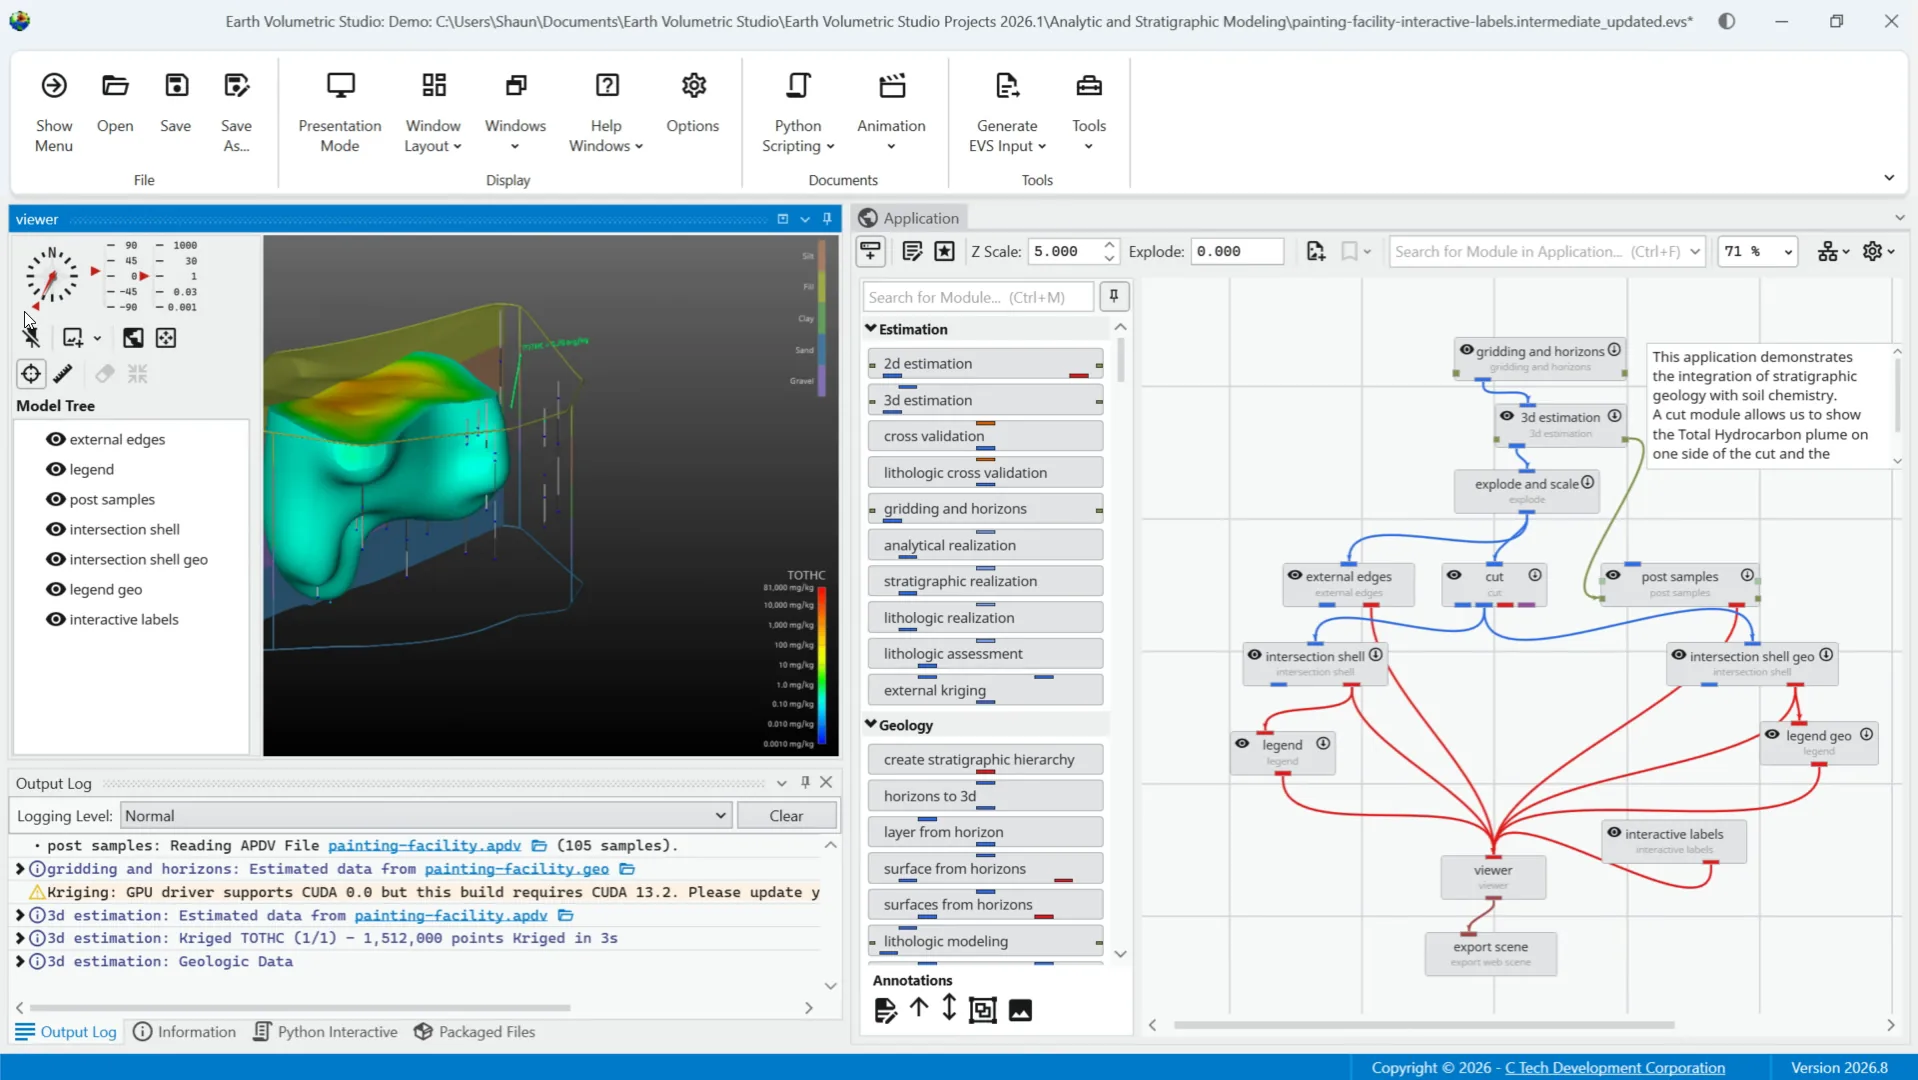
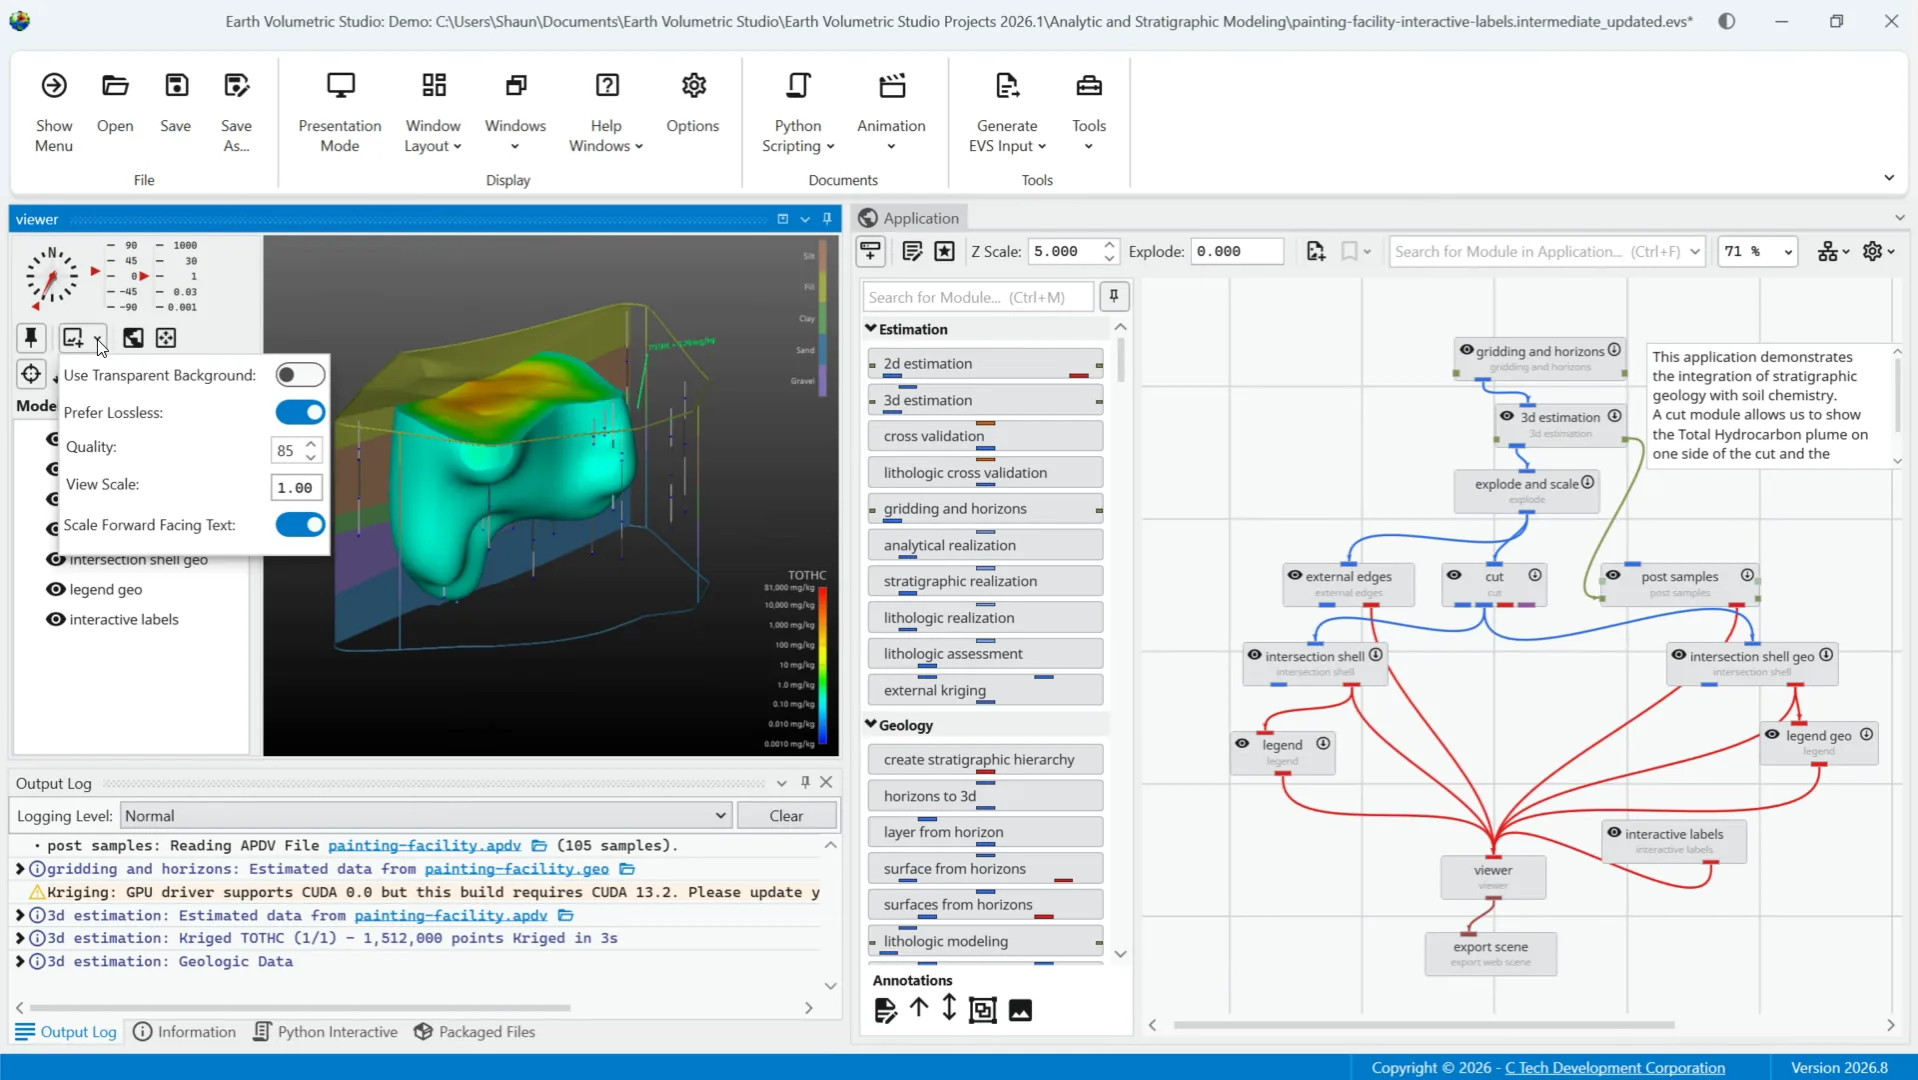
The save viewer snapshot tool allows you to save the current contents of the viewer to an image file. Clicking the main button saves with the last used settings.
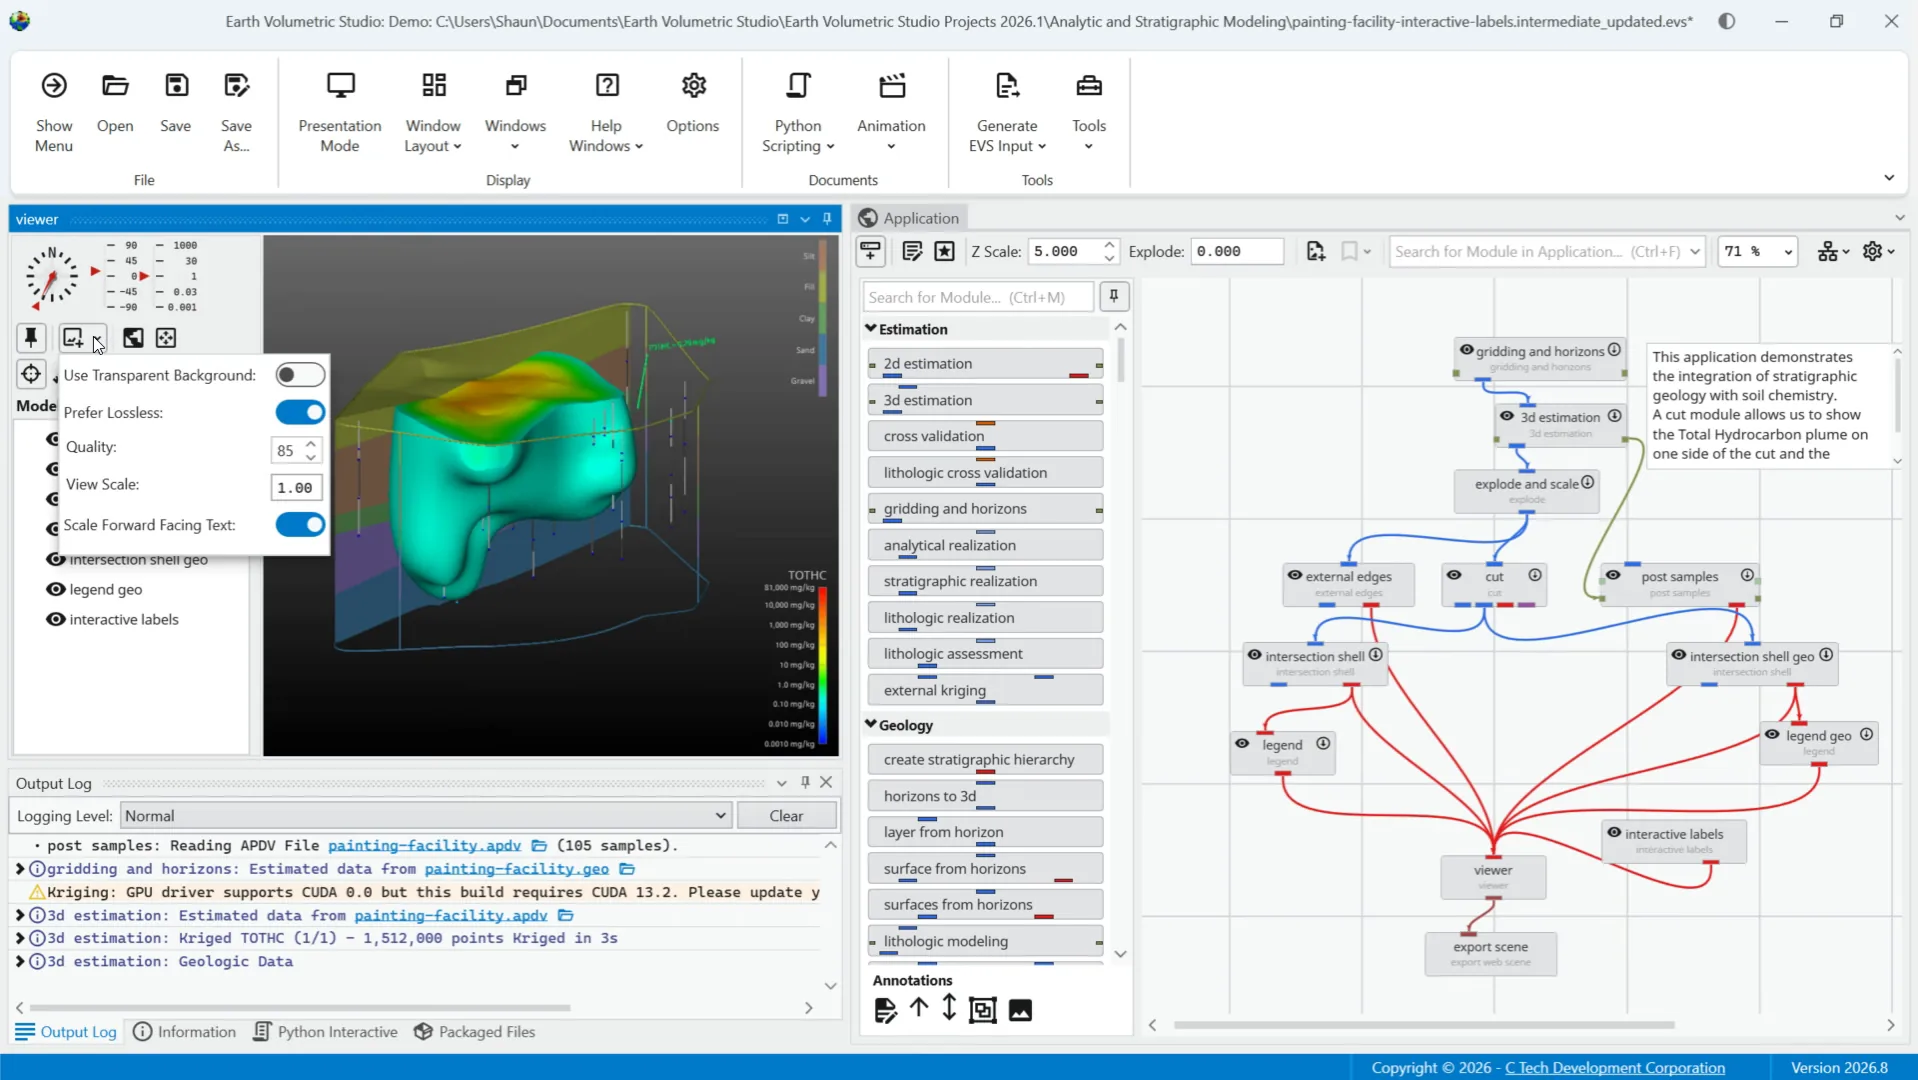
The drop-down offers more output options. Use transparent background can be enabled to make the saved image background transparent. Prefer lossless saves the file in formats like PNG. Quality sets compression for lossy formats. View Scale multiplies output resolution, and scale forward facing ensures text scales correctly with the view.
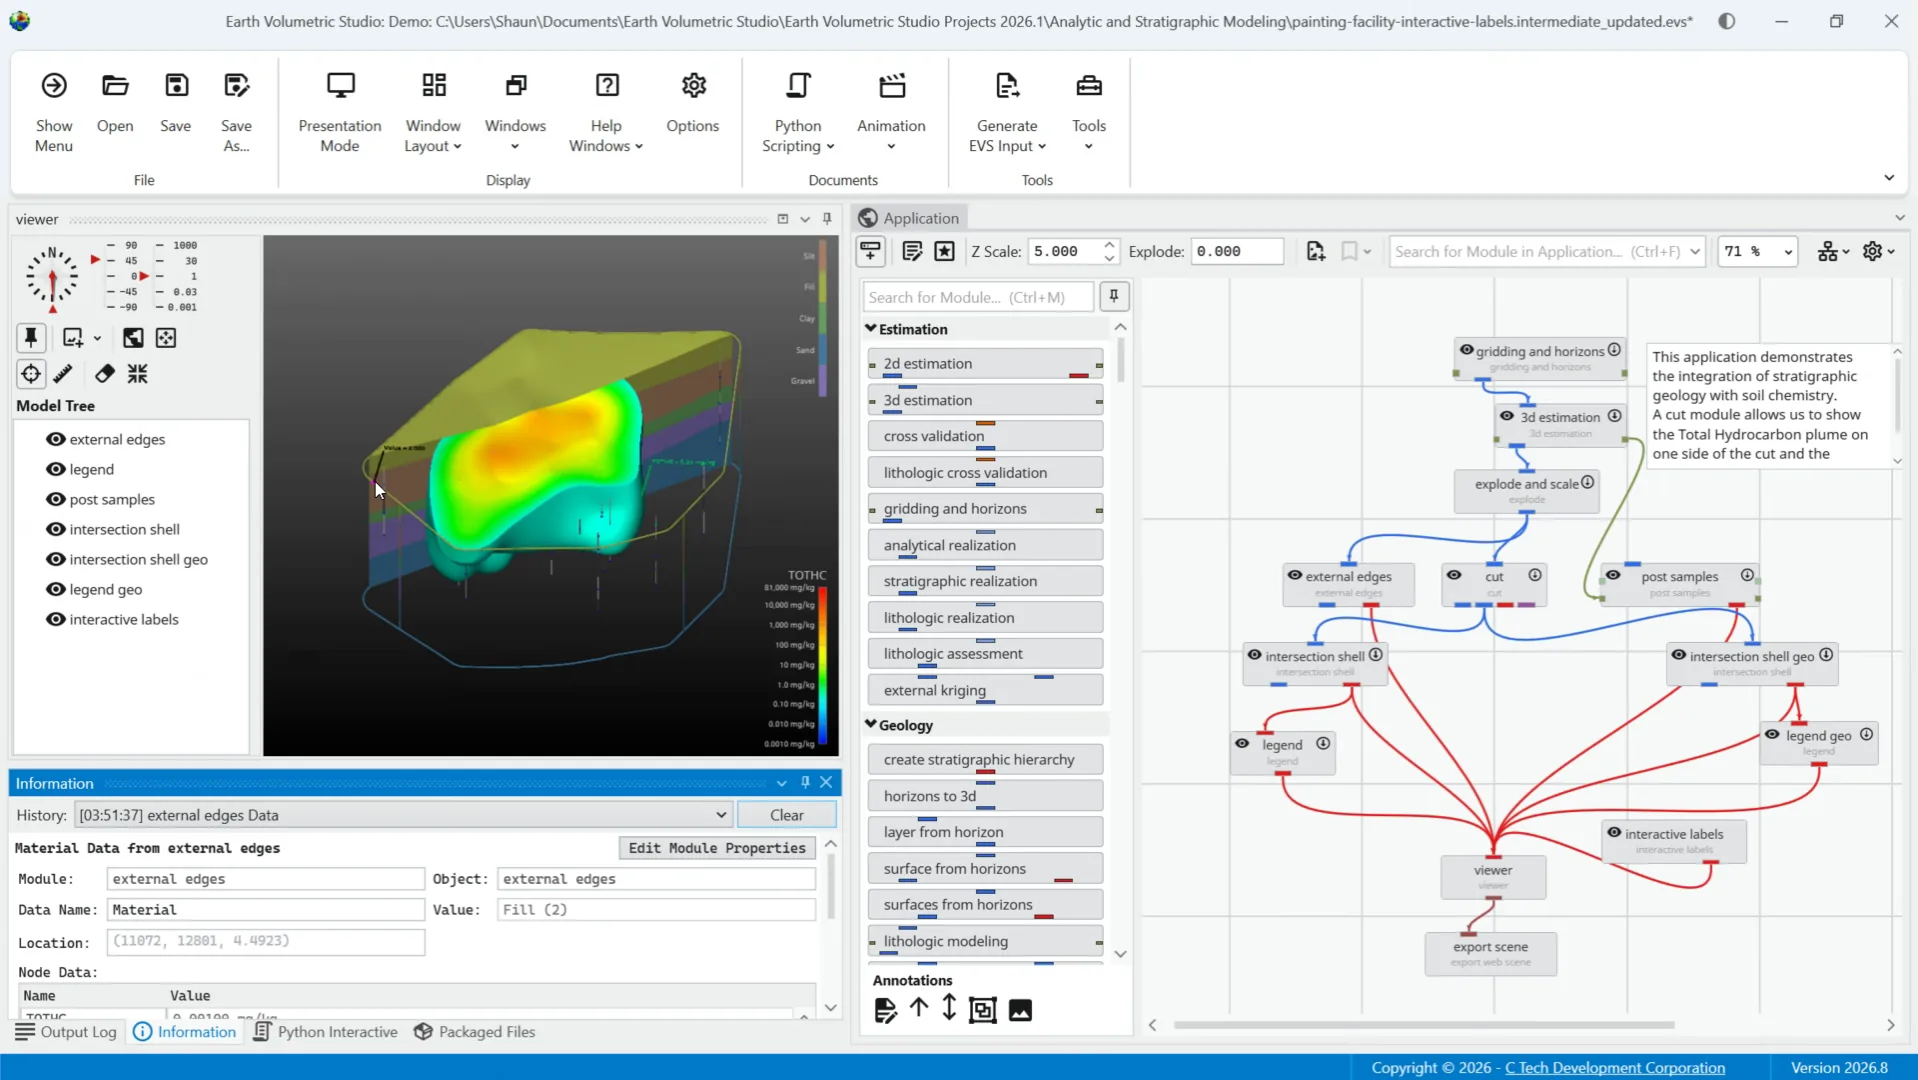
The Set to Top View and Zoom to Fit options are additional accessible quick views. There is also a probe tool that lets you double click a point or enter coordinates to get information on that data point.
Within the Probe Tool, you can center on a picked point, allowing you to zoom in and out while keeping it in frame.
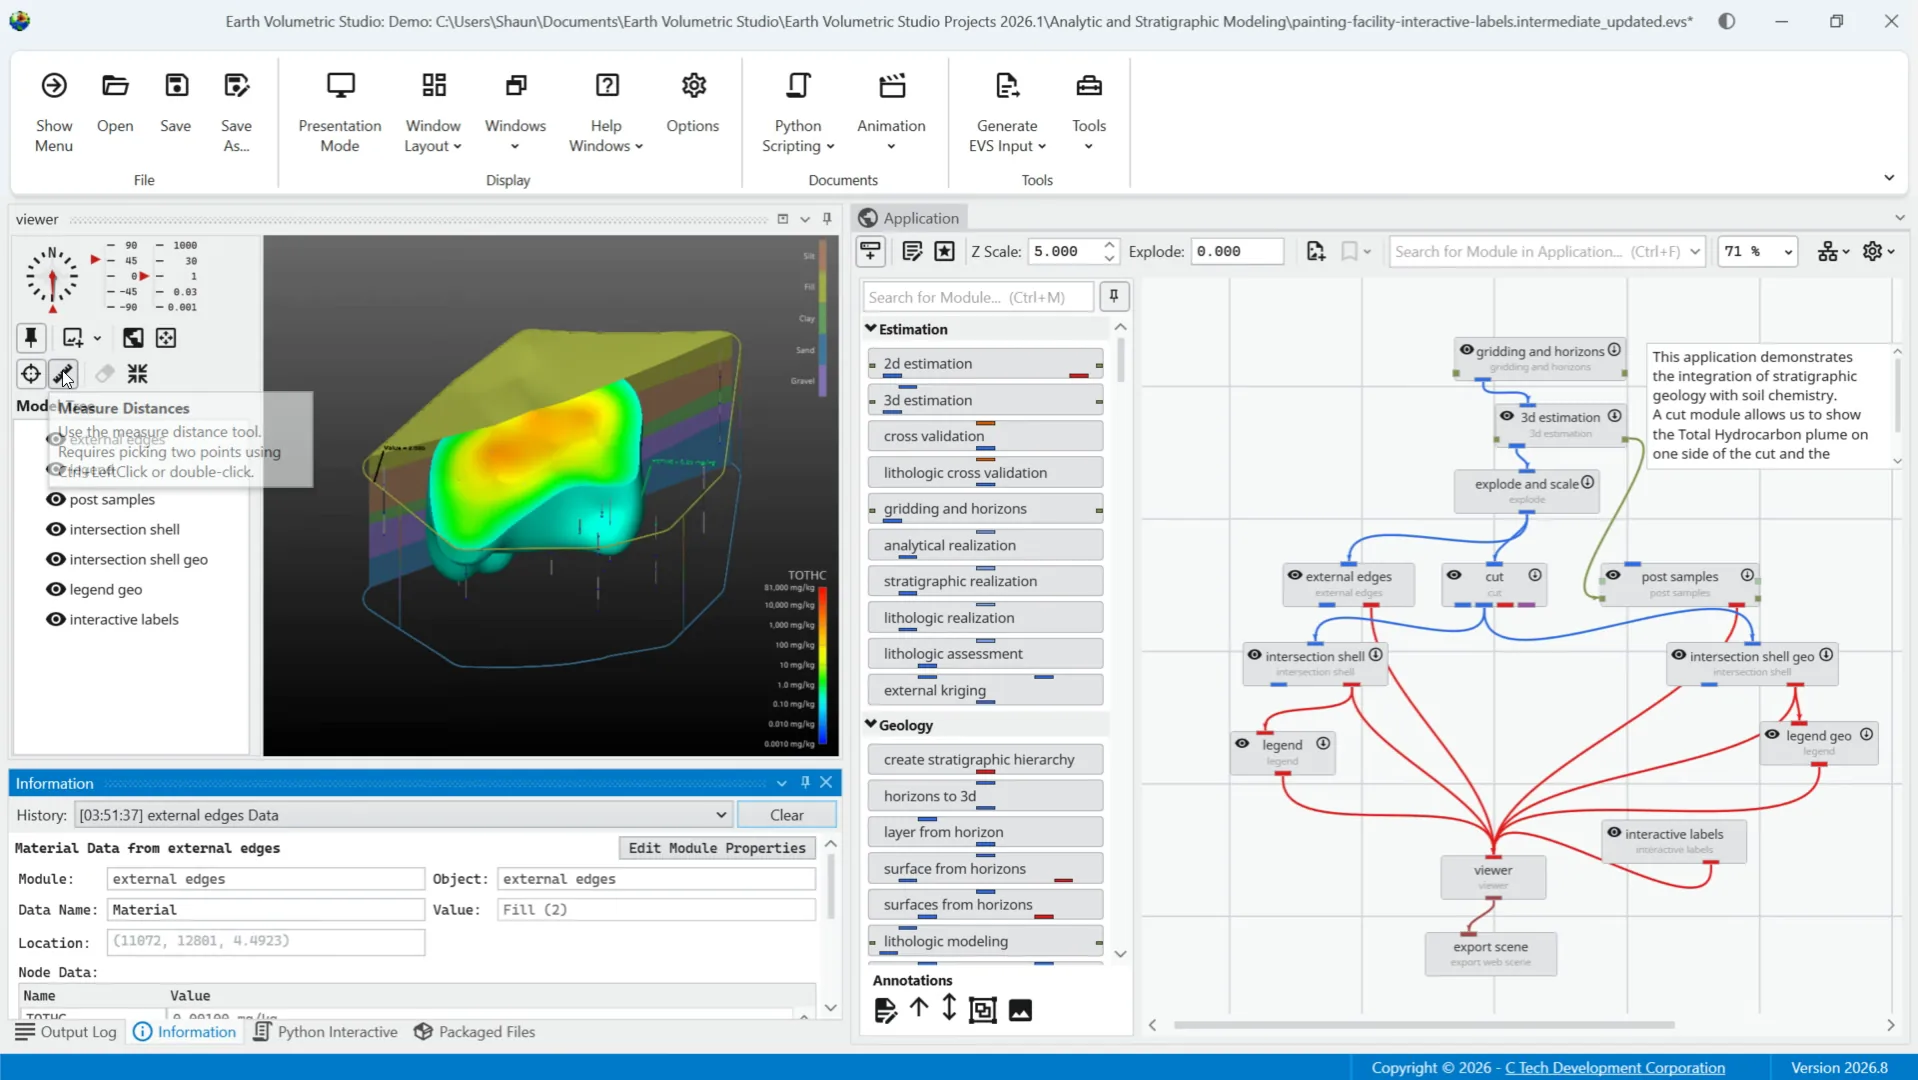
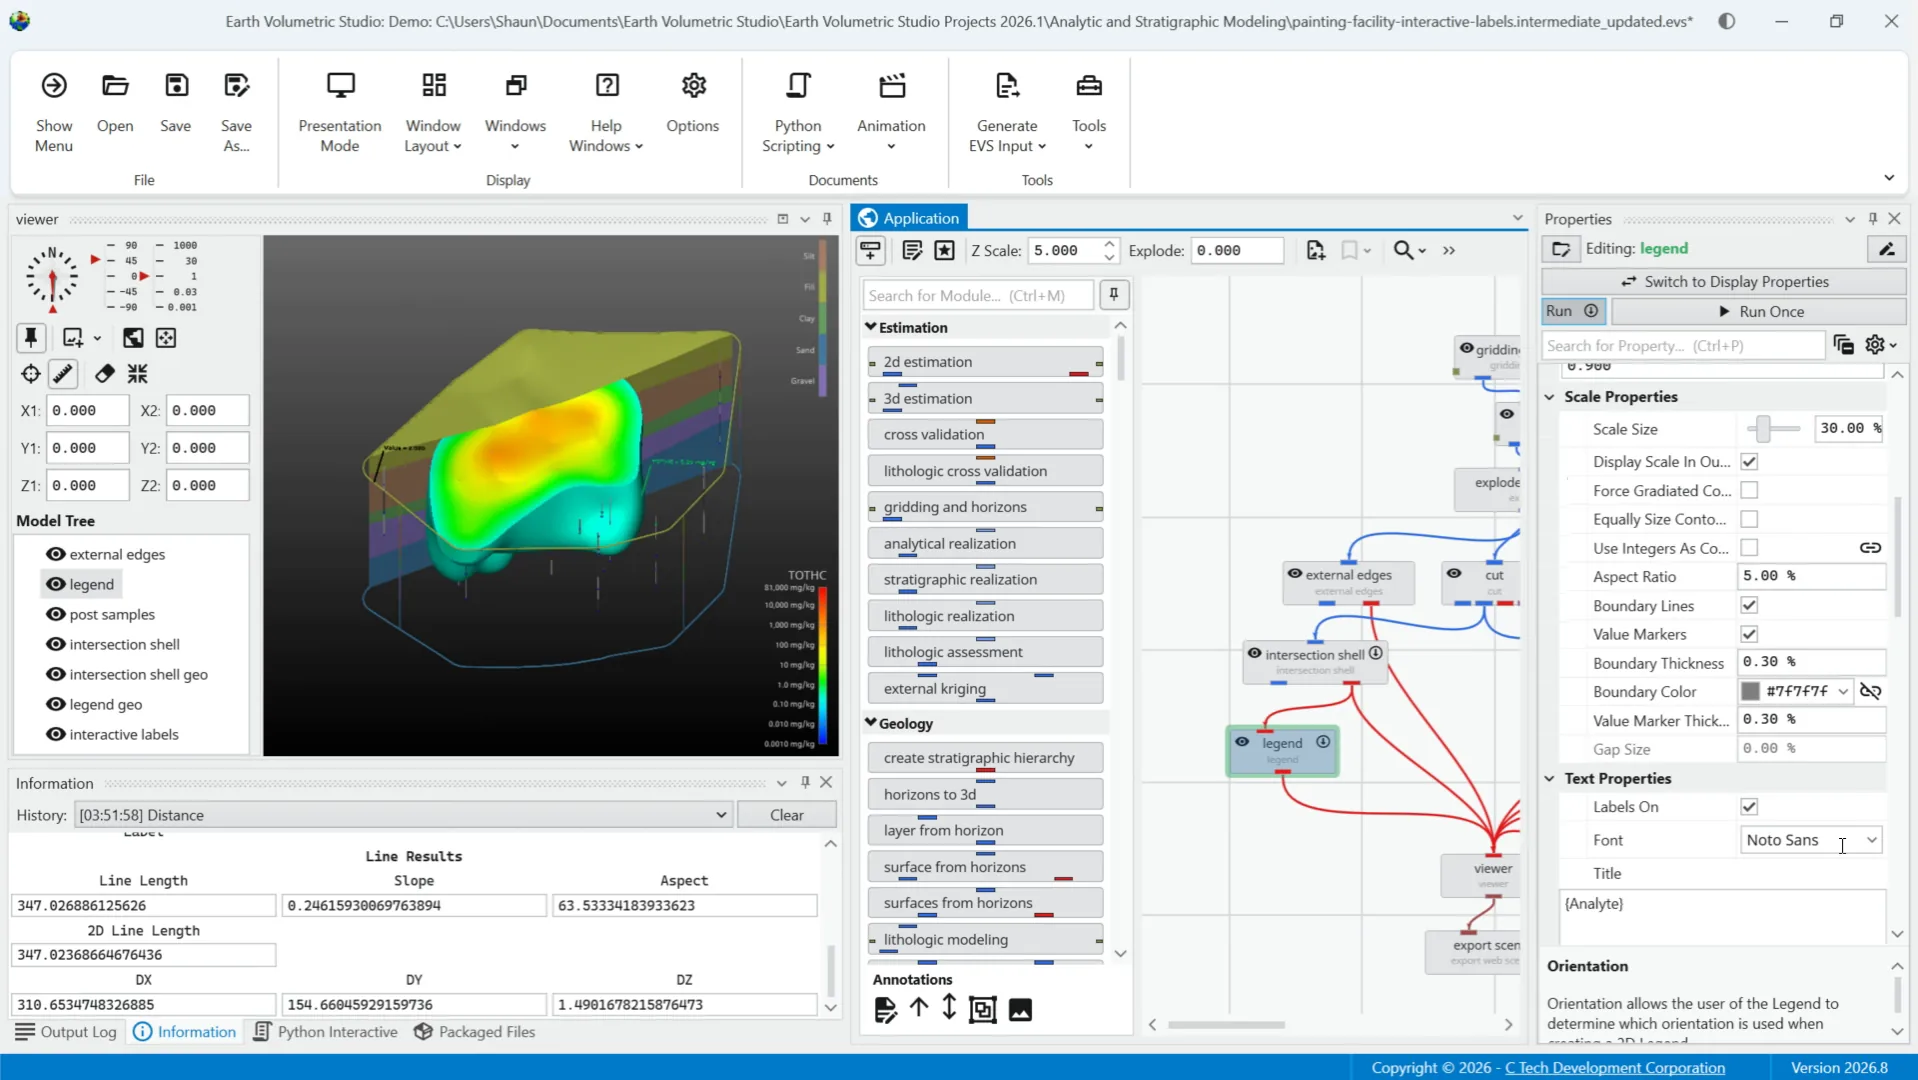
Another useful feature is the Measure Distance tool. For this example, we'll simply control left click on one side of the plume and again on the other side to measure the distance. Notice the distance information for the drawn line below.
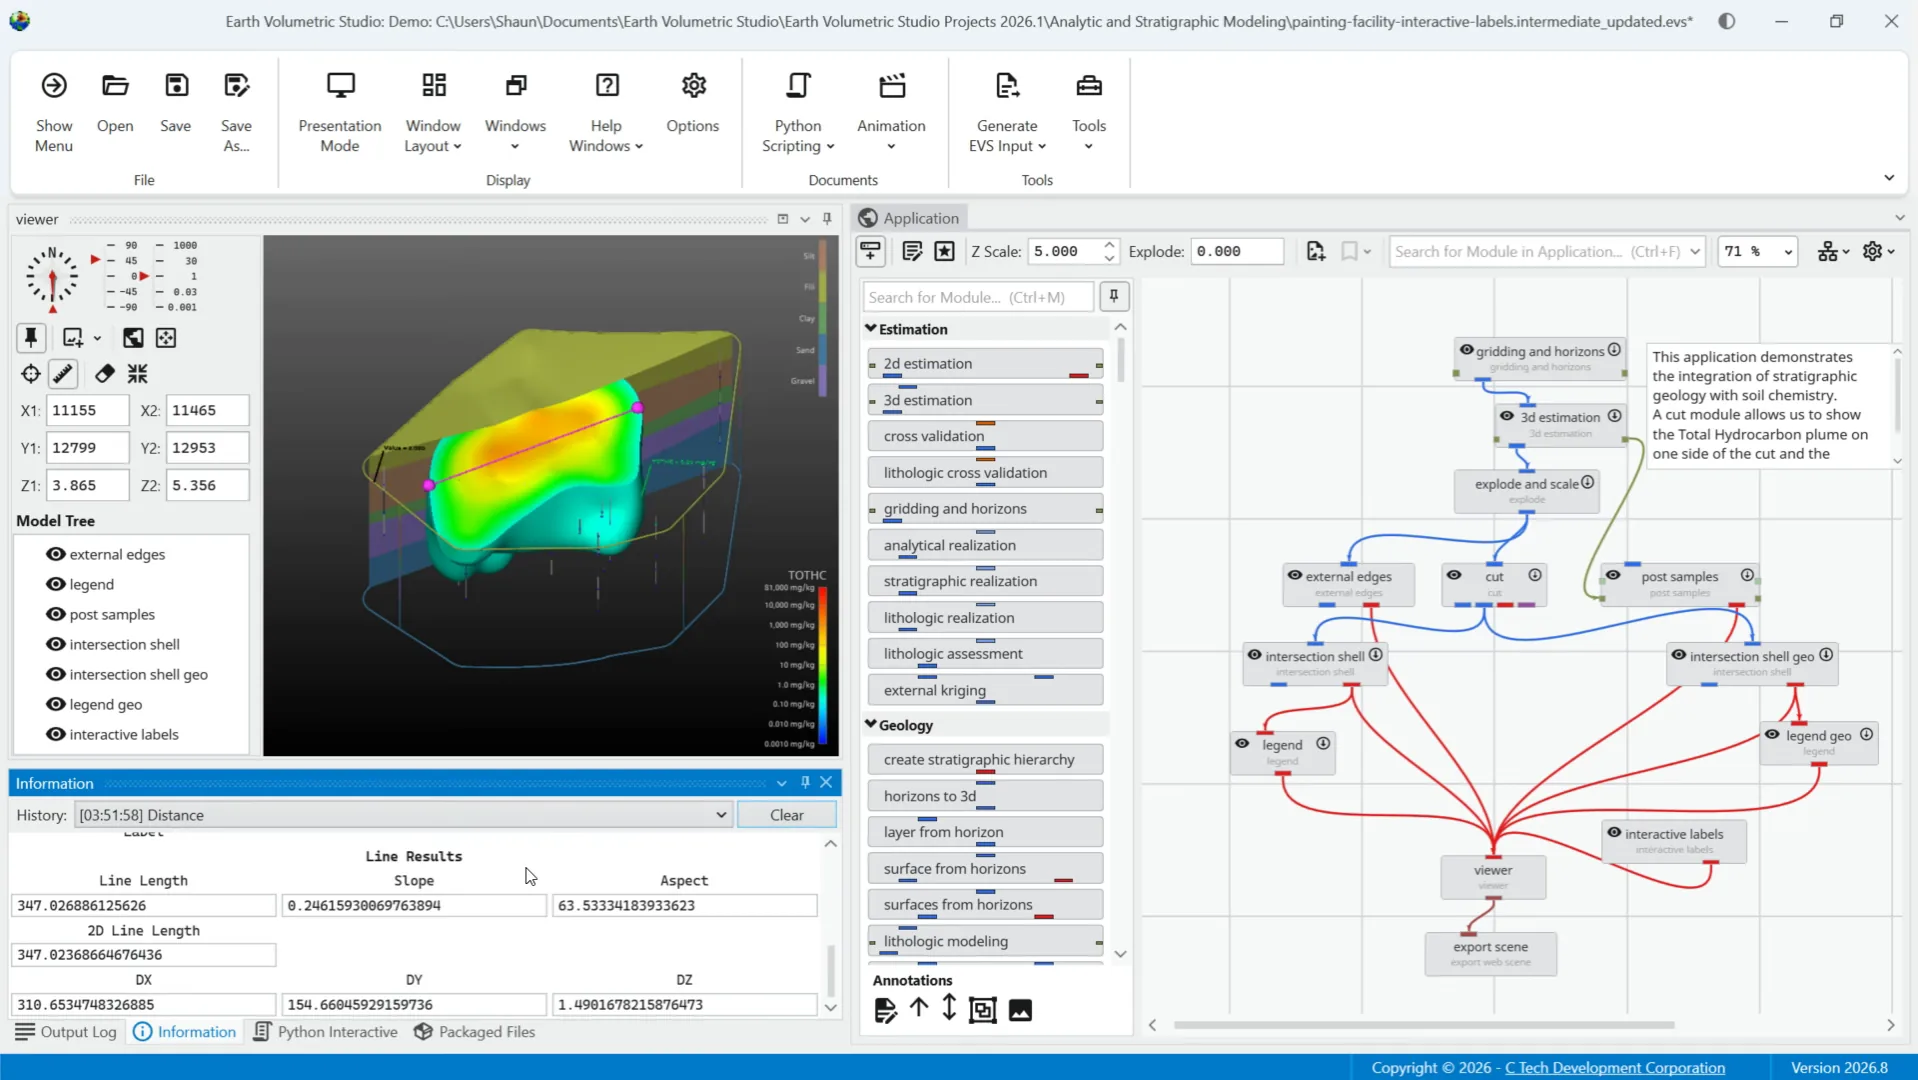
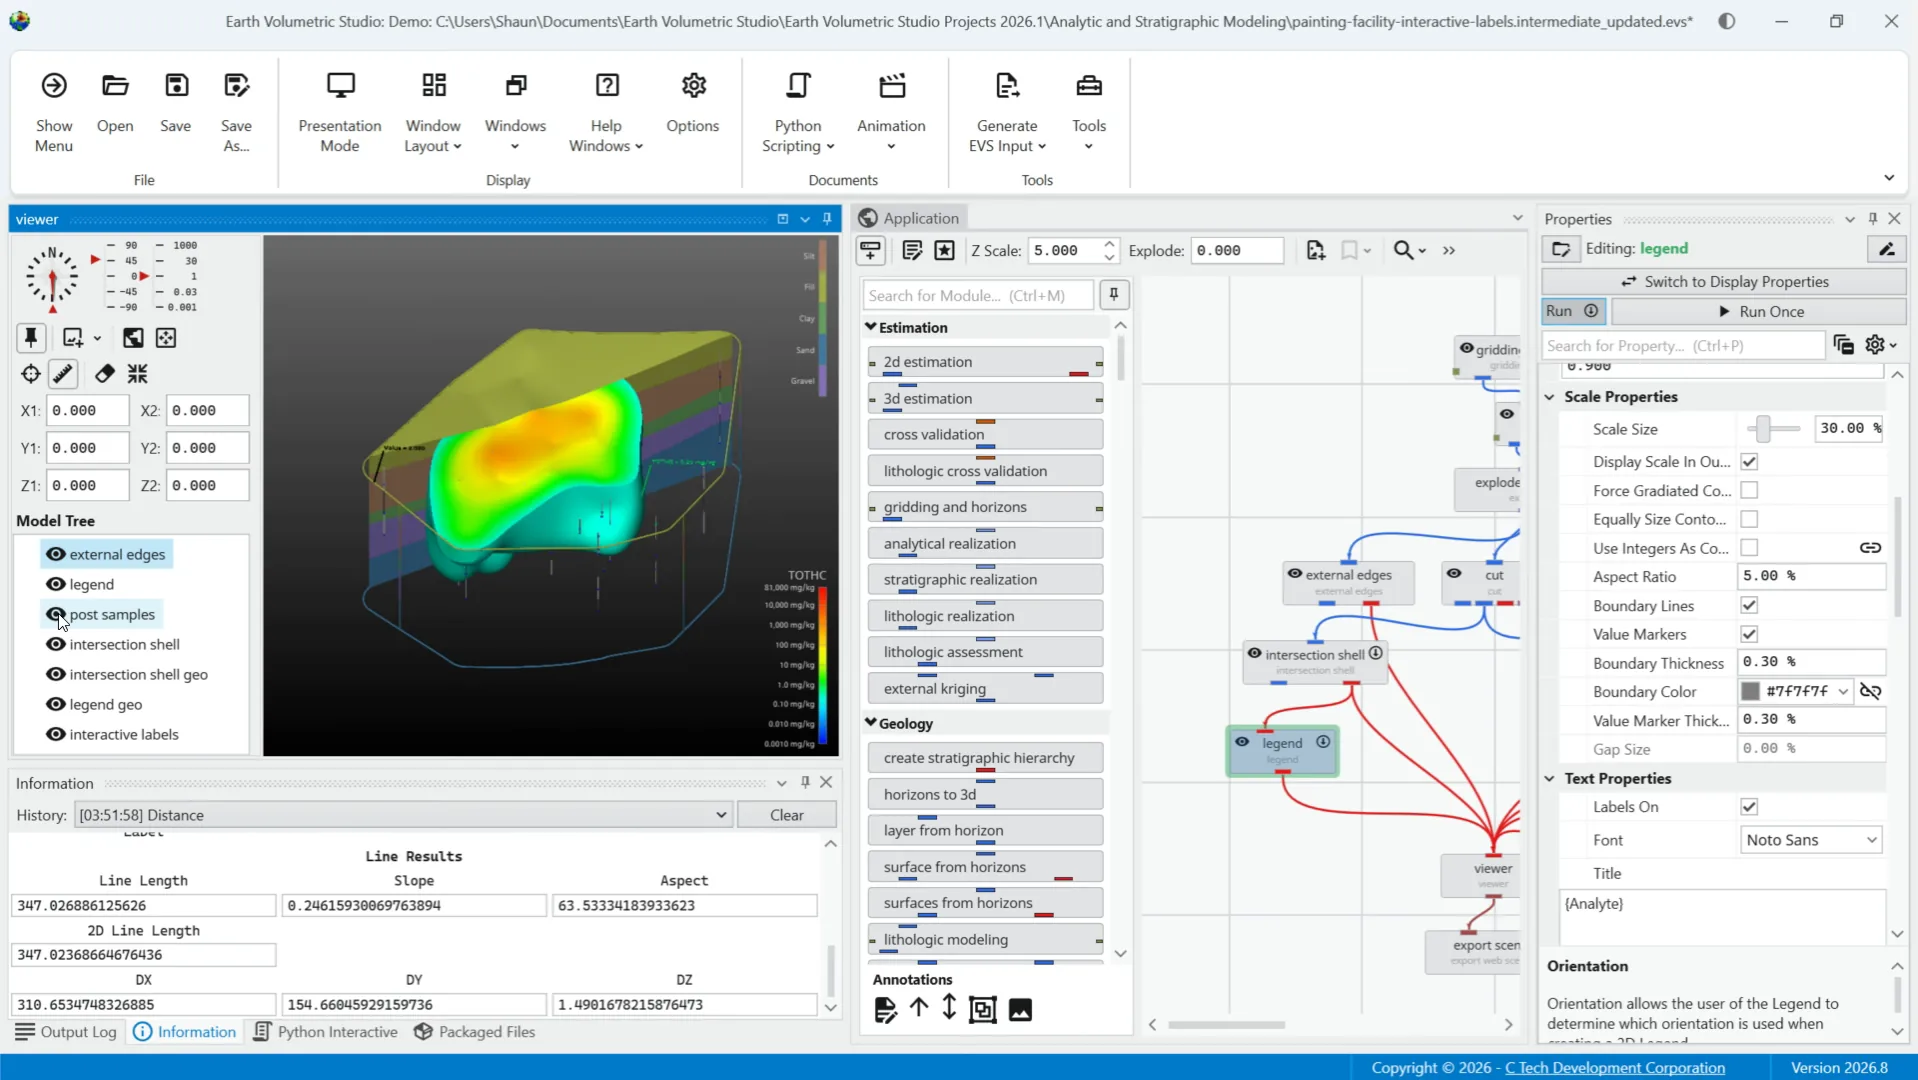
Next, the model tree shows objects displayed in the visualization. Double clicking an object highlights its module in the application window. Double clicking that module will make the properties window visible again with settings for that particular module.
Returning to the model tree, you can click the eye icon on any layer. This allows you to toggle the visibility of objects in the model.
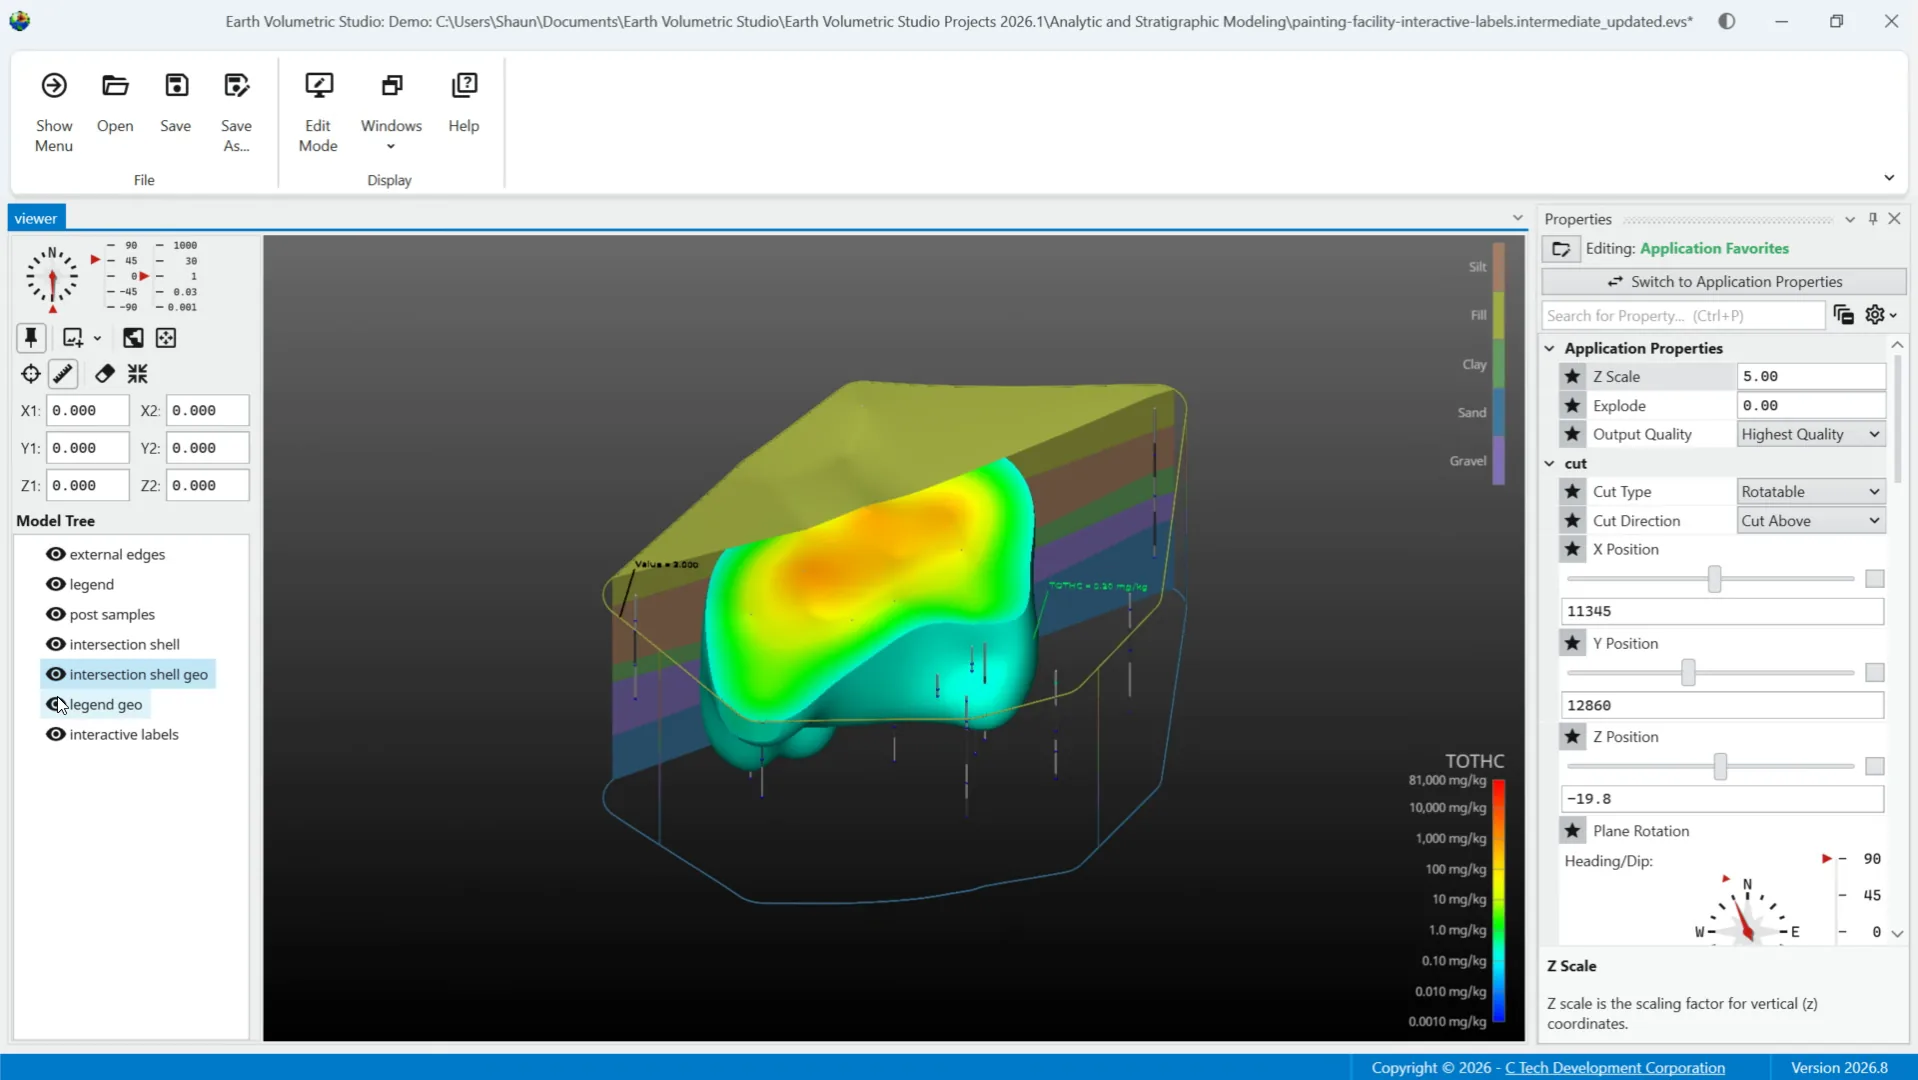
You can also view the model tree in presentation mode from the main toolbar to present a cleaner visualization as you view or hide relevant objects.
That is an overview of the viewer window in the EVS environment. Thank you for watching.
This tutorial provided a comprehensive overview of the Earth Volumetric Studio Viewer Window, covering visualization, controls, snapshot saving, and model management. You can now confidently explore, analyze, and present 3D models using the viewer window tools.
Introduction
This tutorial introduces the Earth Volumetric Studio Viewer Window. You will learn how to navigate and utilize its features to effectively analyze and present your 3D models.
1Overview
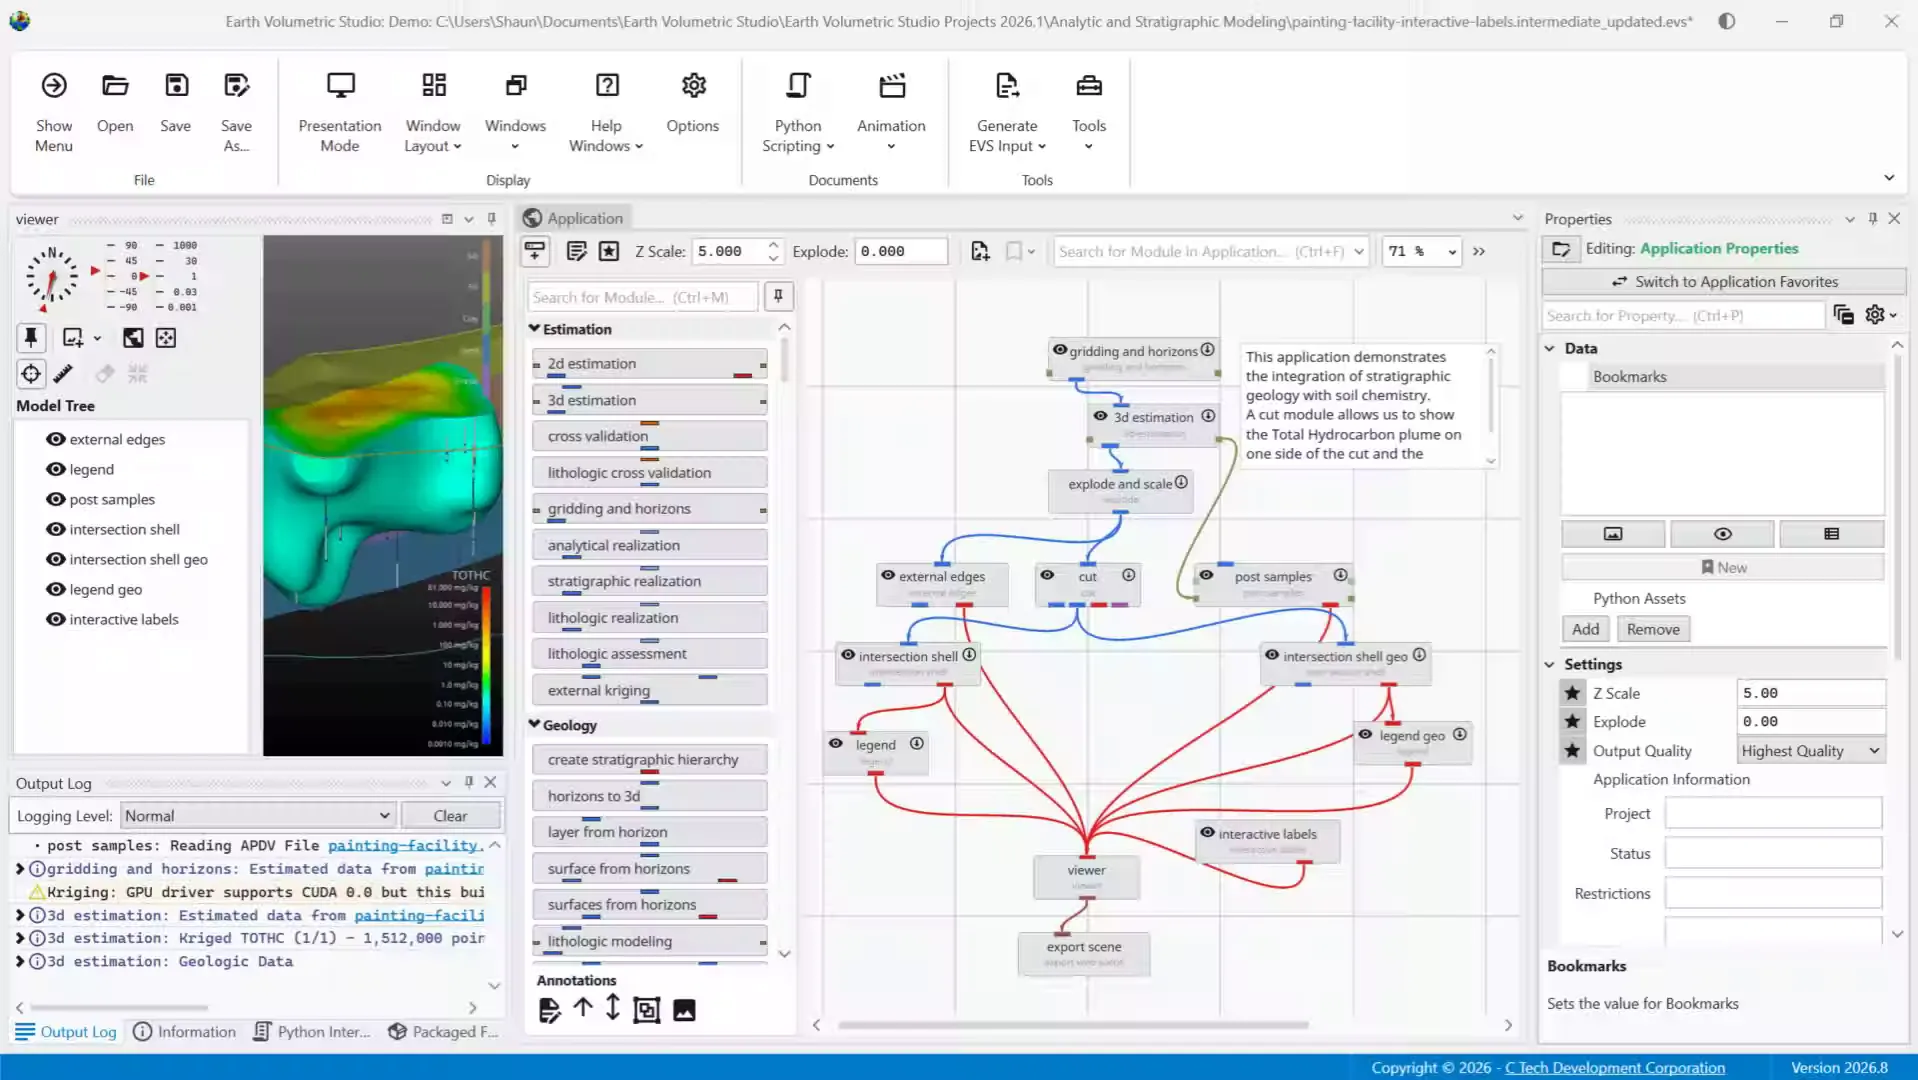
We will be looking at ways to best use EVS's Viewer Window as your primary means of sharing visualizations.
2Exploring the Viewer Window
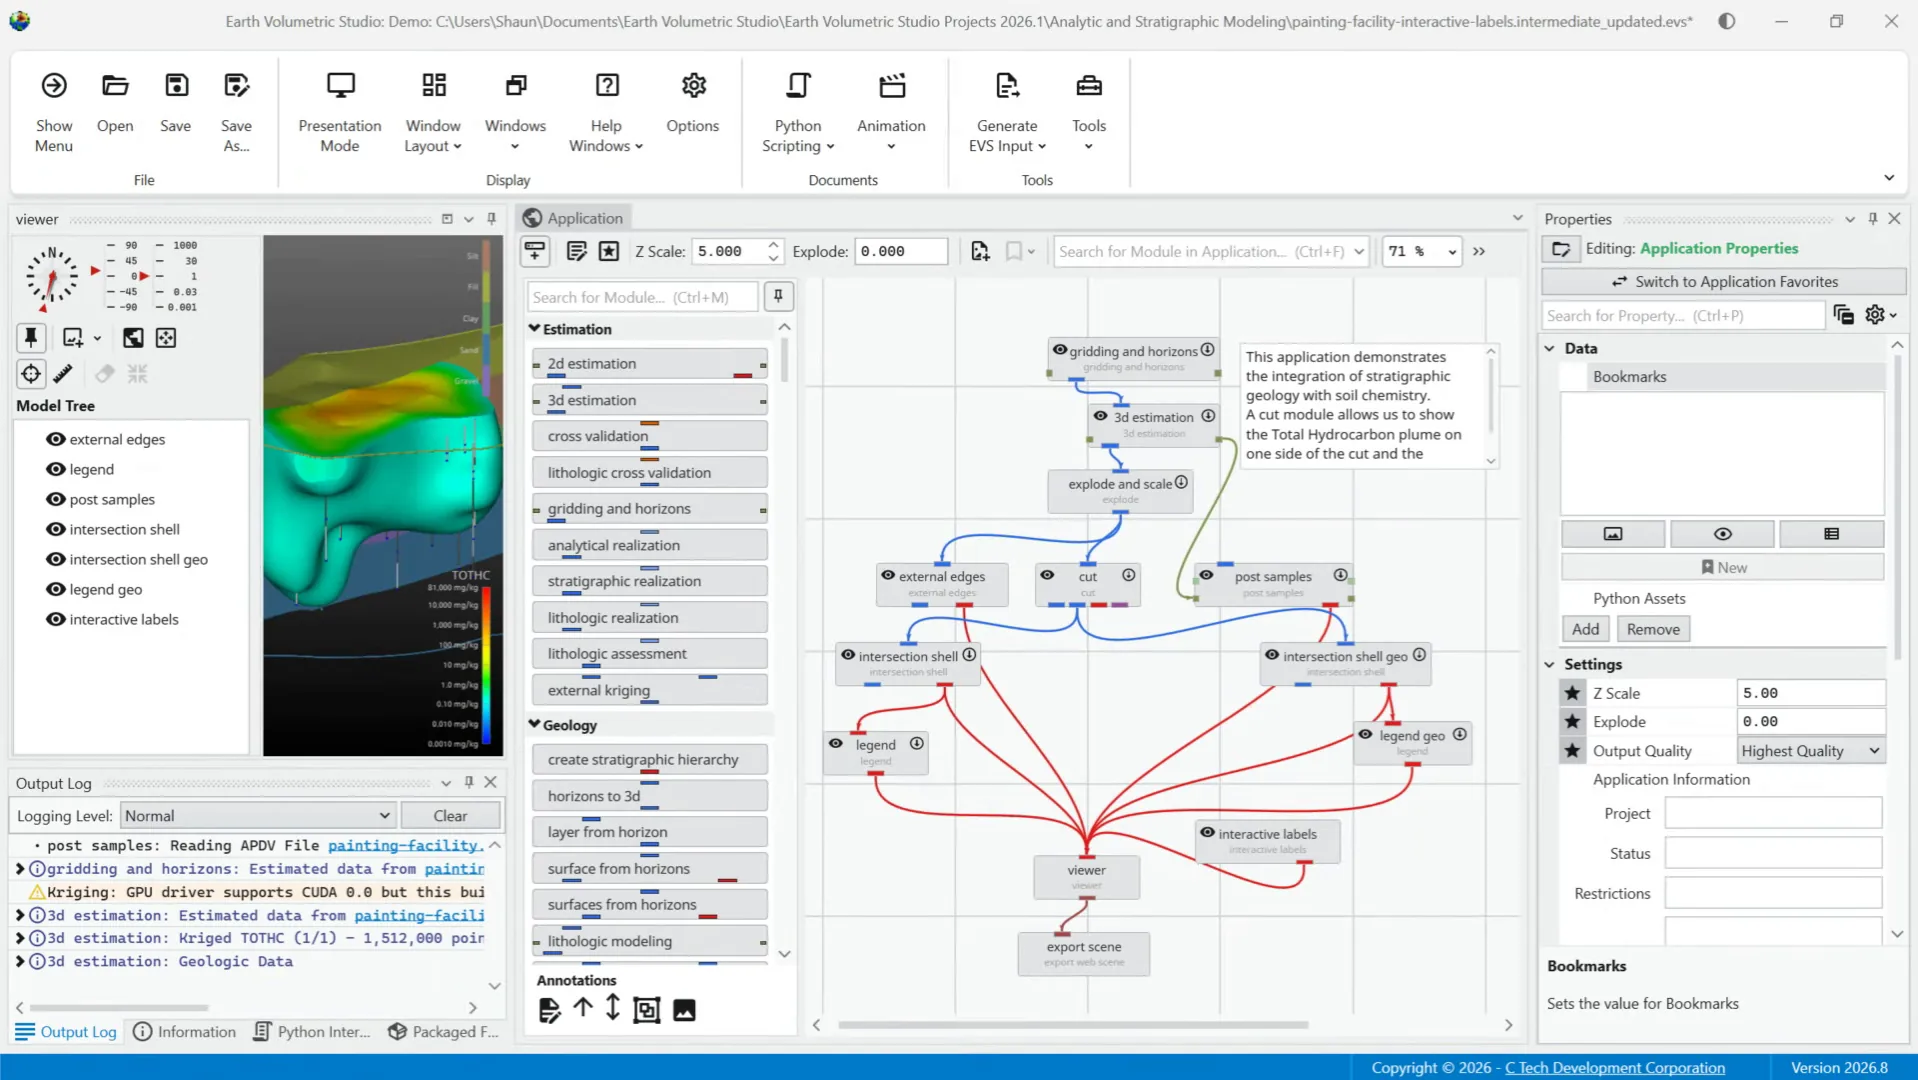
More specifically, the Viewer Window allows you to explore and analyze visual outputs from your application network, as well as assist in delivering a final 3D model. In this example, we will temporarily hide the properties window and resize the viewer window to get a better view of the model.
3Understanding Output Ports
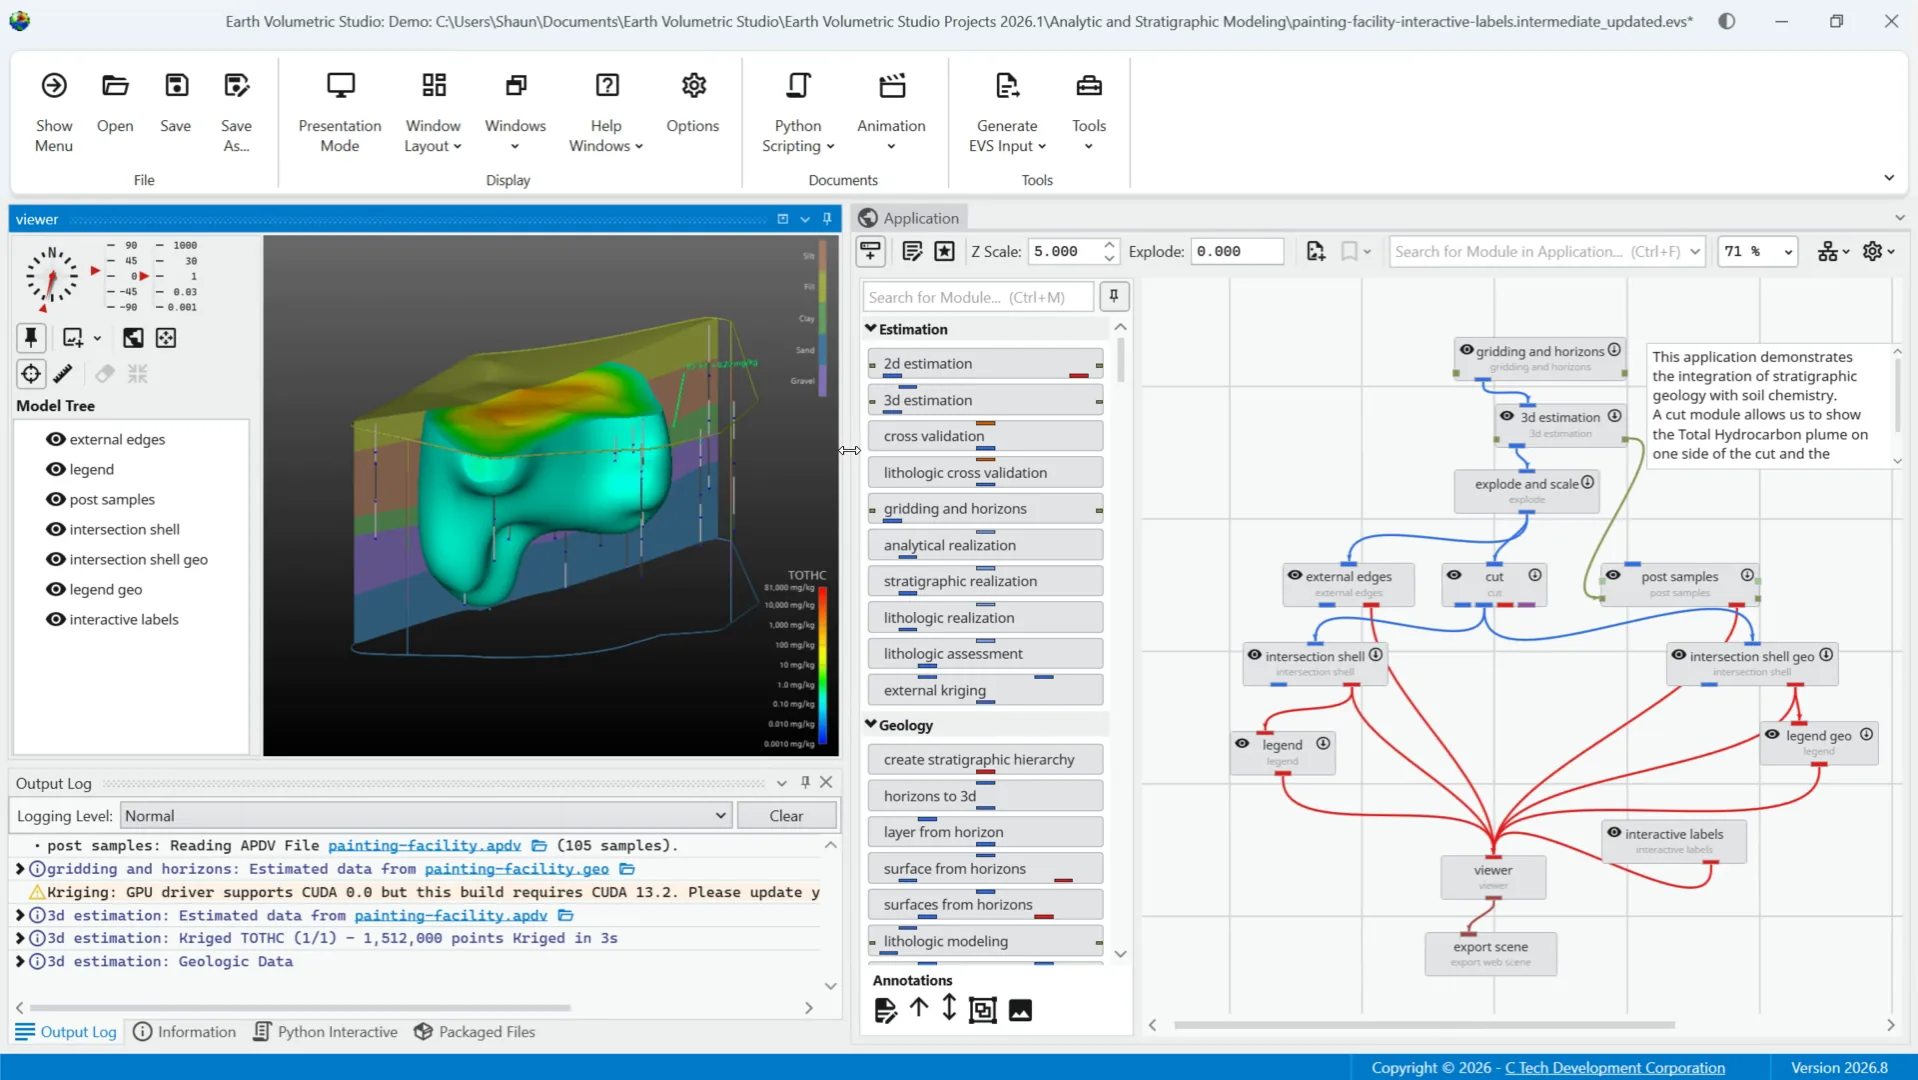
First thing to note is that modules with red renderable object output ports generate visual objects in the viewer window. The output port contains all information needed to draw that object, including geometry, colors, and rendering properties.
4Rendering Process
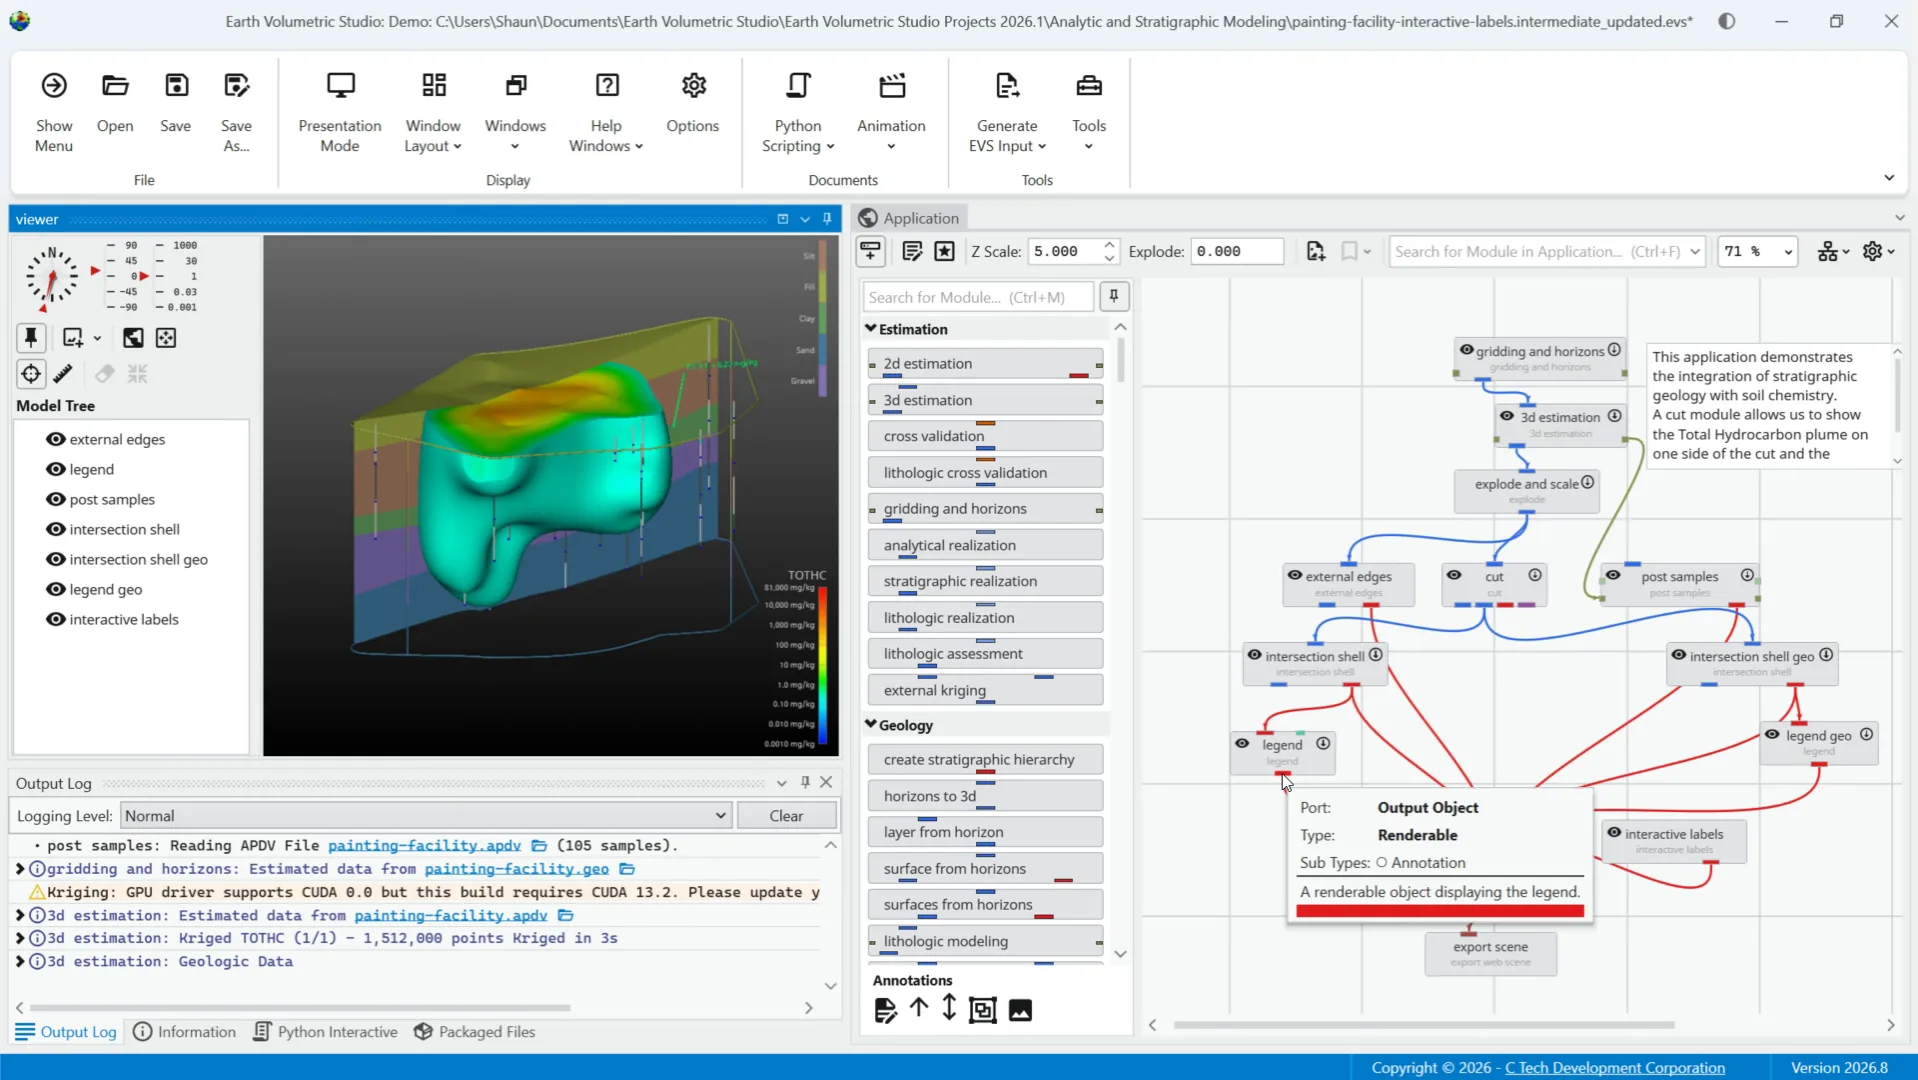
The viewer window essentially renders all objects it receives from these connections, layering them to create a cohesive, composite scene. More specifics about modules and port properties can be found in a later video.
5Rotating and Tilting
The purpose of the viewer window, is to allow you to inspect your model from any angle to better understand your results. Using your mouse, you can rotate or tilt the model by clicking and dragging it with the left mouse button.
6Panning and Zooming
You can also pan the model by dragging with the right mouse button. Or you can zoom in and out of the scene by using the mouse wheel.
7Viewer Window Interface
The viewer window includes a dedicated sidebar to the left that provides a variety of tools to manage the scene.
8View Orientation Controls
Expanding on the manual mouse movement controls, the view orientation controls allow you to set precise viewing angles through the azimuth and inclination slider.
9Scene and View Controls
Additional scene and view controls provide quick access to common scene management functions.
10Pin Panel Open
Starting with the Pin Panel Open tool, you can pin the contents panel to keep it docked by default or click the icon to auto hide the panel.
11Save Viewer Snapshot
The save viewer snapshot tool allows you to save the current contents of the viewer to an image file. Clicking the main button saves with the last used settings.
12Configure Snapshot Settings
The drop-down offers more output options. Use transparent background can be enabled to make the saved image background transparent. Prefer lossless saves the file in formats like PNG. Quality sets compression for lossy formats. View Scale multiplies output resolution, and scale forward facing ensures text scales correctly with the view.
13Set to Top View and Zoom to Fit
The Set to Top View and Zoom to Fit options are additional accessible quick views. There is also a probe tool that lets you double click a point or enter coordinates to get information on that data point.
14Probe Tool
Within the Probe Tool, you can center on a picked point, allowing you to zoom in and out while keeping it in frame.
15Measure Distance Tool
Another useful feature is the Measure Distance tool. For this example, we'll simply control left click on one side of the plume and again on the other side to measure the distance. Notice the distance information for the drawn line below.
16The Model Tree
Next, the model tree shows objects displayed in the visualization. Double clicking an object highlights its module in the application window. Double clicking that module will make the properties window visible again with settings for that particular module.
17Object Visibility
Returning to the model tree, you can click the eye icon on any layer. This allows you to toggle the visibility of objects in the model.
18Model Tree in Presentation Mode
You can also view the model tree in presentation mode from the main toolbar to present a cleaner visualization as you view or hide relevant objects.
19Thank You For Watching
That is an overview of the viewer window in the EVS environment. Thank you for watching.
Summary
This tutorial provided a comprehensive overview of the Earth Volumetric Studio Viewer Window, covering visualization, controls, snapshot saving, and model management. You can now confidently explore, analyze, and present 3D models using the viewer window tools.