
Introduction
Welcome back to Earth Volumetric Studio. In this tutorial, we'll explore the Main Toolbar and the main application Menu. We'll review common file commands, including New Open Save and Save As. We'll also learn how to find and open a Sample Project, then identify the data-preparation tools available from the toolbar. Before we begin, make sure you've downloaded the EVS Sample Projects. These files are required for the demo version of EVS to work properly, and we'll use them throughout the tutorial so you can follow along.
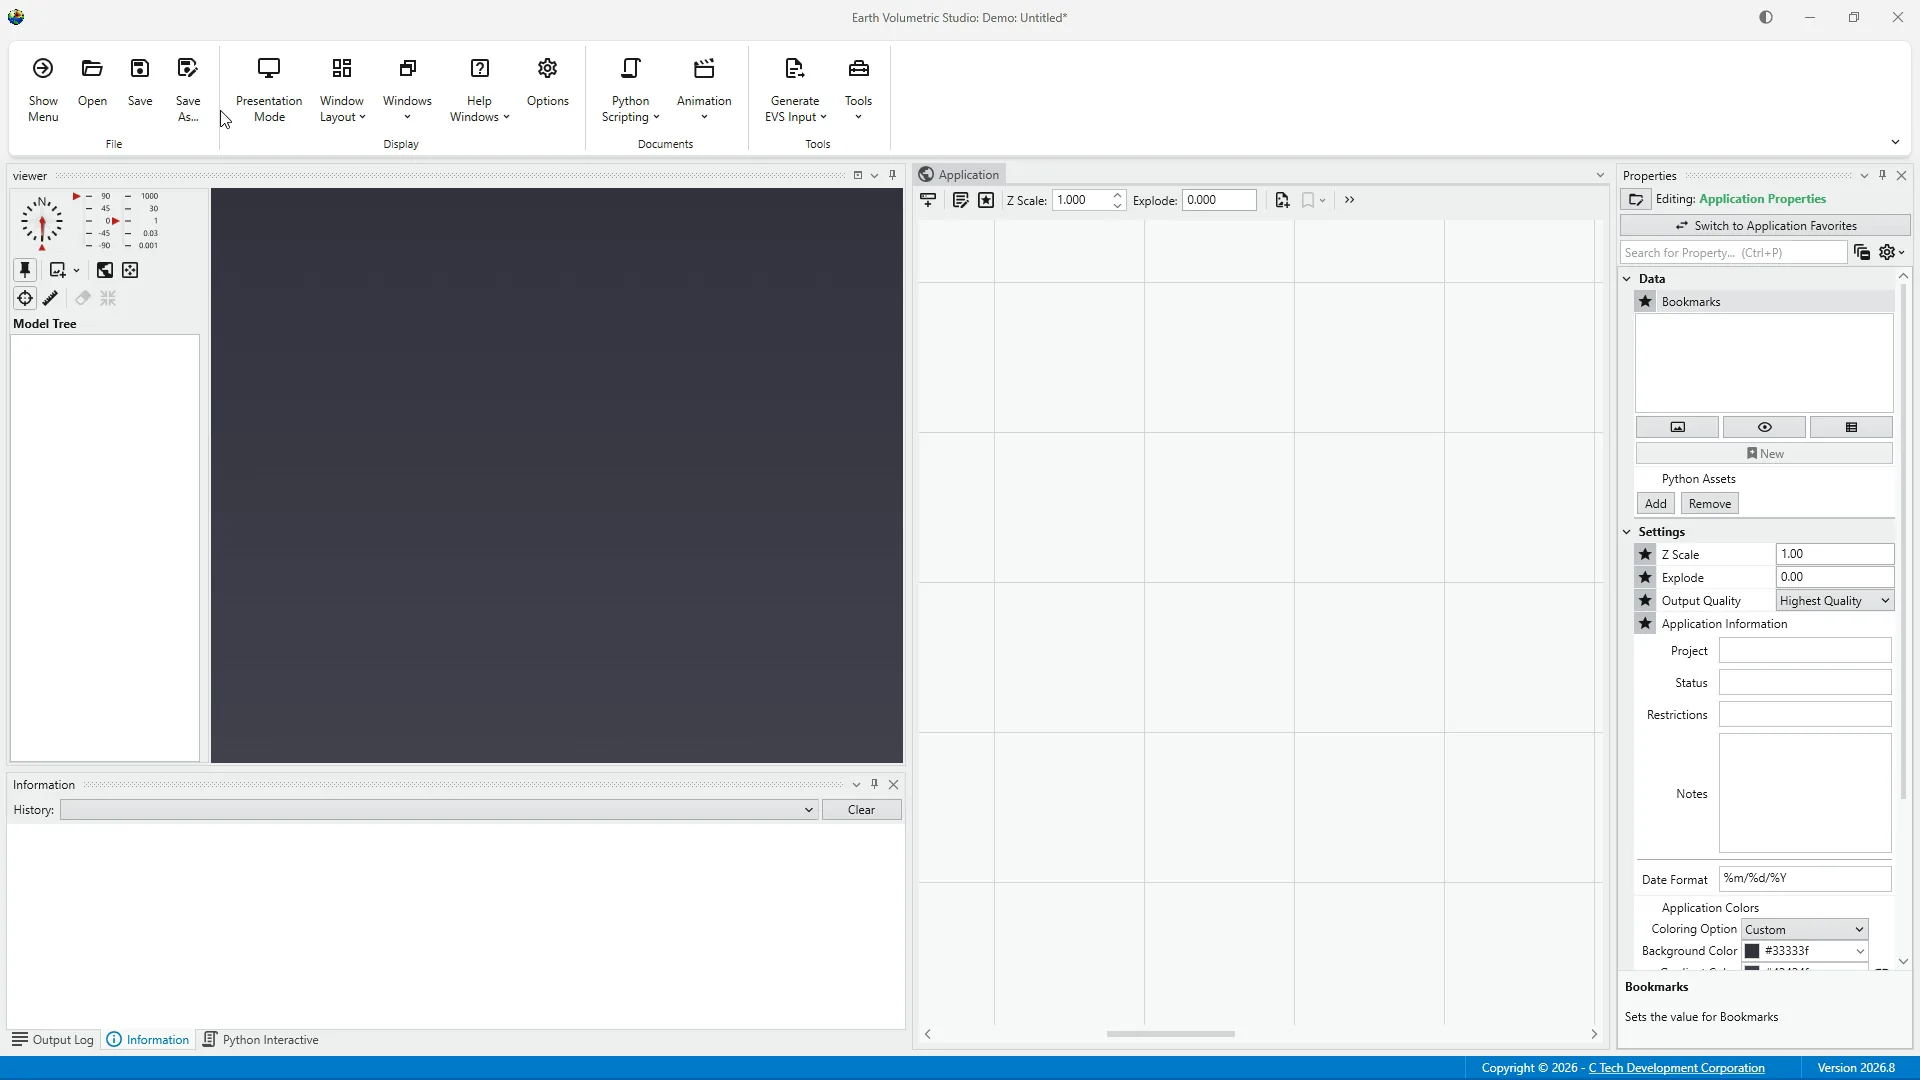
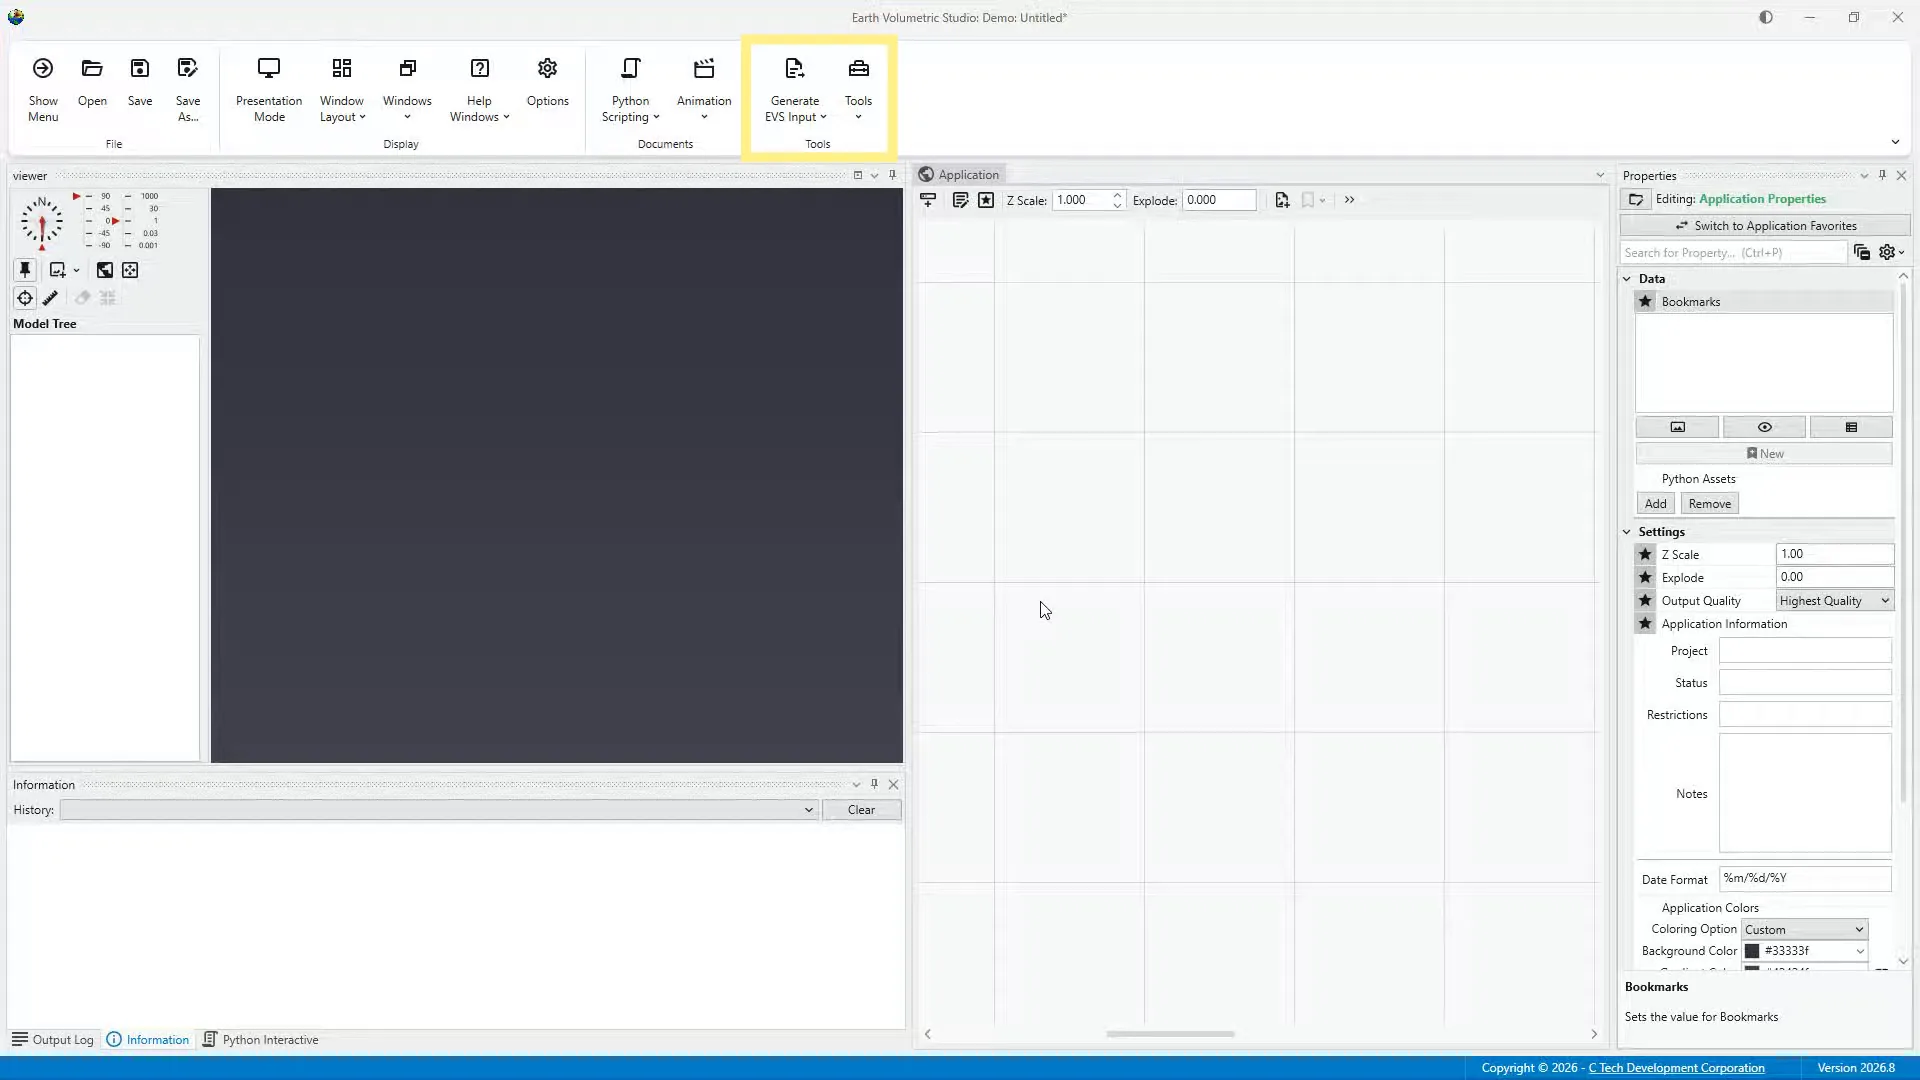
The Main Toolbar is located across the top of the EVS workspace. It organizes commands into four sections: File, Display, Documents, and Tools. We'll begin with the File section, then briefly identify the other toolbar commands before looking more closely at the data-preparation tools.
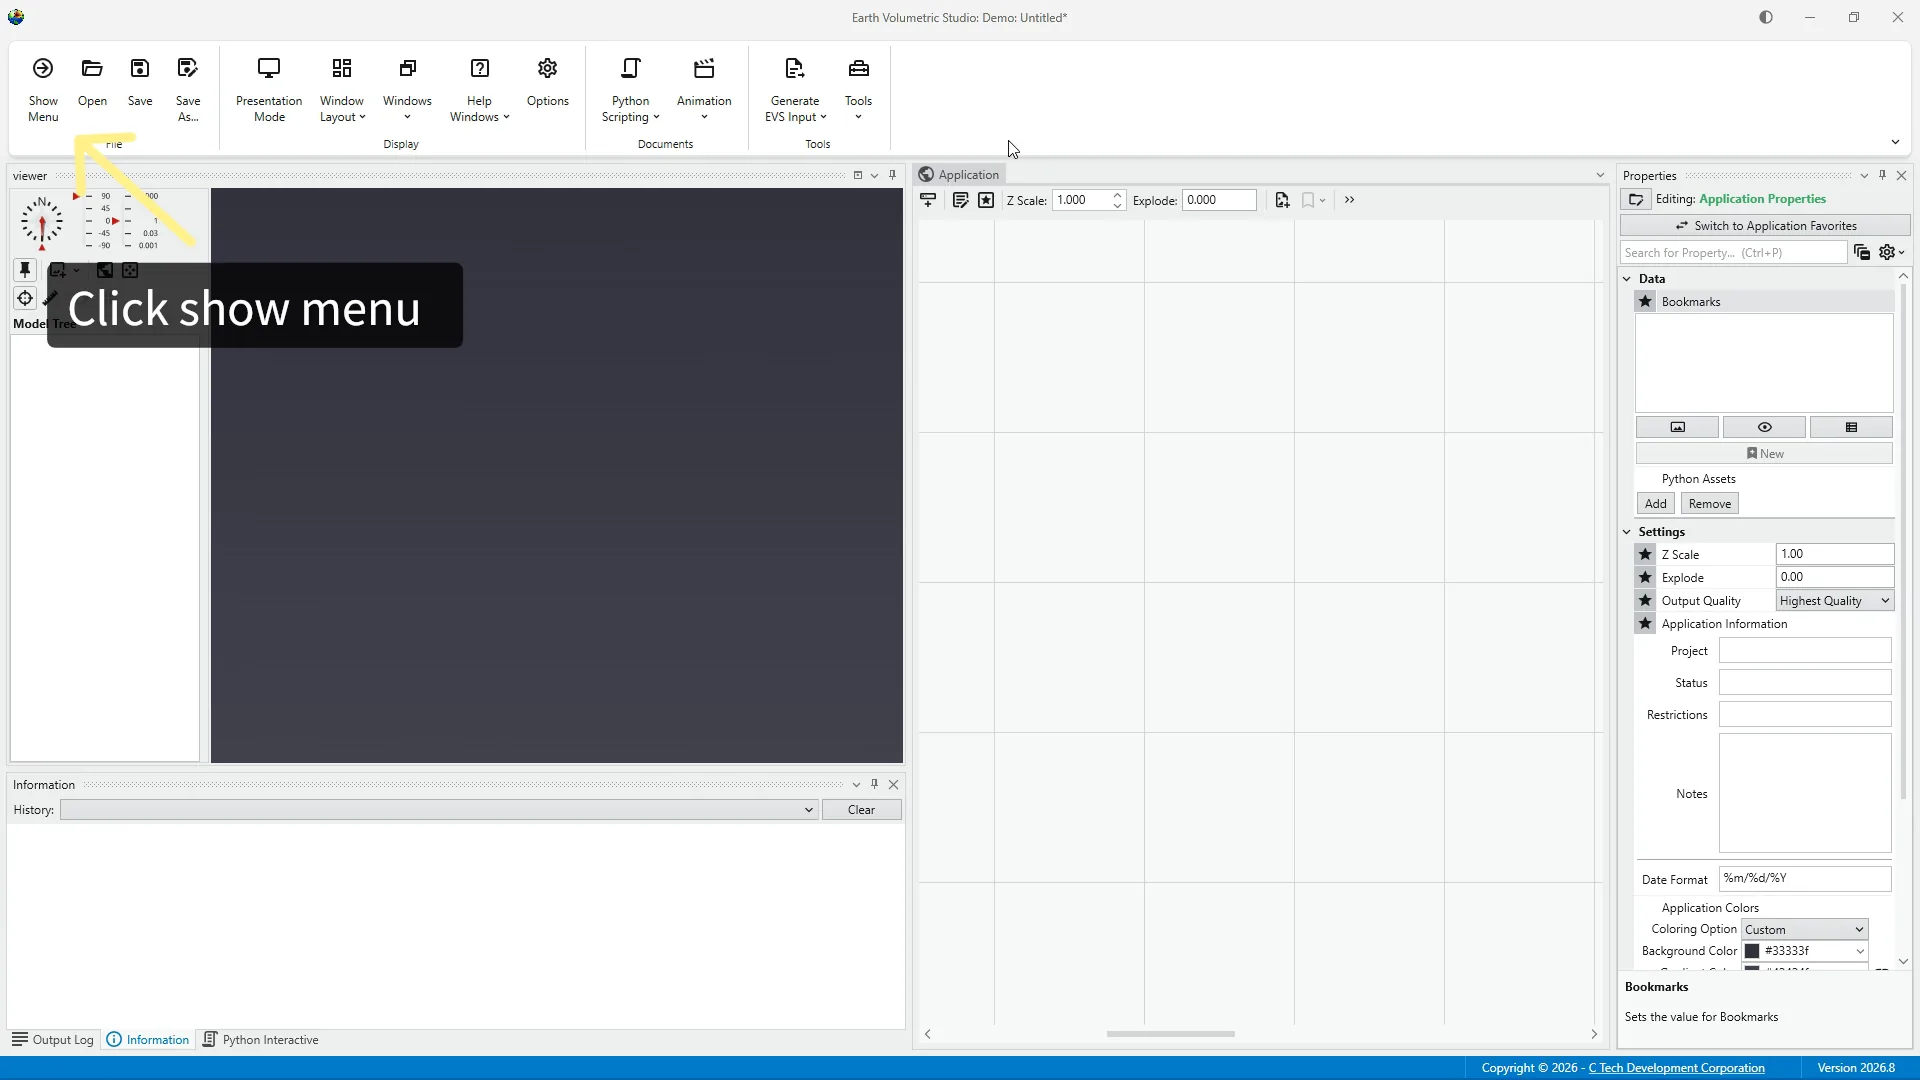
The File section contains four commands: Show Menu, Open, Save and Save As. Show Menu opens the main application Menu. Open provides quick access to existing EVS projects. Save updates the active project, while Save As creates a new copy or saves the project in a different location.
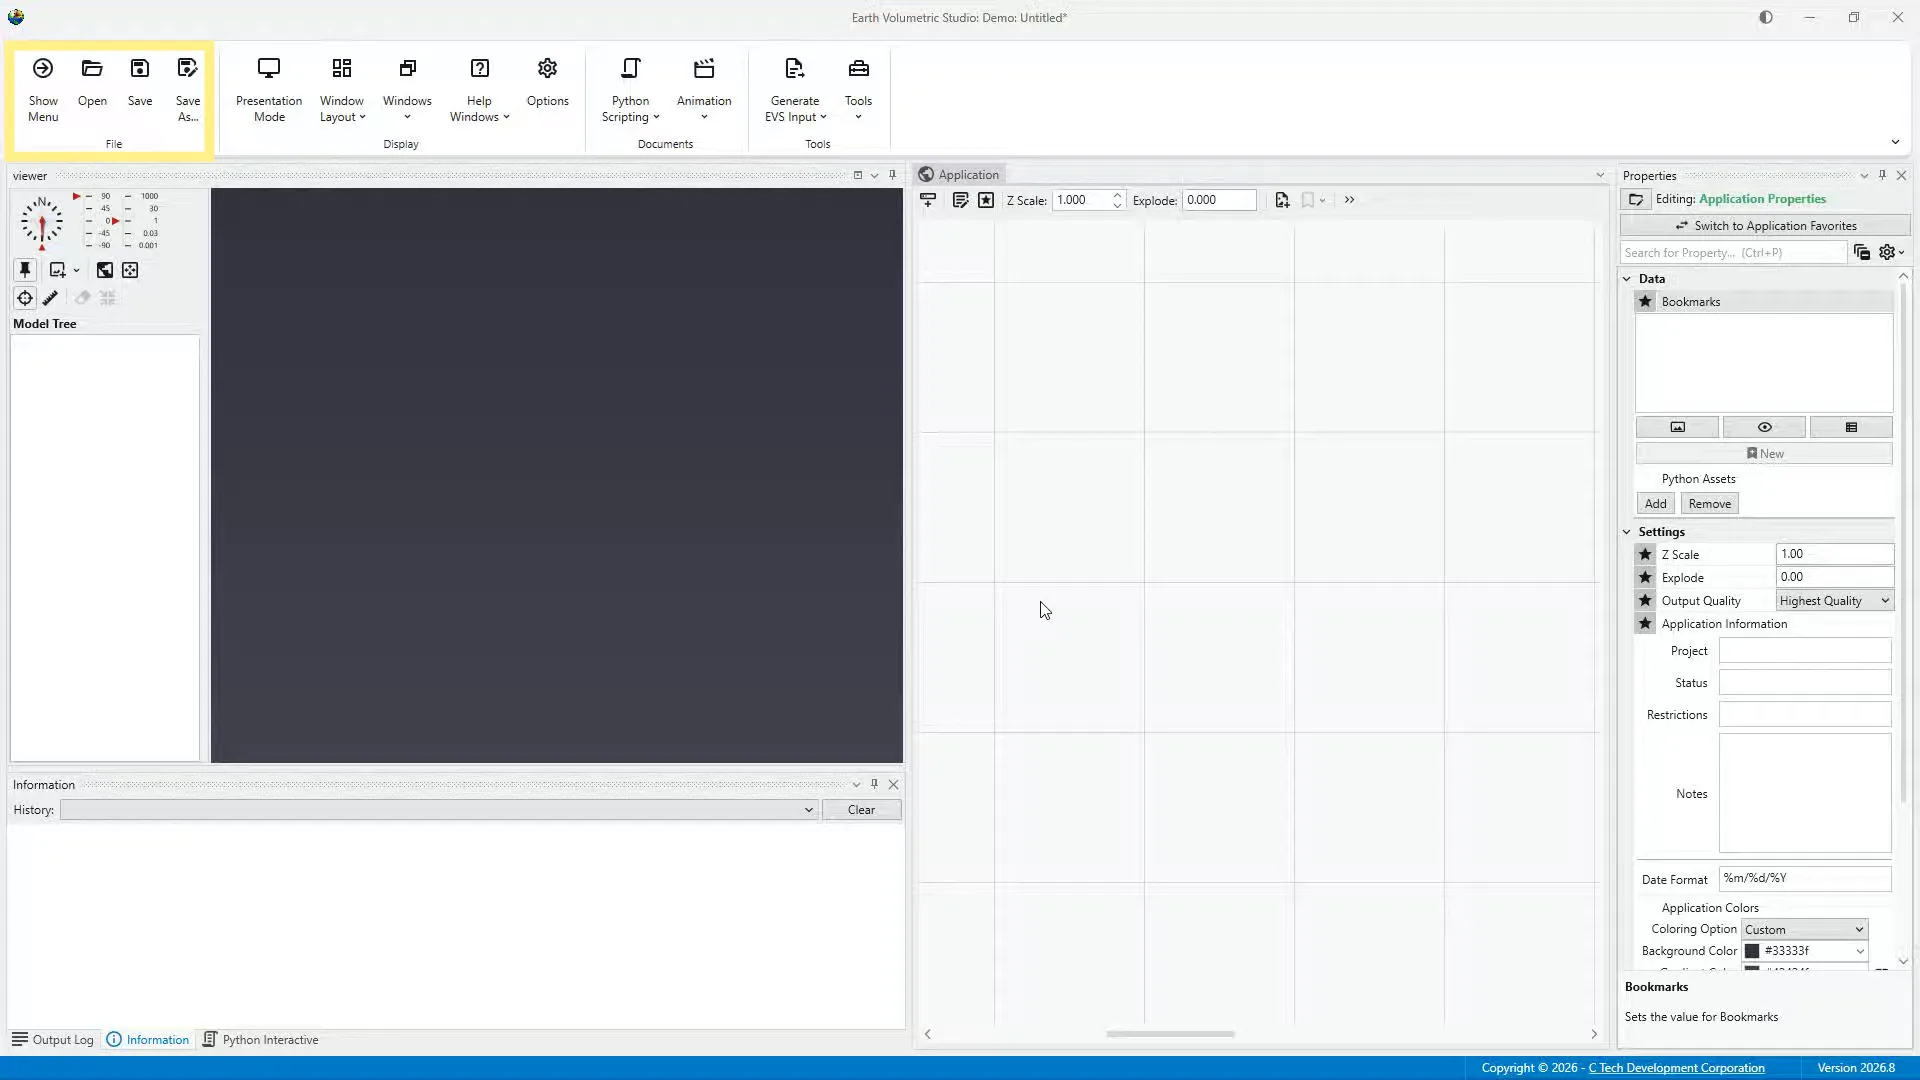
The Display section contains commands for controlling the EVS workspace. Presentation Mode simplifies the interface for presenting a completed application. Window Layout applies a saved window arrangement. Windows controls which EVS windows are visible, and Help Windows provides access to EVS Help. Options opens the program's application wide settings.
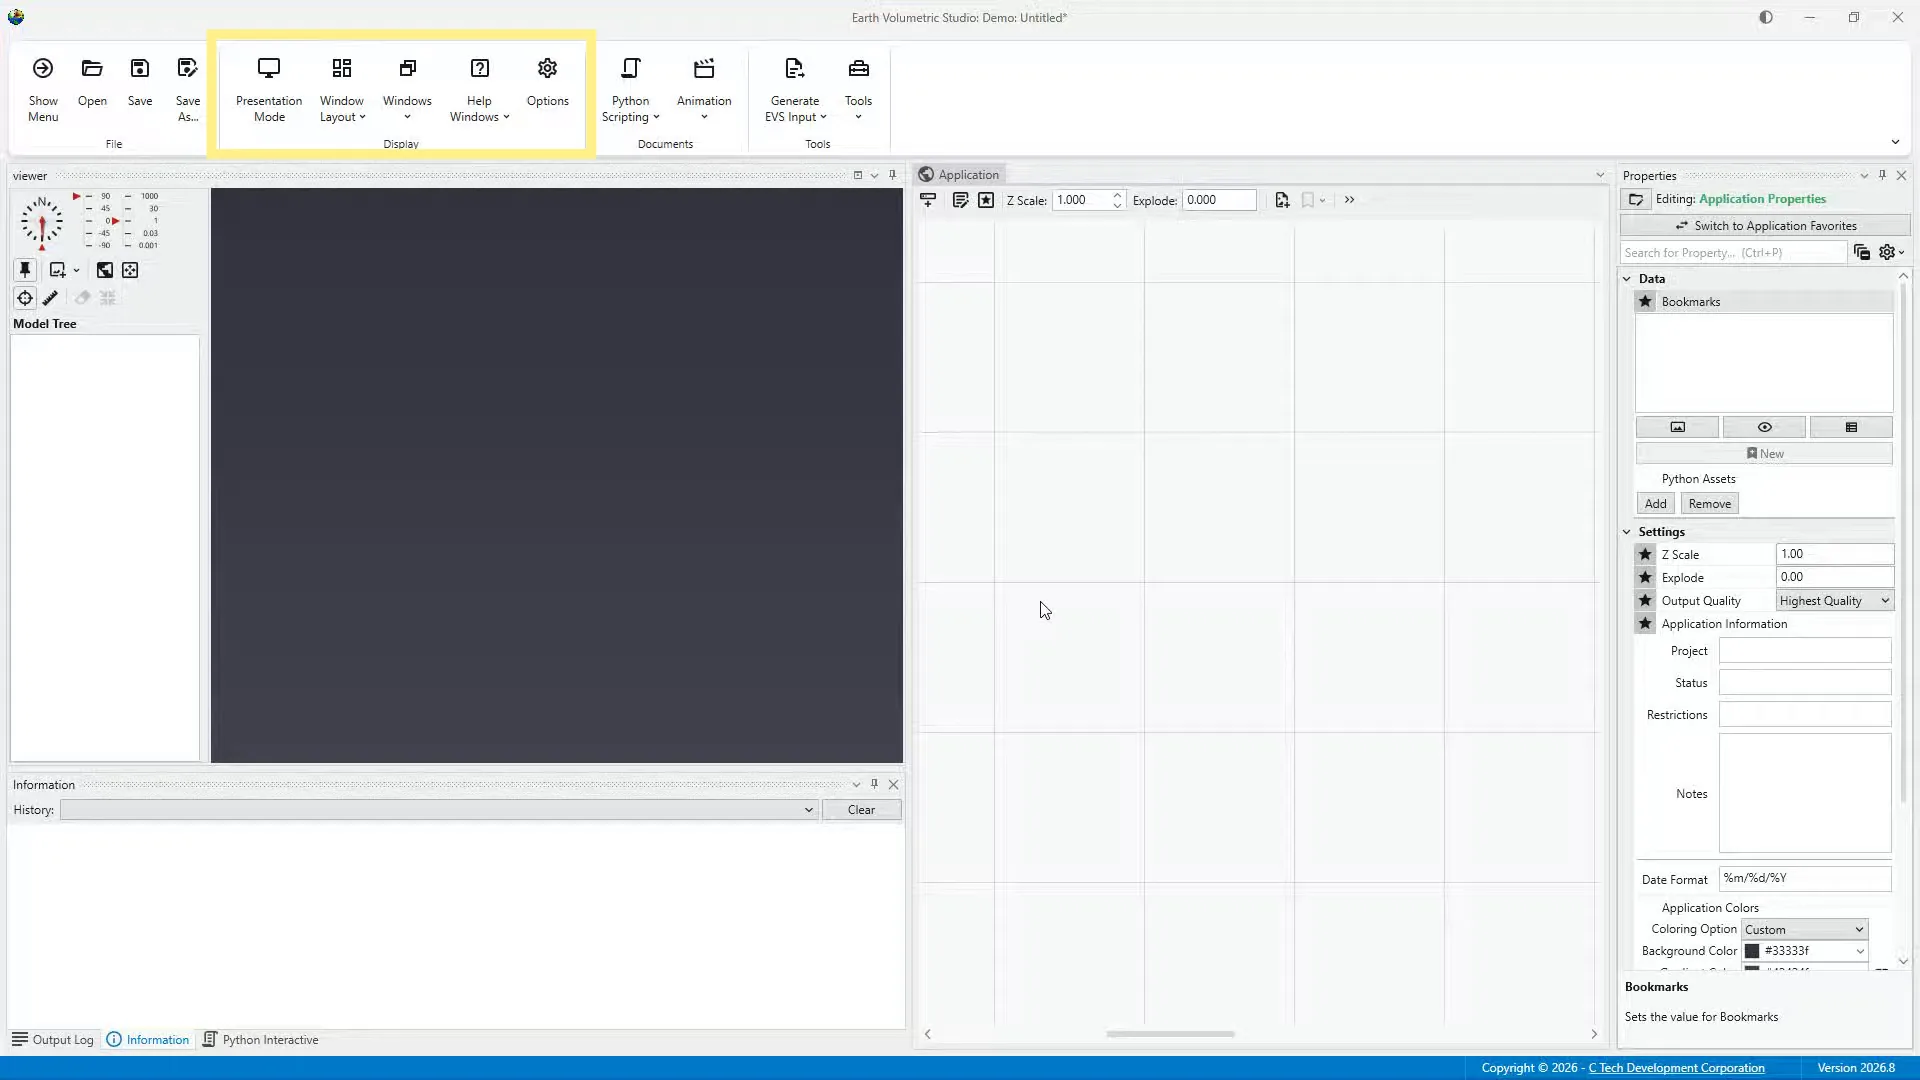
The Documents section contains Python Scripting and Animation. Python Scripting provides tools for creating, opening, and running Python scripts. Animation provides access to EVS animation commands and controls. These are specialized features that we'll leave for future tutorials.
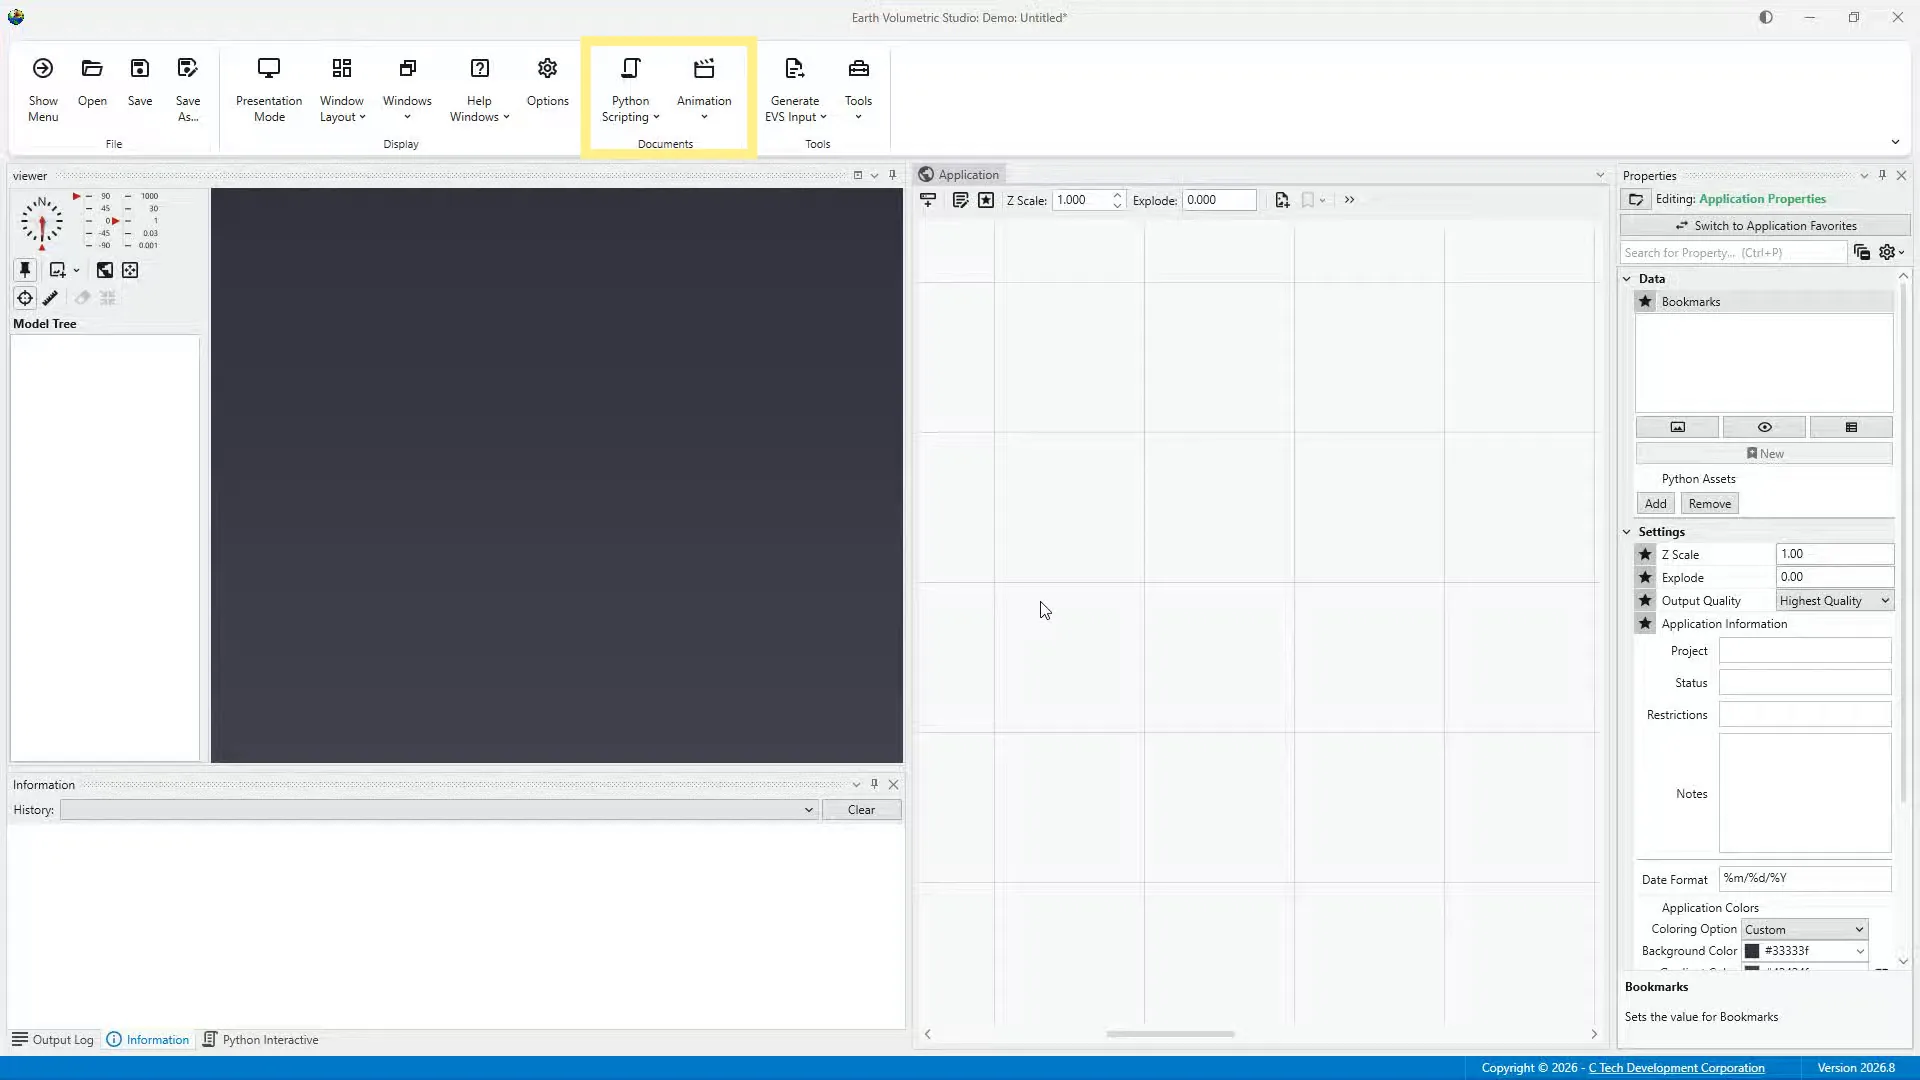
The tools section contains two drop-down menus: Generate EVS Input and Tools. Generate EVS Input helps create files for use in EVS. The Tools menu contains additional utilities for file conversion, data processing, image preparation, and animation. We'll return to both menus near the end of this tutorial.
Let's return to the File section and select Show Menu.
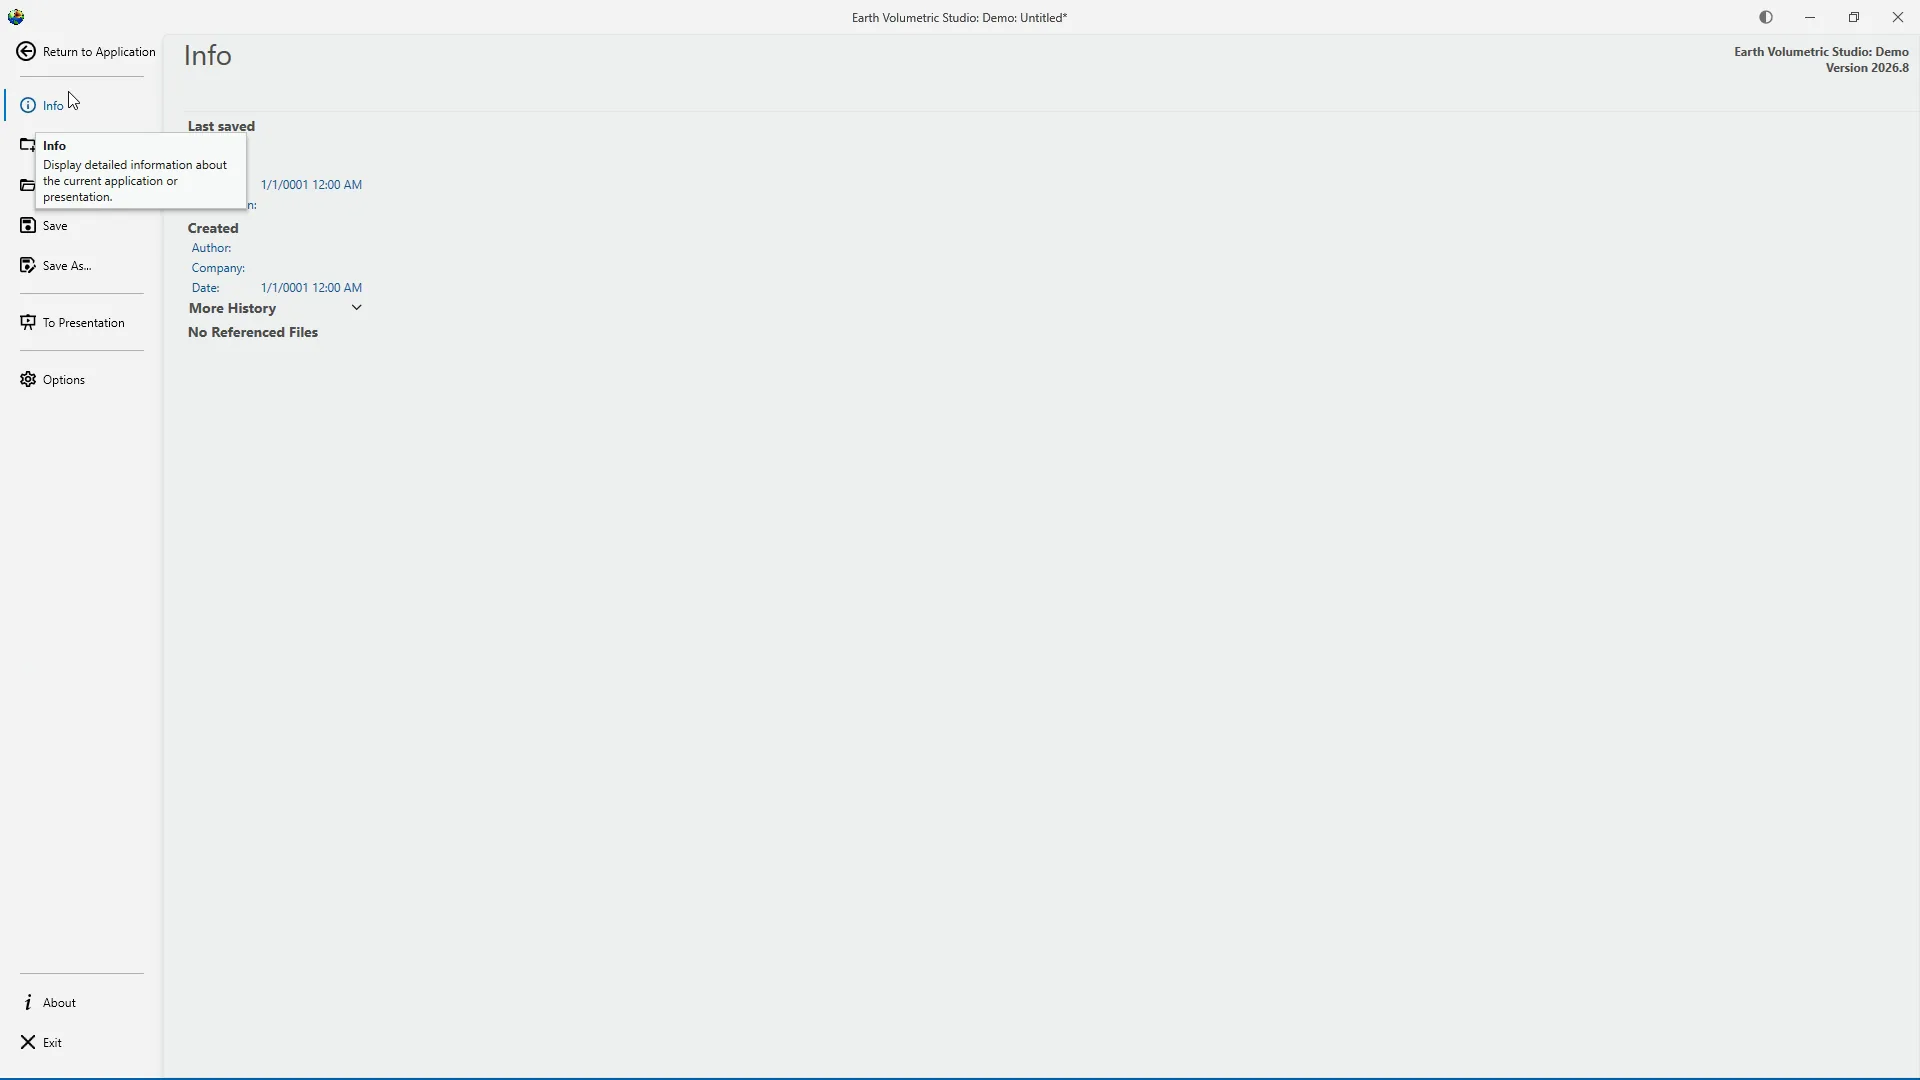
This opens the main application Menu. The Menu temporarily replaces the workspace with a dedicated area for managing projects and accessing program settings.
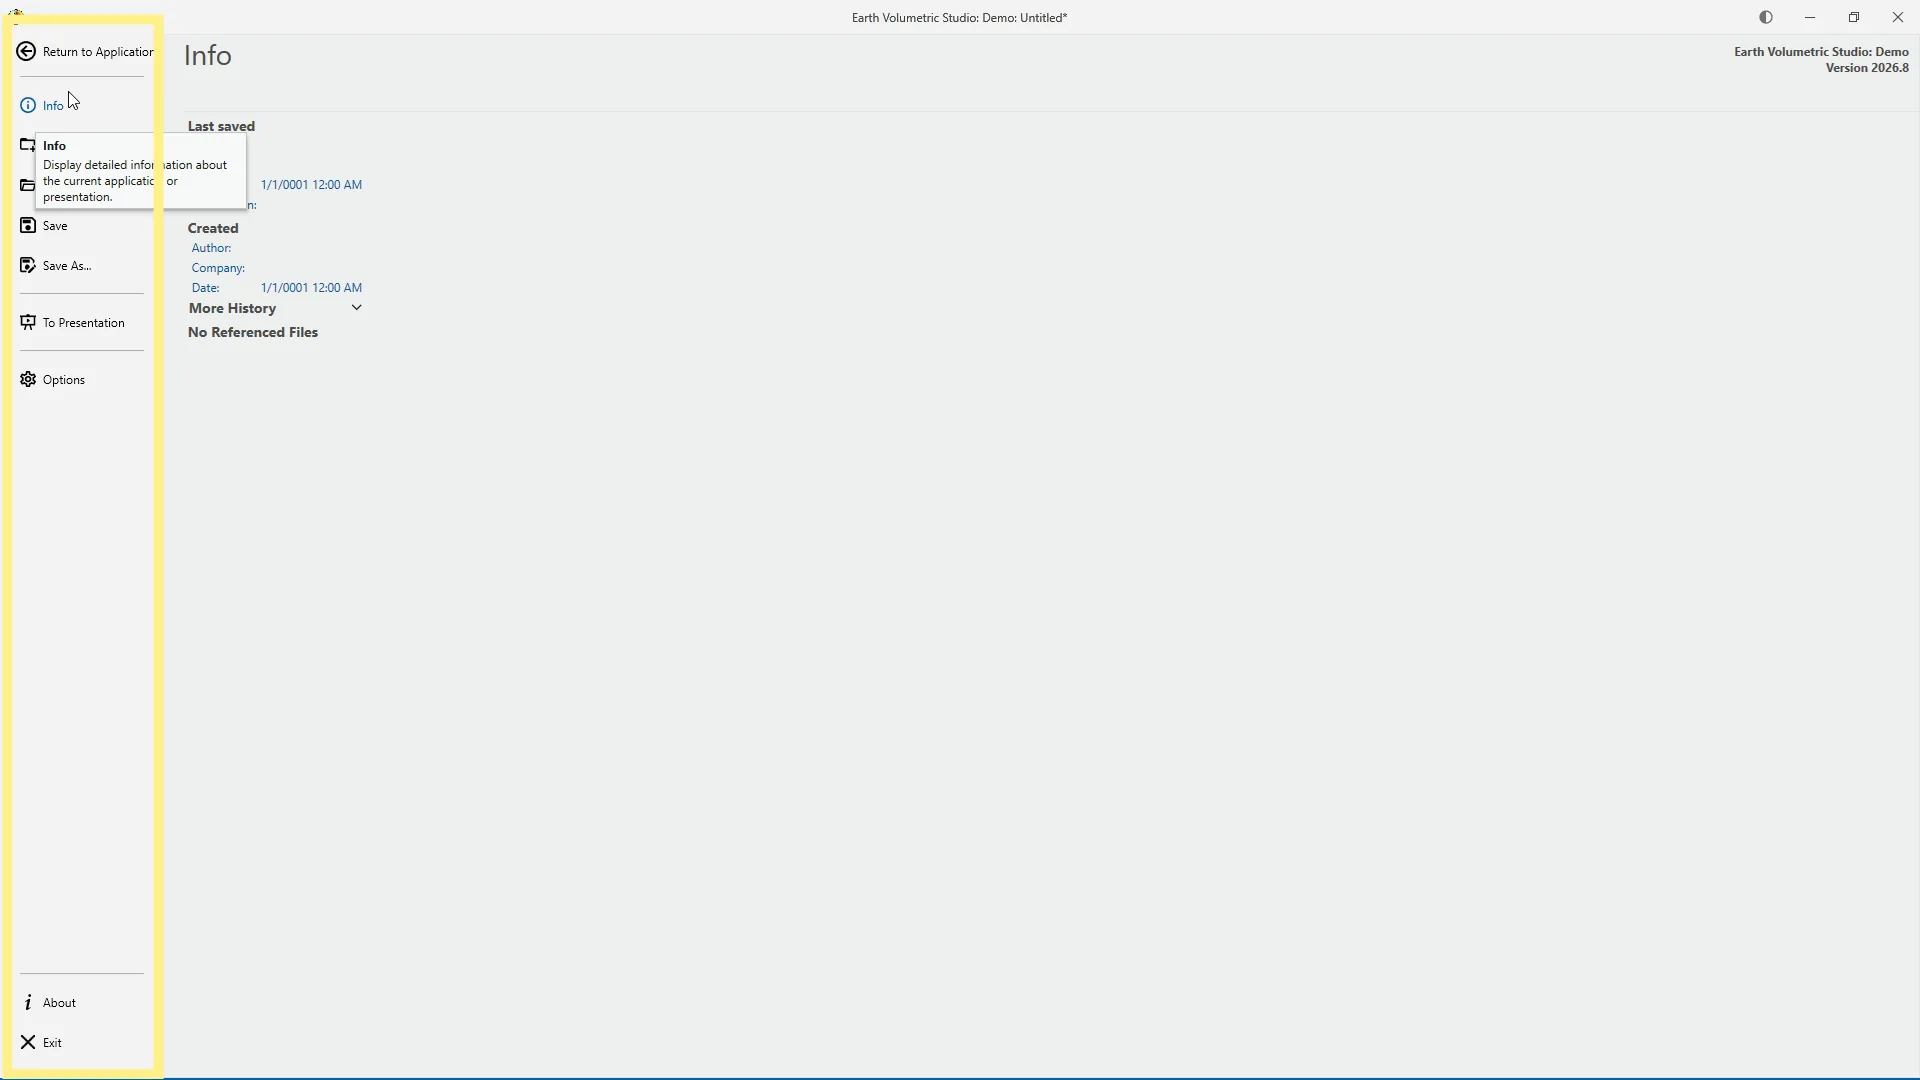
The navigation bar along the left side provides access to Info, New, Open, Save, Save As, To Presentation, Options, About, and Exit. Select Return to Application when you're ready to close the Menu and return to the workspace.
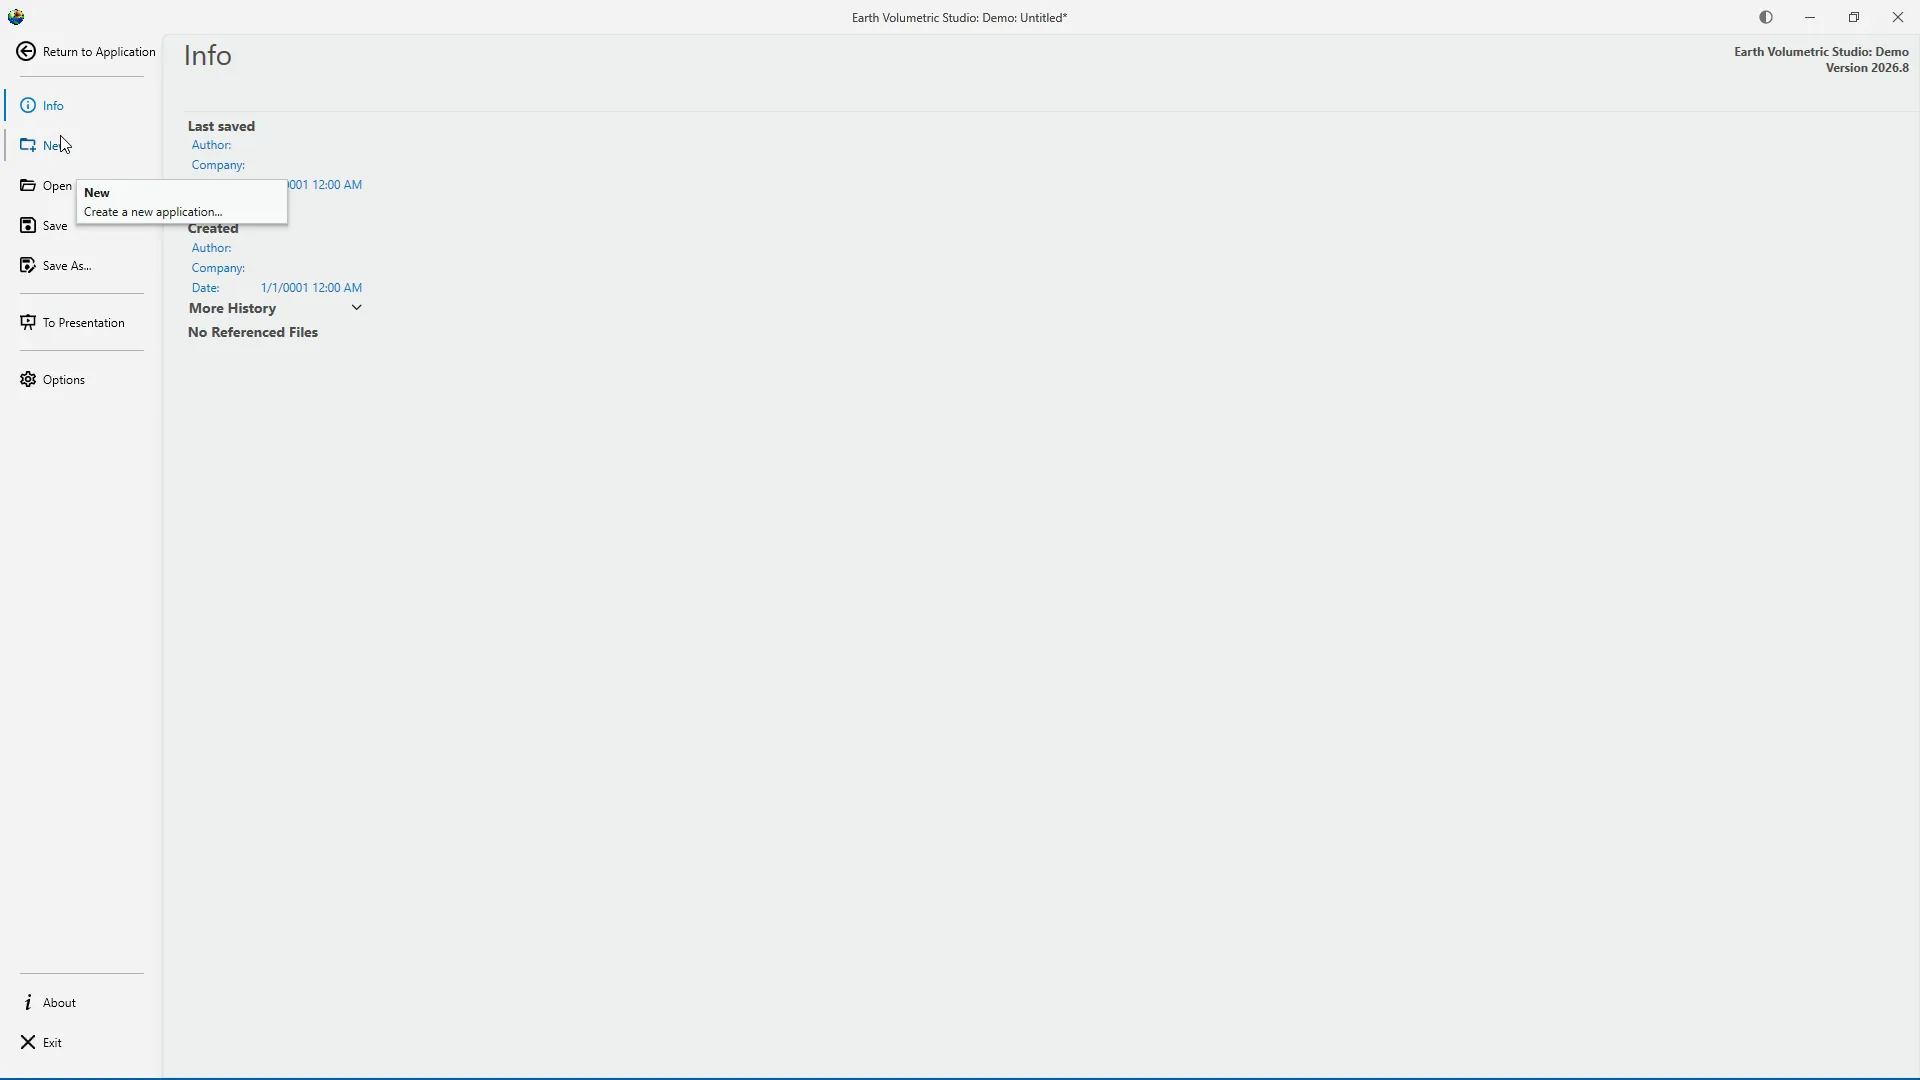
Select New when you want to begin with an empty EVS application. Creating a new application would close or replace the current workspace, so we won't select it during this tutorial.
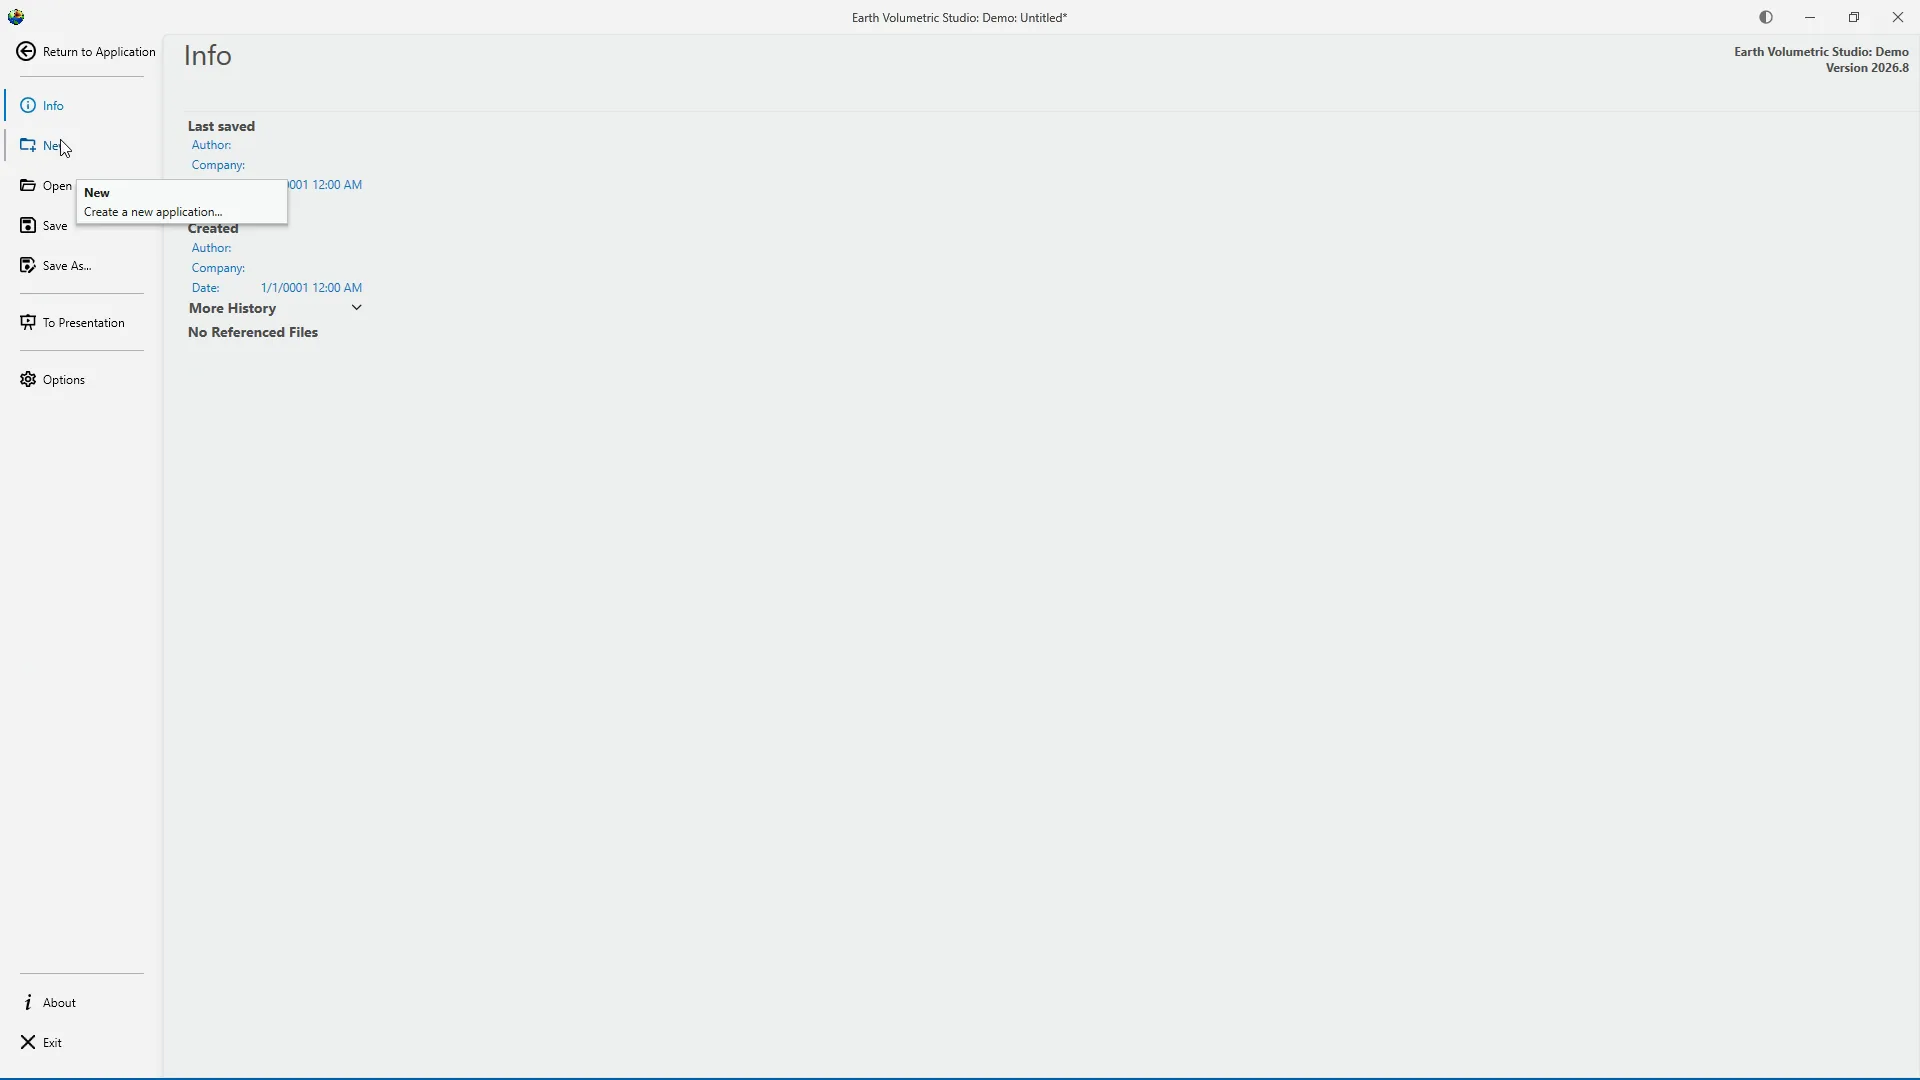
Select Open to locate and load an existing EVS project.
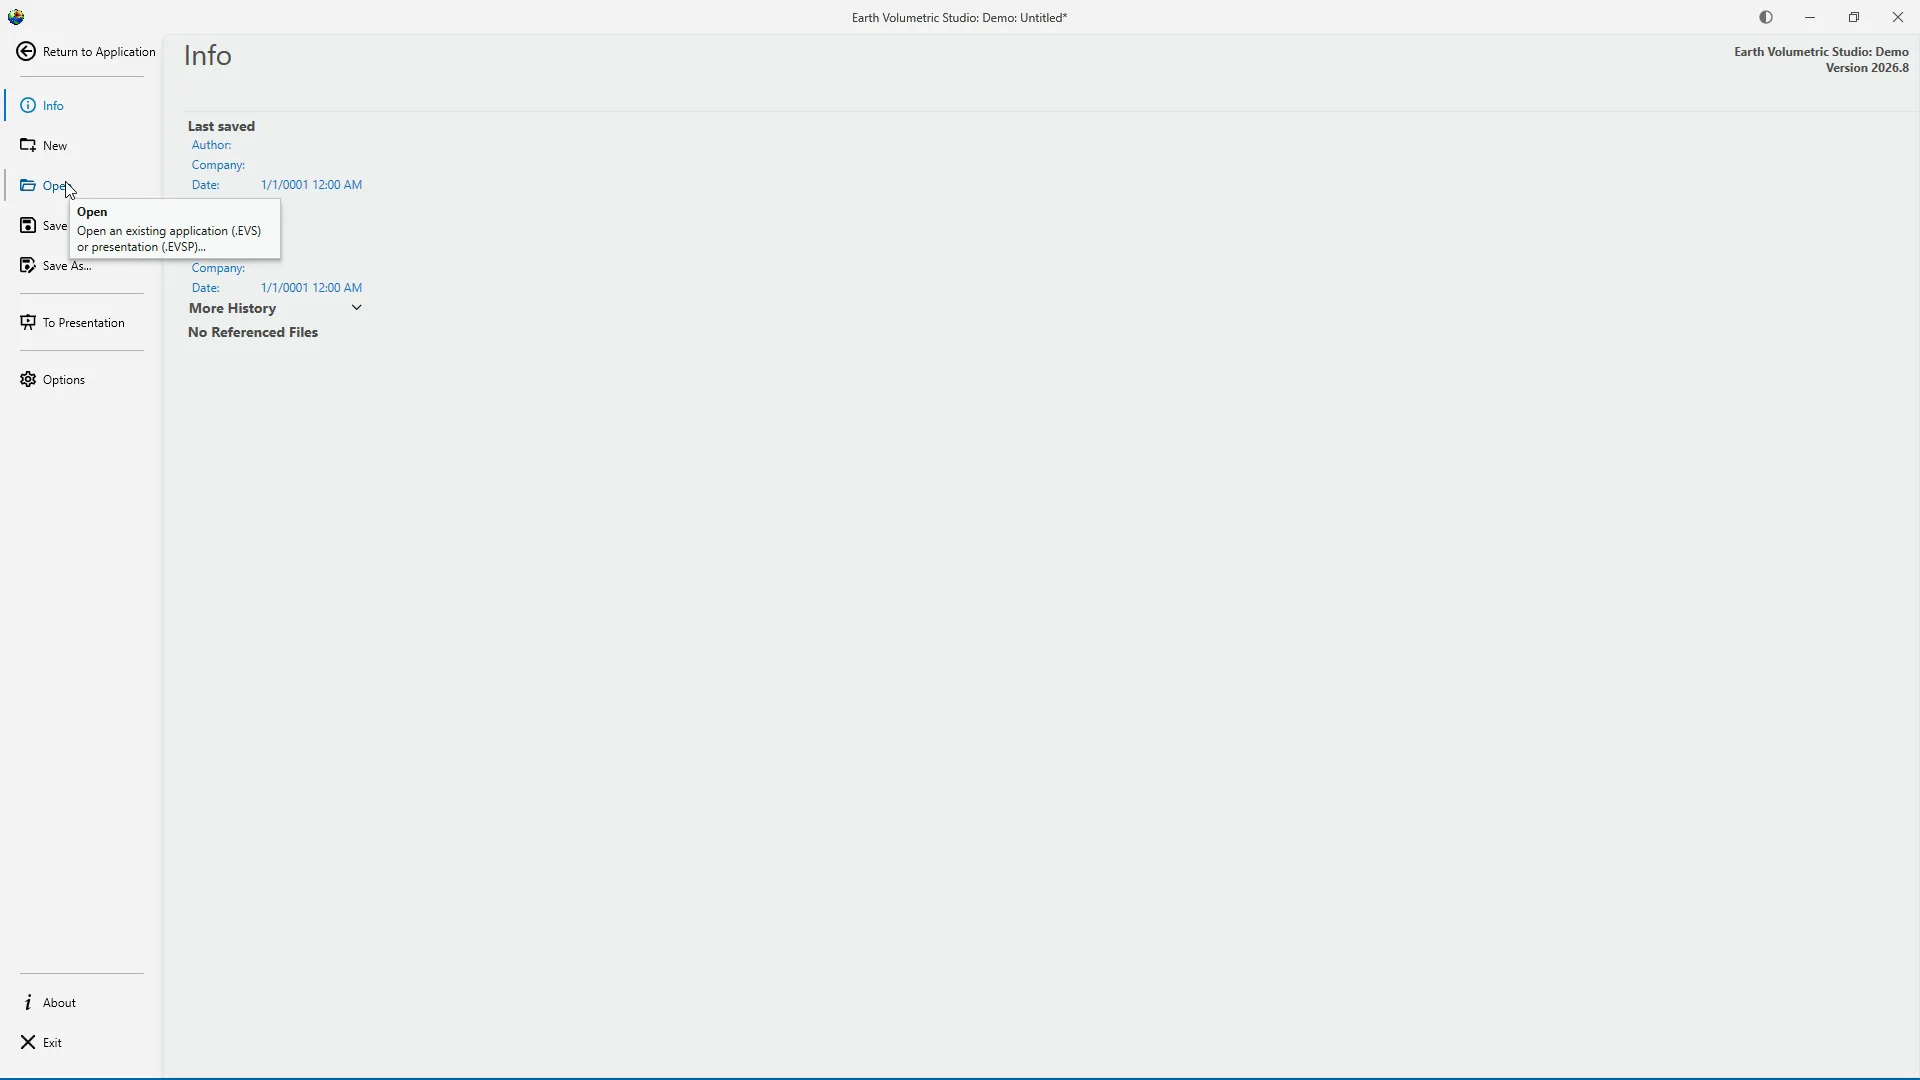
The Open screen provides several ways to locate a project. Recent Documents displays files you've opened previously. Browse opens the standard file browser so you can locate an EVS project on your computer or network. You may also see shortcuts to custom project folders. Finally, Sample Projects provides access to example applications installed with EVS.
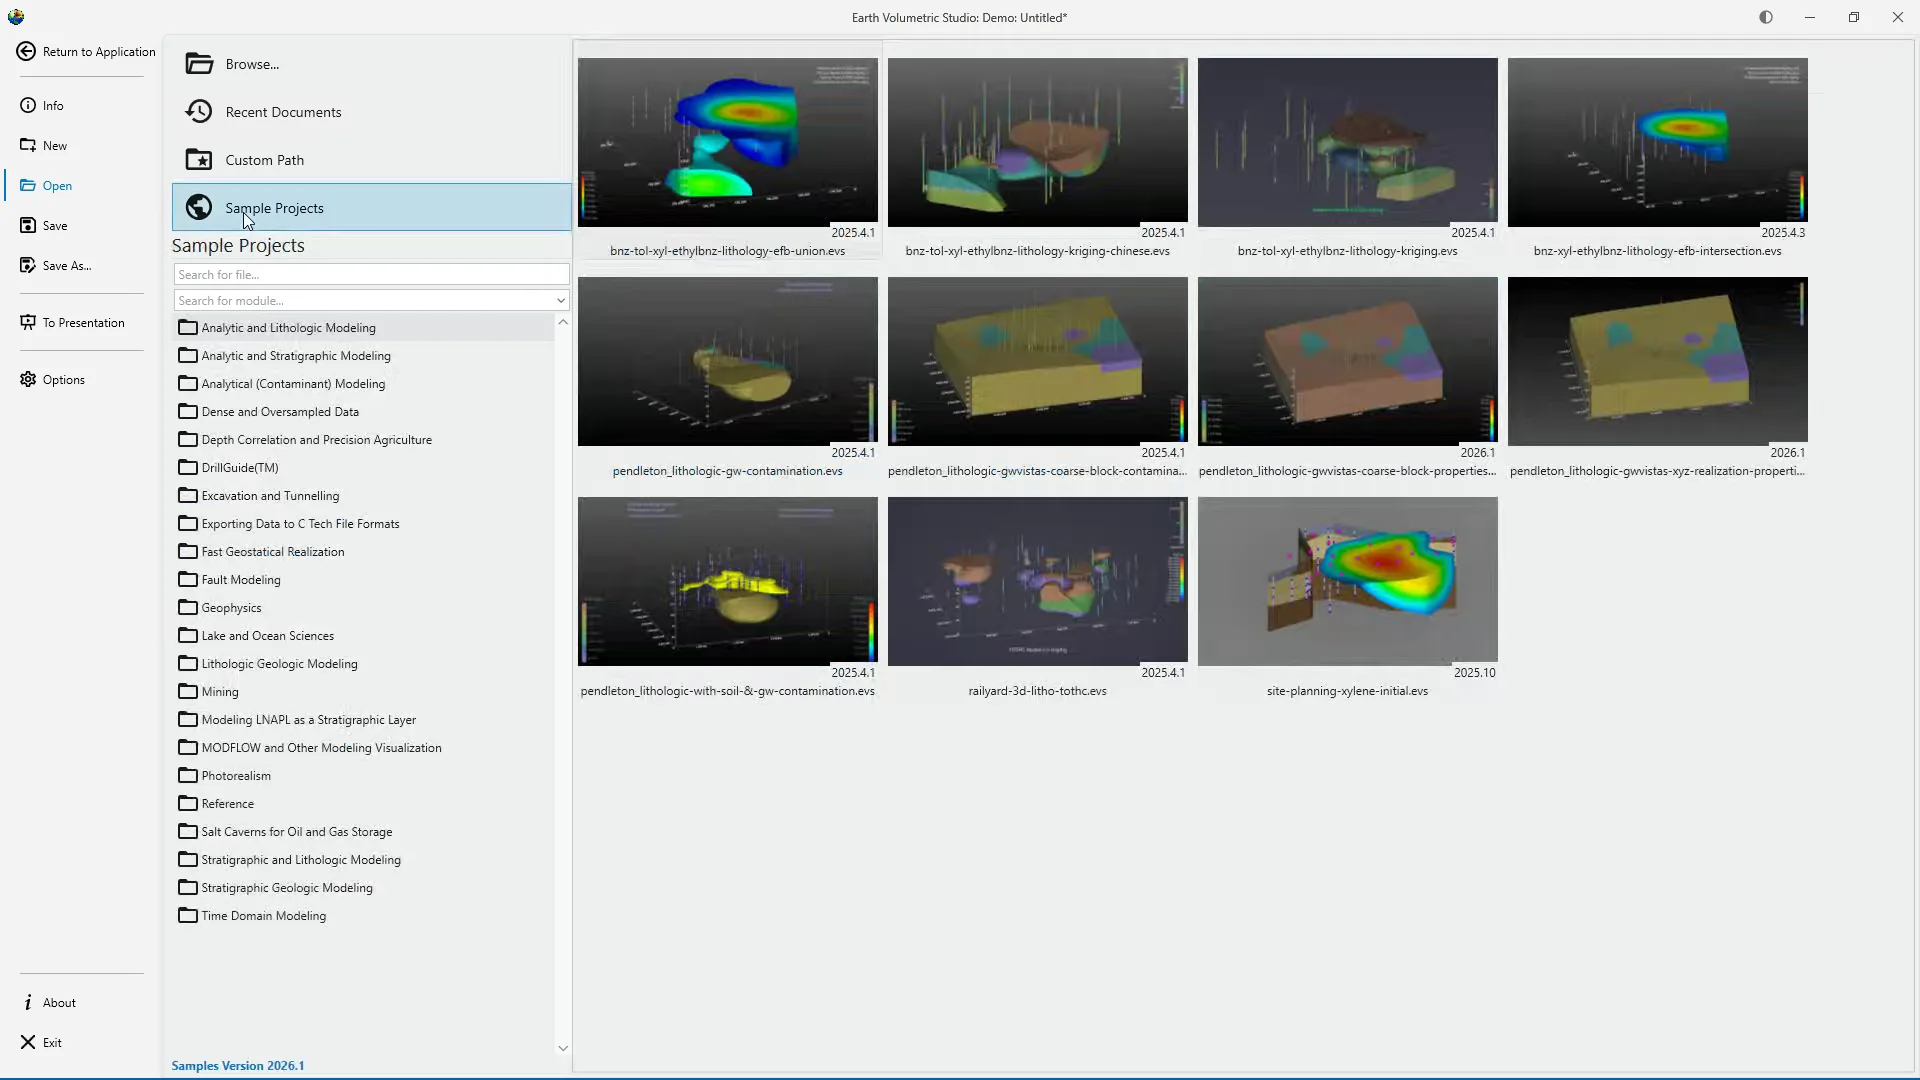
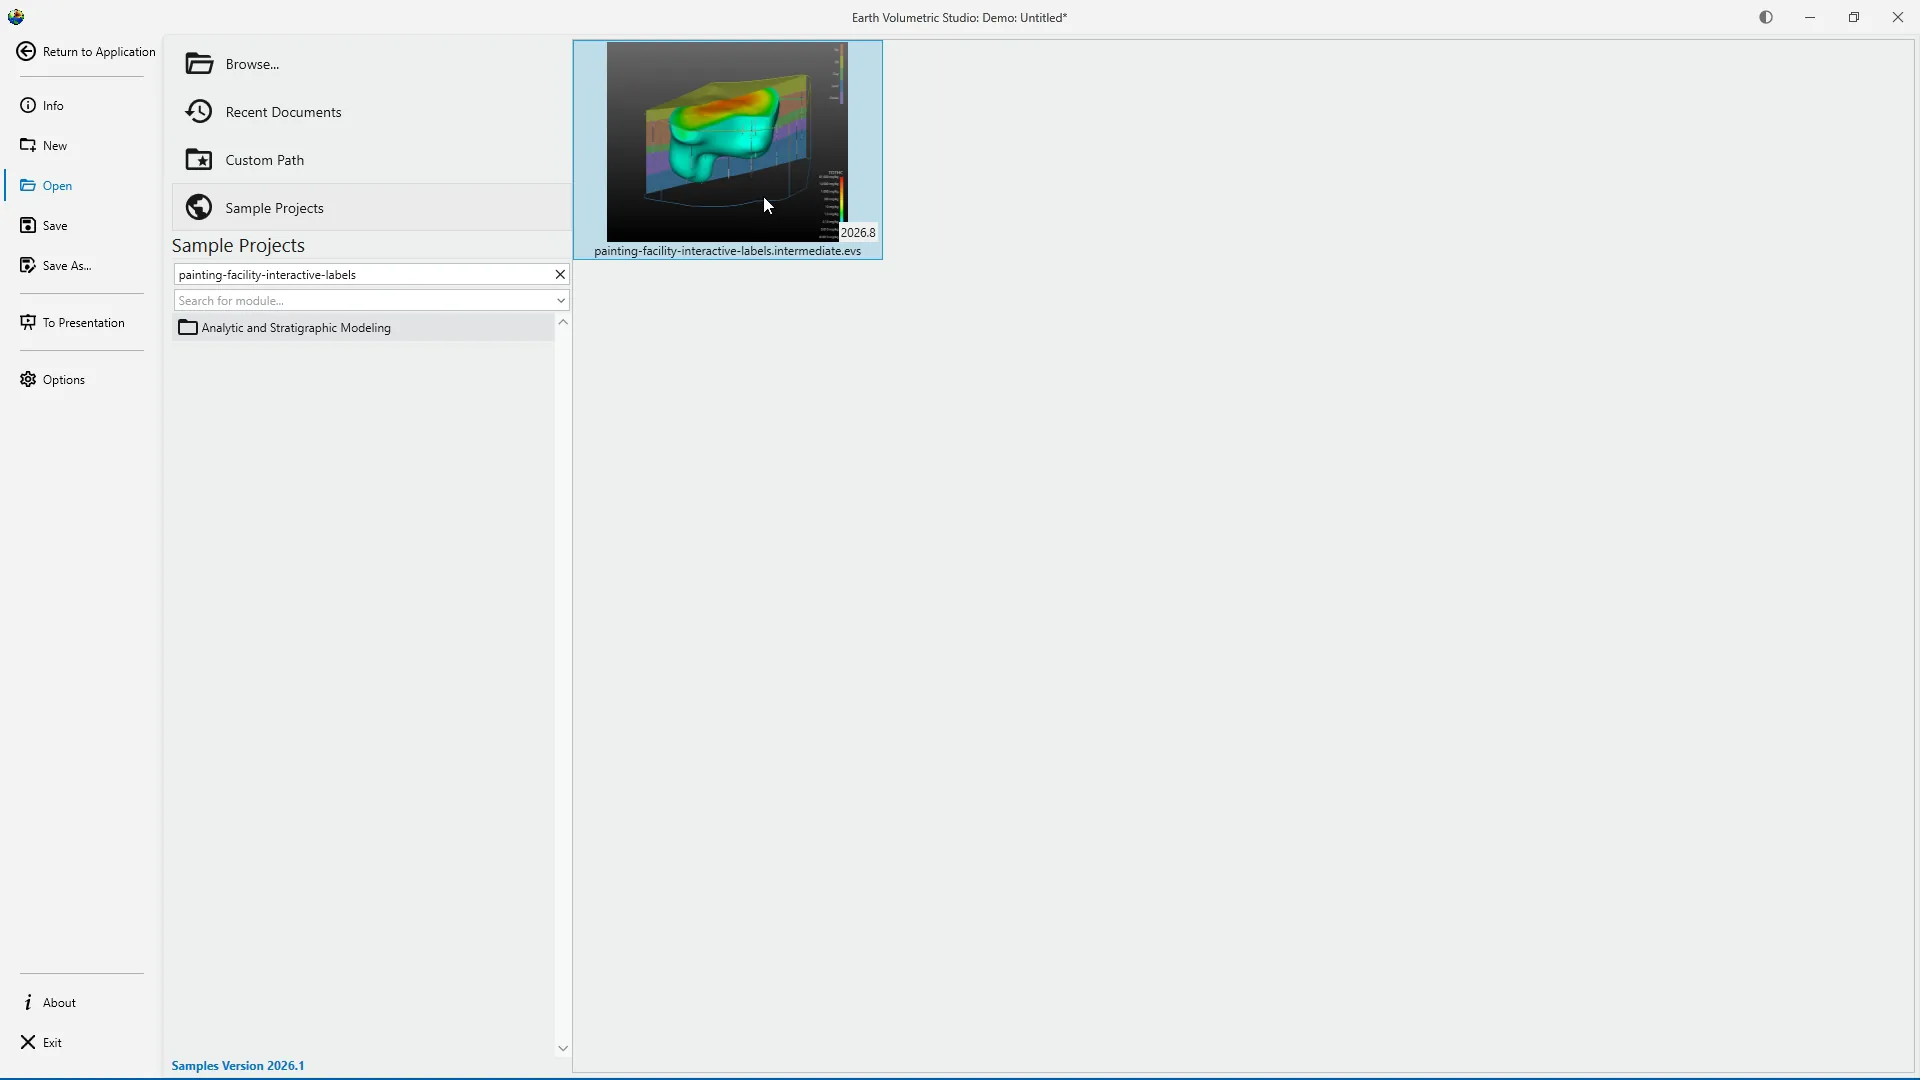
Select Sample Projects to view the example applications available in your EVS installation. If the list contains several projects, use Search for File to filter it by filename. For this tutorial, search for painting-facility-interactive-labels-intermediate-EVS. Select the project to display its information and available previews.
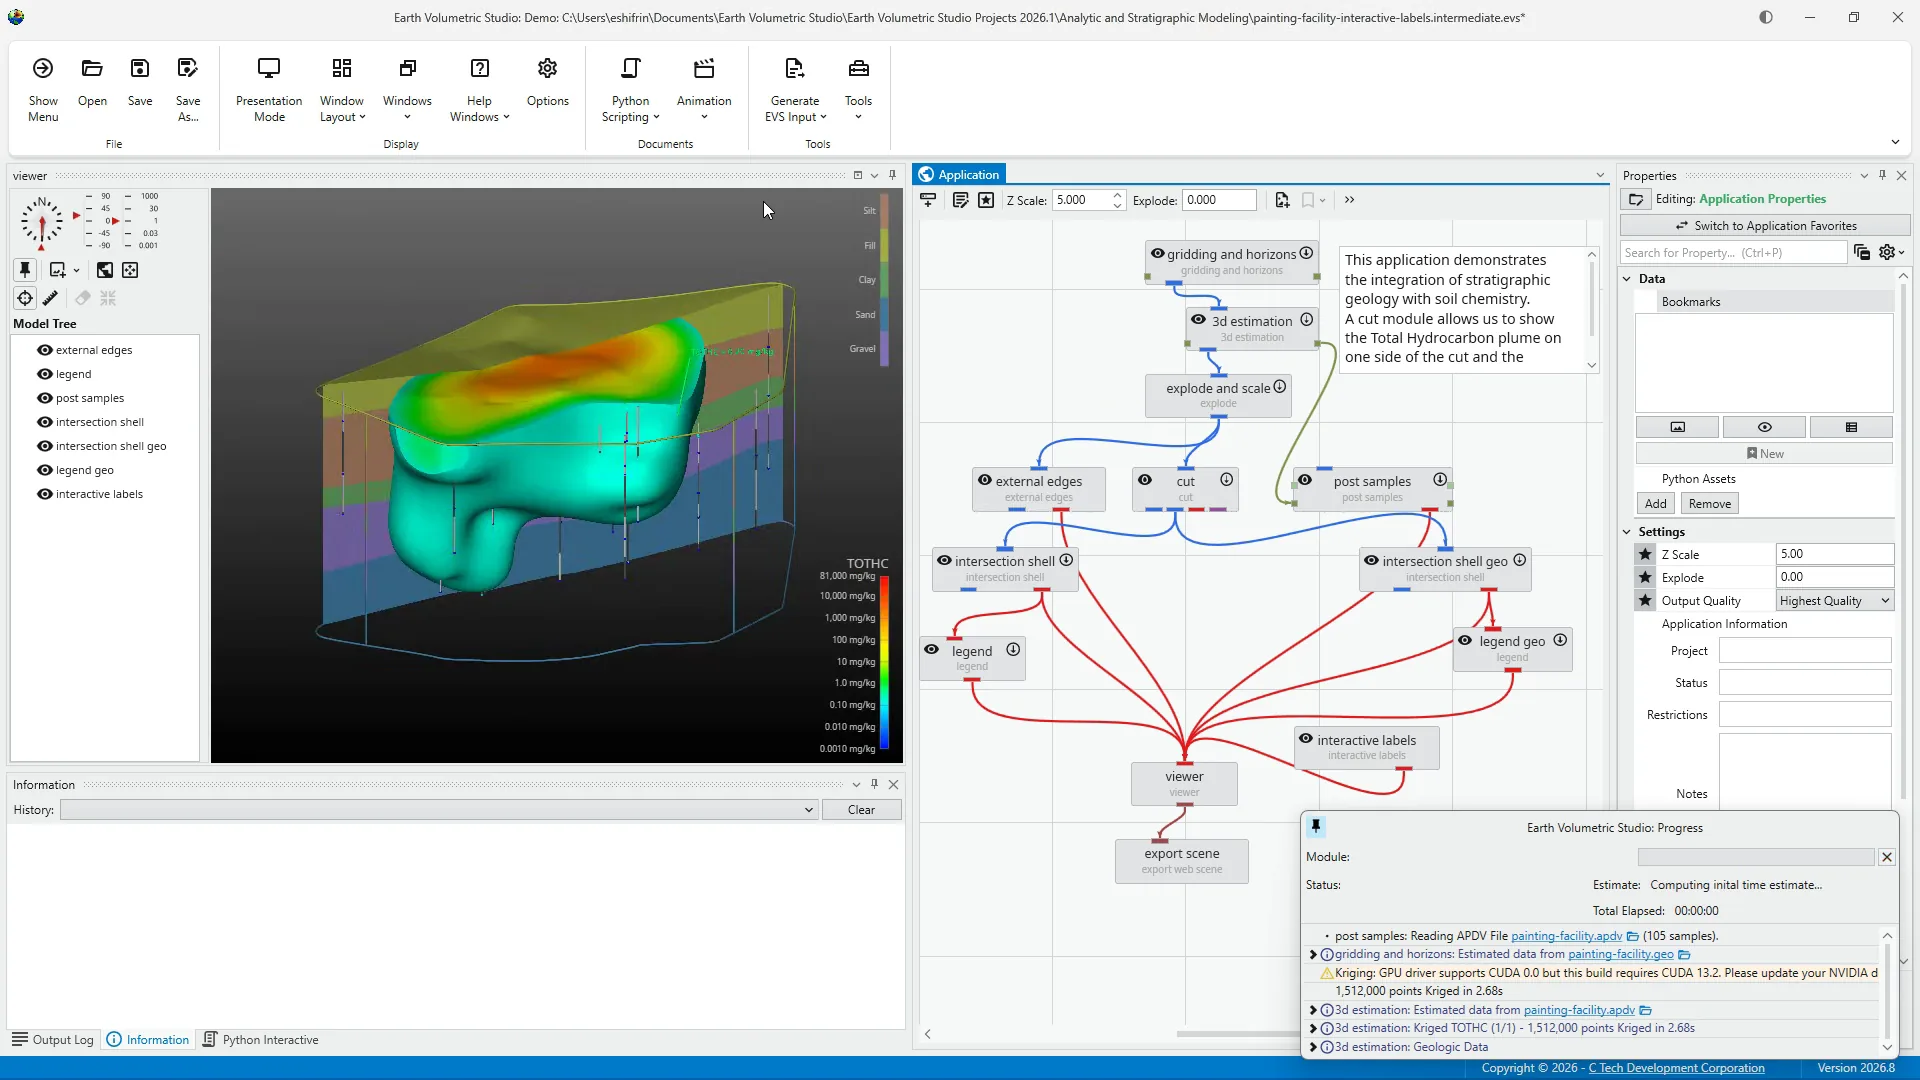
Click the sample project to open it in EVS. Allow EVS a moment to load and run the application. Once it has finished, EVS returns to the main workspace and displays the project.
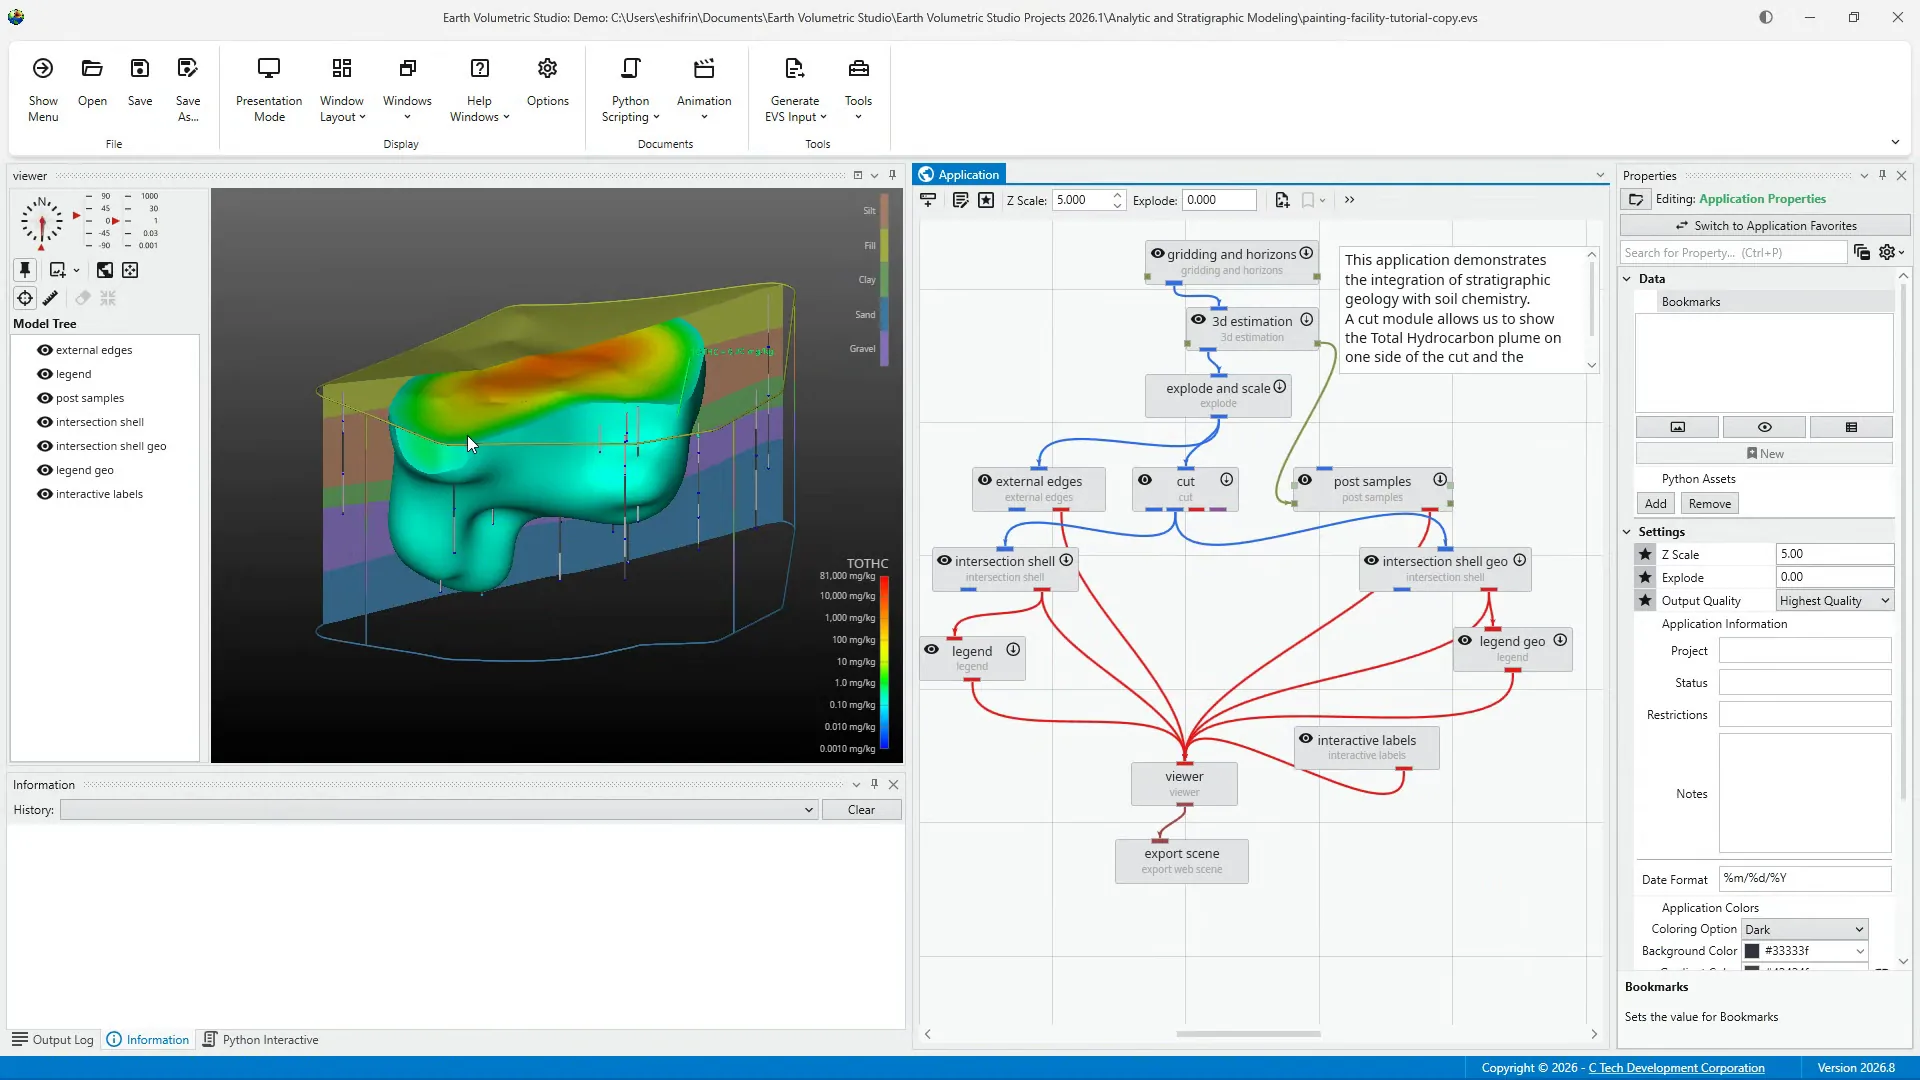
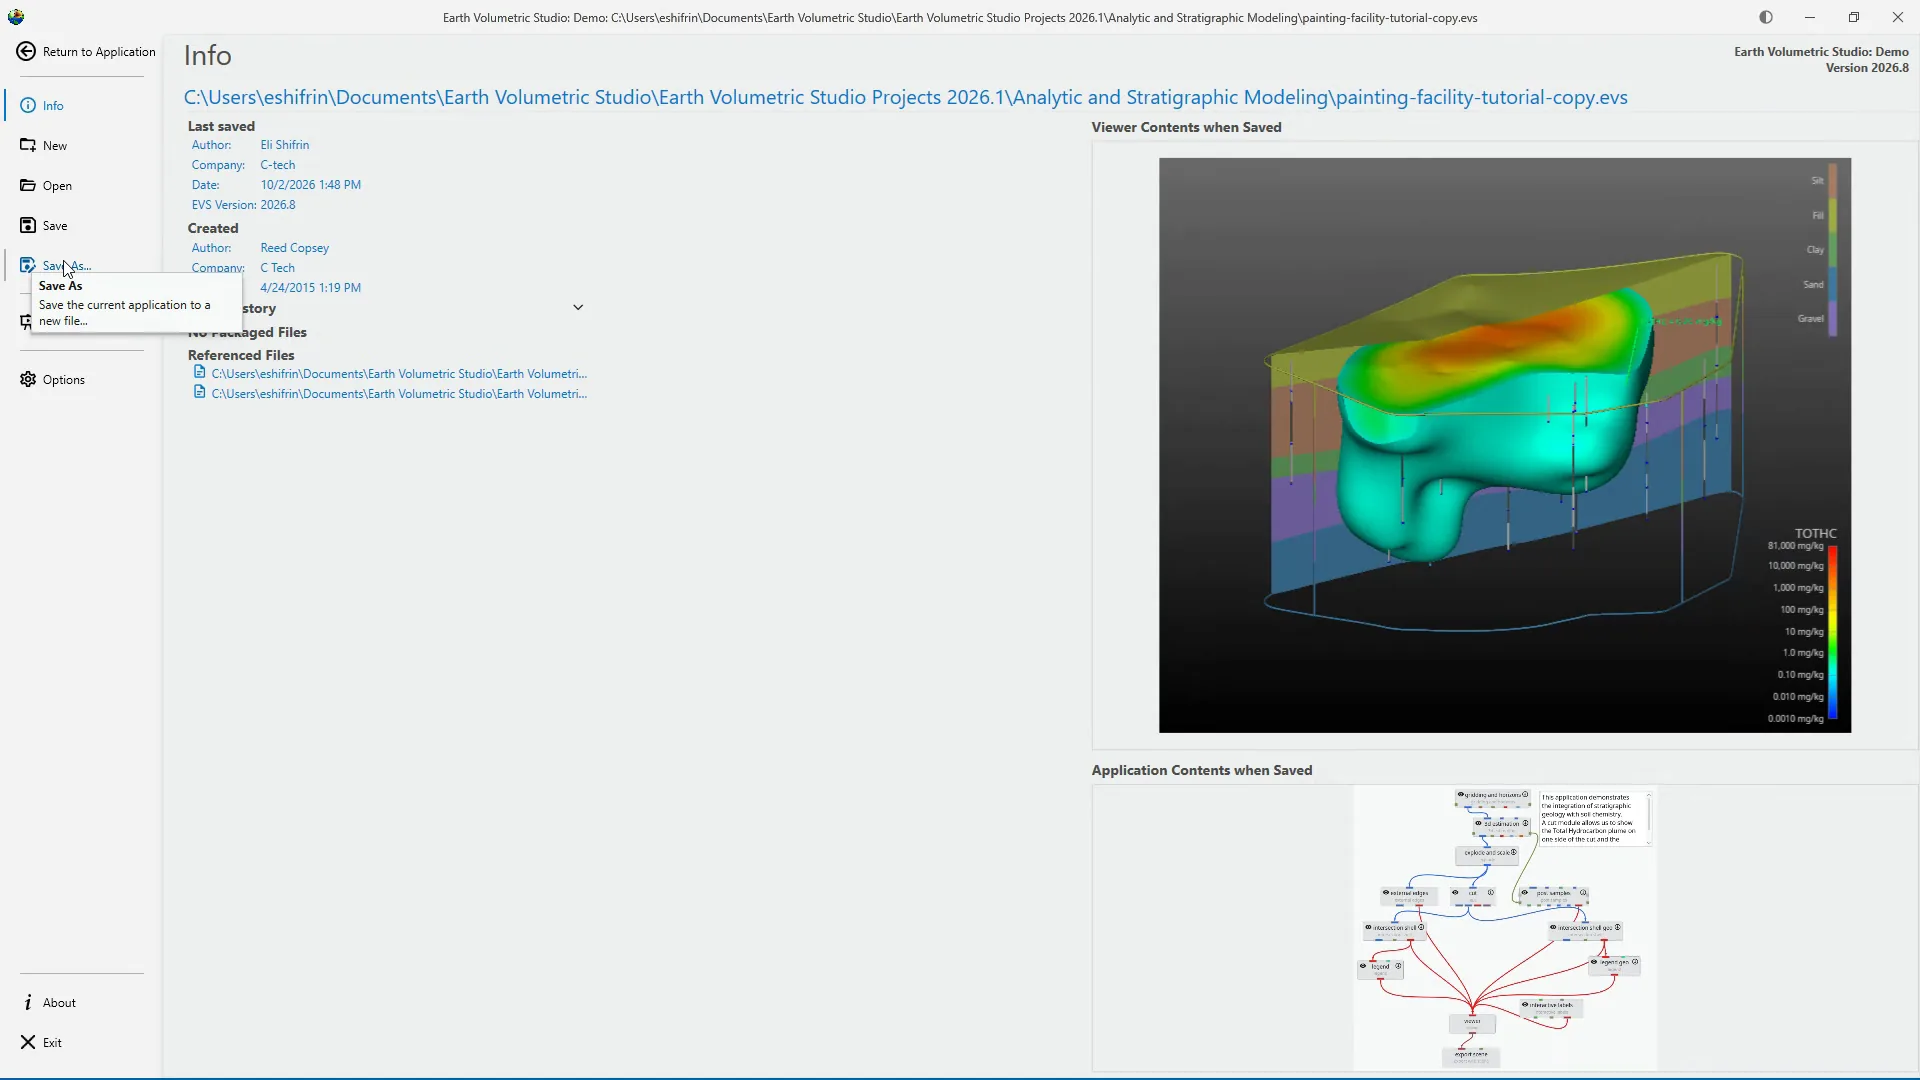
Before making changes to a Sample Project, it's a good practice to create a separate working copy. Select Save As to save the current project under a new filename or in a different location. Choose a location, enter a new filename, and save the project. This preserves the original Sample Project while giving you a separate copy for your own work. The saved copy is now the active application. Future changes can be saved to this file without modifying the original sample.
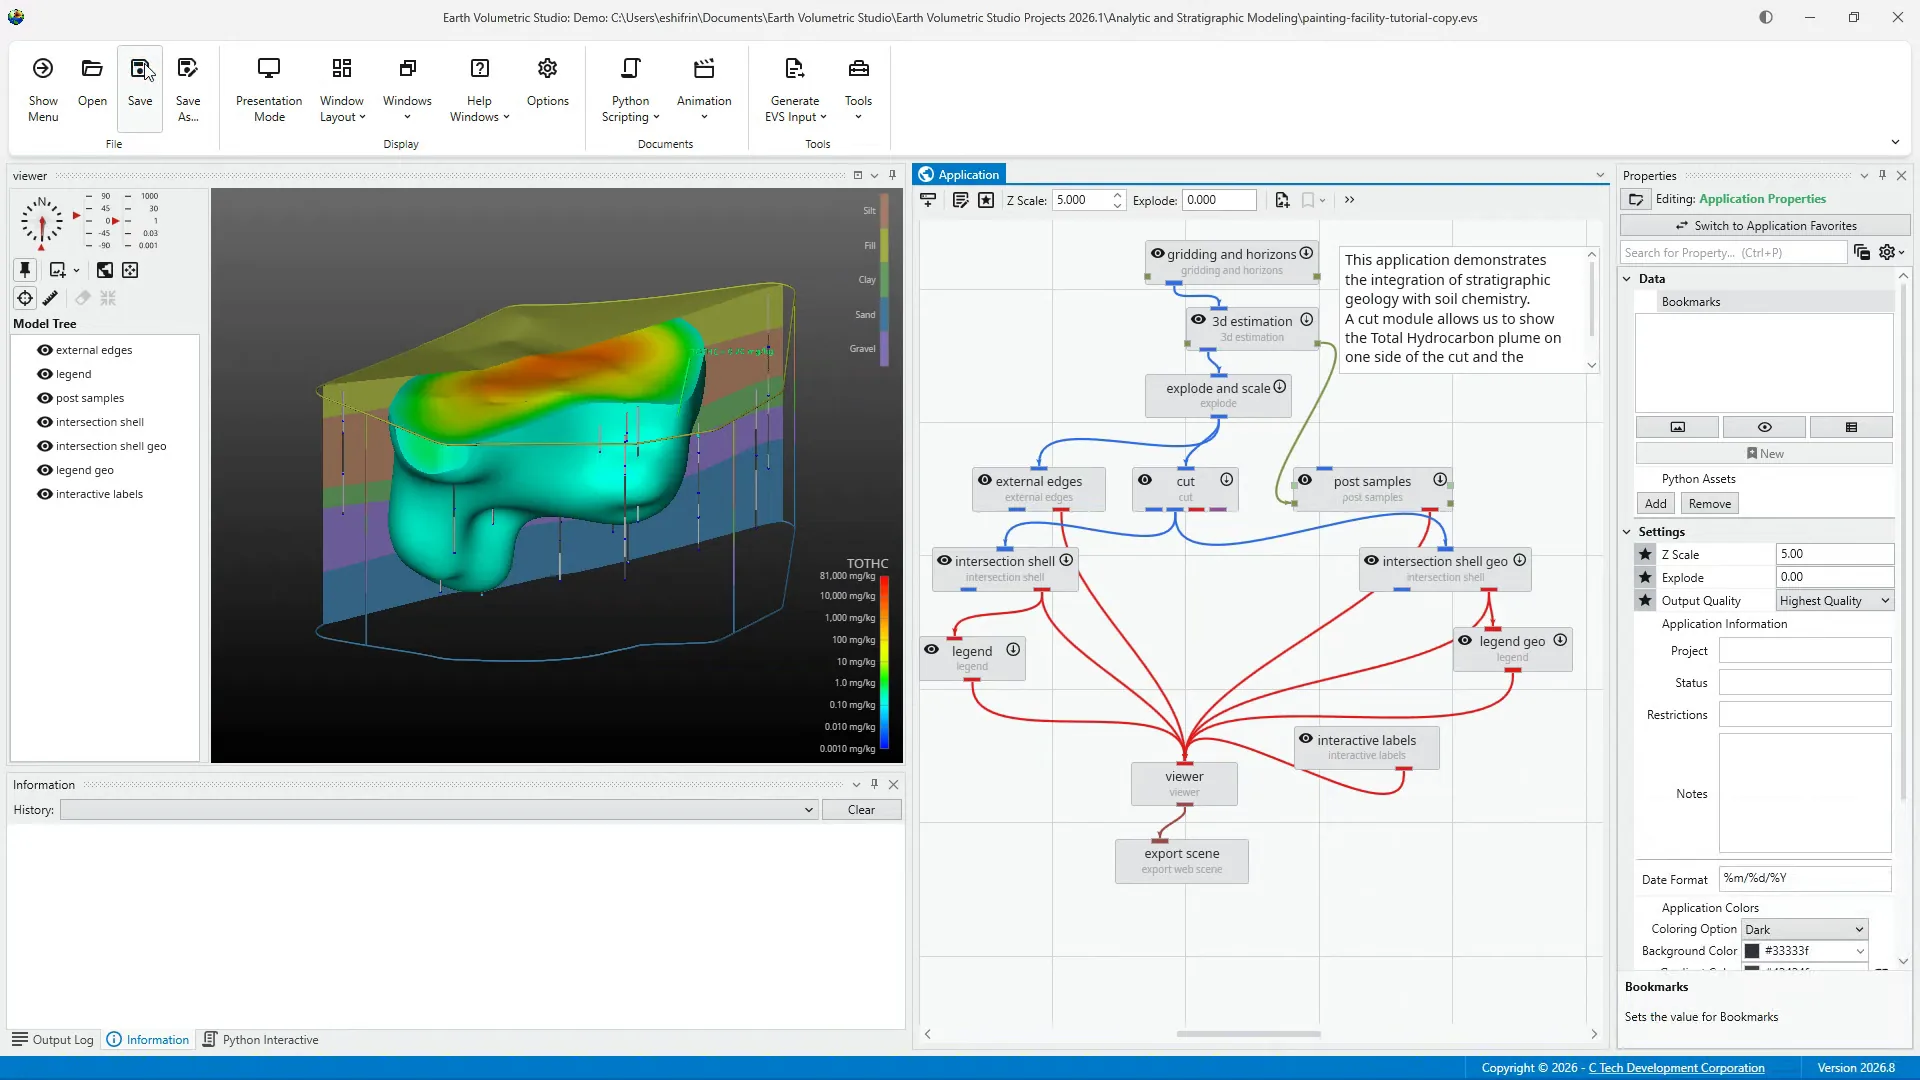
Use Save to update the active project without creating another copy. If an application has never been saved, EVS will ask you to choose a filename and location. After that, selecting Save updates the same file. The difference is simple: Save updates the active file, while Save As creates a new file or saves it in another location.
The same file commands are also available from the main application Menu. The toolbar provides quick access to the most common commands, while the Menu places them together with project information, presentation commands, program options, and other application controls.
Select Return to Application to close the Menu and return to the EVS workspace
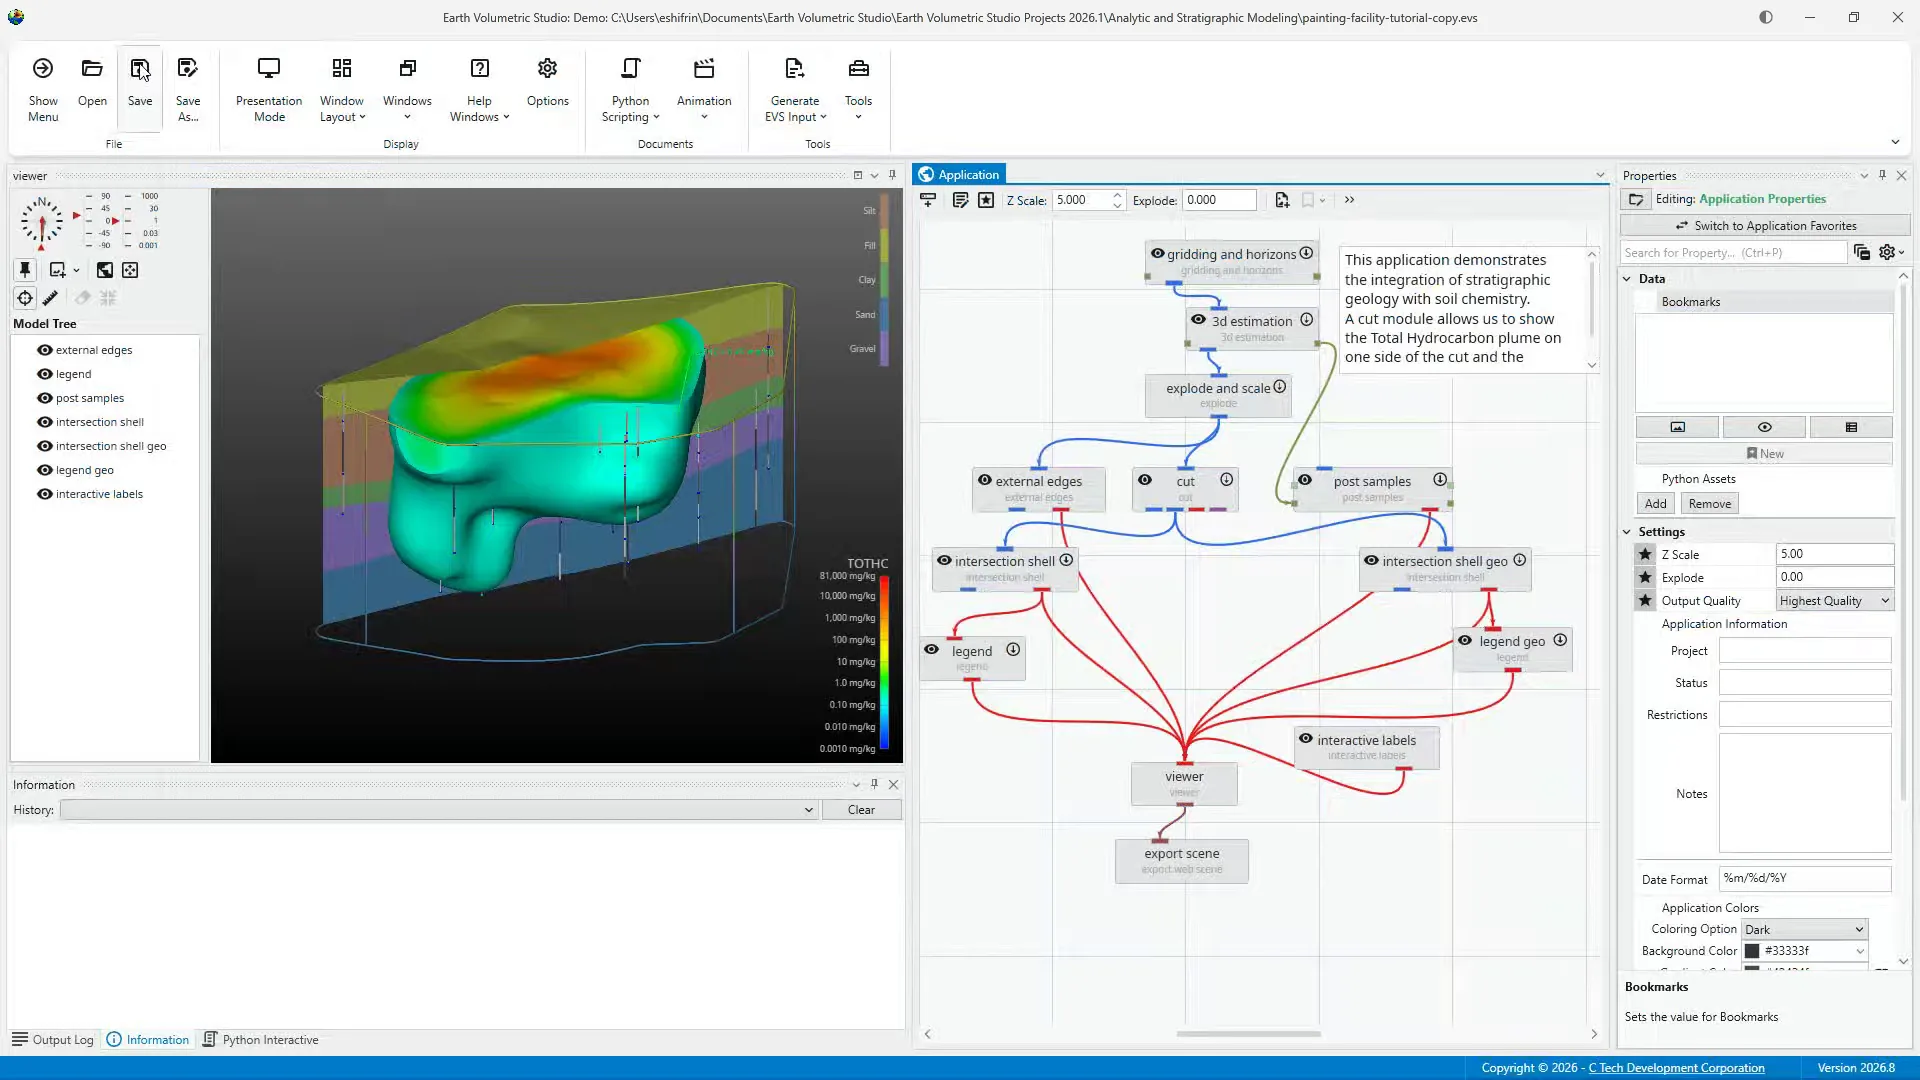
Next, the Generate EVS Input menu provides tools for creating several EVS-compatible file types. Under Analytical Data Files, AIDV, or Analyte Interval Data Values, stores analytical measurements across depth or elevation intervals, while APDV, or Analyte Point Data Values, stores measurements at individual sample locations. Under Lithology Data Files, LSDV represents lithology along screened or sampled intervals, LPDV stores lithology at individual points, and PGF, or Pre-Geology File, contains lithologic information used to build a geologic model. Finally, under Stratigraphic Data Files, the GEO File stores interpreted stratigraphic layers and horizons.
The tools menu contains utilities for preparing and converting EVS input files. Data Reduction reduces the number of points in a large dataset, while File Refinement and Filtering cleans, filters, or extracts selected data. Conversion tools convert LSDV to LPDV and GEO to GMF. The menu also includes Images to Animation, which combines a sequence of images into an animation, and Geo reference Image, which assigns real-world coordinates to an image.
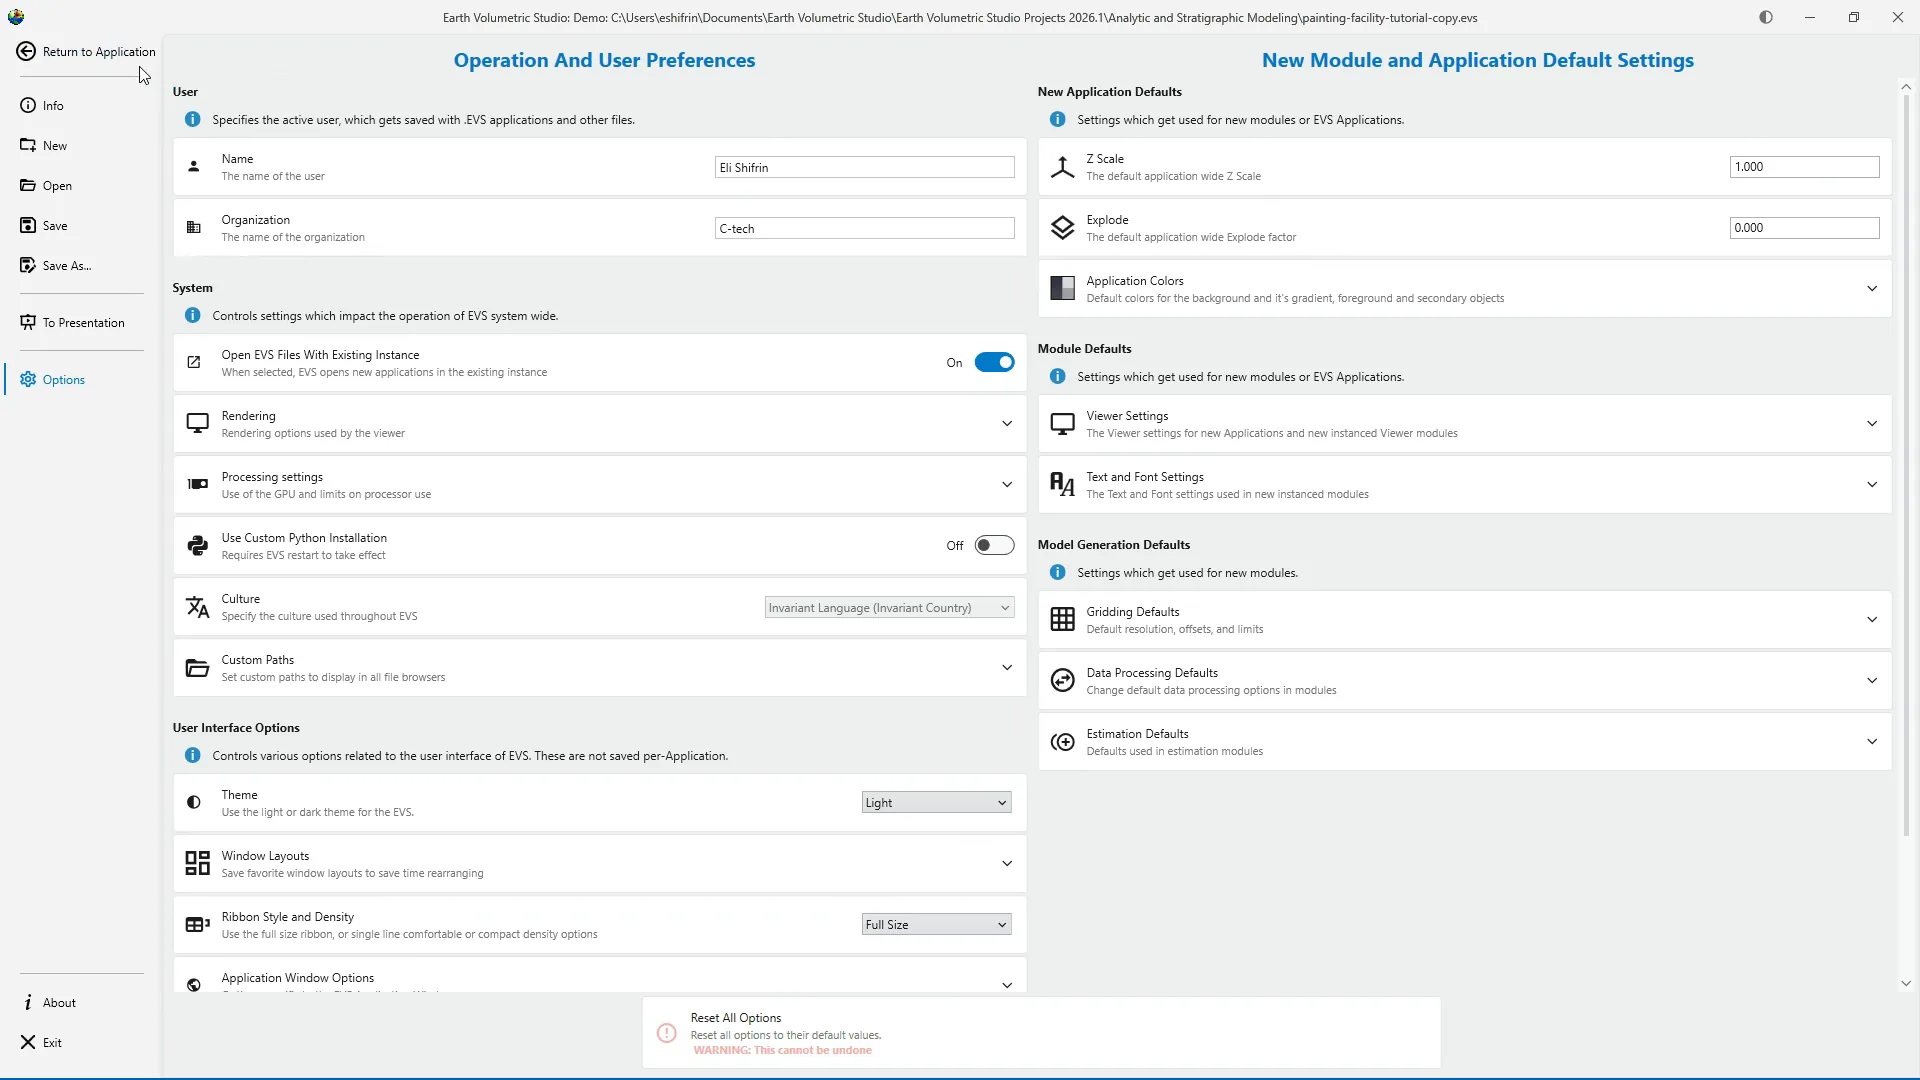
Select Options to open EVS's application-wide settings. This window allows you to customize user preferences, interface behavior, system resources, and default settings for new applications and modules. The settings are organized into sections to make them easier to navigate. We'll explore these controls in a future tutorial.
Select return to application to return to the EVS workspace.
In this tutorial, we explored the Main Toolbar and main application Menu, opened a Sample Project, and saved it as a separate working copy. We also located the data-transformation and supporting utilities available from the Tools section.
Introduction
Welcome back to Earth Volumetric Studio. In this tutorial, we'll explore the Main Toolbar and the main application Menu. We'll review common file commands, including New Open Save and Save As. We'll also learn how to find and open a Sample Project, then identify the data-preparation tools available from the toolbar. Before we begin, make sure you've downloaded the EVS Sample Projects. These files are required for the demo version of EVS to work properly, and we'll use them throughout the tutorial so you can follow along.
1Main Toolbar Overview
The Main Toolbar is located across the top of the EVS workspace. It organizes commands into four sections: File, Display, Documents, and Tools. We'll begin with the File section, then briefly identify the other toolbar commands before looking more closely at the data-preparation tools.
2File Section
The File section contains four commands: Show Menu, Open, Save and Save As. Show Menu opens the main application Menu. Open provides quick access to existing EVS projects. Save updates the active project, while Save As creates a new copy or saves the project in a different location.
3Display Section
The Display section contains commands for controlling the EVS workspace. Presentation Mode simplifies the interface for presenting a completed application. Window Layout applies a saved window arrangement. Windows controls which EVS windows are visible, and Help Windows provides access to EVS Help. Options opens the program's application wide settings.
4Documents Section
The Documents section contains Python Scripting and Animation. Python Scripting provides tools for creating, opening, and running Python scripts. Animation provides access to EVS animation commands and controls. These are specialized features that we'll leave for future tutorials.
5Tools Section
The tools section contains two drop-down menus: Generate EVS Input and Tools. Generate EVS Input helps create files for use in EVS. The Tools menu contains additional utilities for file conversion, data processing, image preparation, and animation. We'll return to both menus near the end of this tutorial.
6Show Menu
Let's return to the File section and select Show Menu.
7Main Application Menu (1)
This opens the main application Menu. The Menu temporarily replaces the workspace with a dedicated area for managing projects and accessing program settings.
8Main Application Menu (2)
The navigation bar along the left side provides access to Info, New, Open, Save, Save As, To Presentation, Options, About, and Exit. Select Return to Application when you're ready to close the Menu and return to the workspace.
9New
Select New when you want to begin with an empty EVS application. Creating a new application would close or replace the current workspace, so we won't select it during this tutorial.
10Open
Select Open to locate and load an existing EVS project.
11Open Menu
The Open screen provides several ways to locate a project. Recent Documents displays files you've opened previously. Browse opens the standard file browser so you can locate an EVS project on your computer or network. You may also see shortcuts to custom project folders. Finally, Sample Projects provides access to example applications installed with EVS.
12Select painting-facility-interactive-labels
Select Sample Projects to view the example applications available in your EVS installation. If the list contains several projects, use Search for File to filter it by filename. For this tutorial, search for painting-facility-interactive-labels-intermediate-EVS. Select the project to display its information and available previews.
13Load Sample Project
Click the sample project to open it in EVS. Allow EVS a moment to load and run the application. Once it has finished, EVS returns to the main workspace and displays the project.
14Save As
Before making changes to a Sample Project, it's a good practice to create a separate working copy. Select Save As to save the current project under a new filename or in a different location. Choose a location, enter a new filename, and save the project. This preserves the original Sample Project while giving you a separate copy for your own work. The saved copy is now the active application. Future changes can be saved to this file without modifying the original sample.
15Save
Use Save to update the active project without creating another copy. If an application has never been saved, EVS will ask you to choose a filename and location. After that, selecting Save updates the same file. The difference is simple: Save updates the active file, while Save As creates a new file or saves it in another location.
16Application Menu File Commands
The same file commands are also available from the main application Menu. The toolbar provides quick access to the most common commands, while the Menu places them together with project information, presentation commands, program options, and other application controls.
17Return to Application
Select Return to Application to close the Menu and return to the EVS workspace
18Generate EVS Input
Next, the Generate EVS Input menu provides tools for creating several EVS-compatible file types. Under Analytical Data Files, AIDV, or Analyte Interval Data Values, stores analytical measurements across depth or elevation intervals, while APDV, or Analyte Point Data Values, stores measurements at individual sample locations. Under Lithology Data Files, LSDV represents lithology along screened or sampled intervals, LPDV stores lithology at individual points, and PGF, or Pre-Geology File, contains lithologic information used to build a geologic model. Finally, under Stratigraphic Data Files, the GEO File stores interpreted stratigraphic layers and horizons.
19Tools Menu
The tools menu contains utilities for preparing and converting EVS input files. Data Reduction reduces the number of points in a large dataset, while File Refinement and Filtering cleans, filters, or extracts selected data. Conversion tools convert LSDV to LPDV and GEO to GMF. The menu also includes Images to Animation, which combines a sequence of images into an animation, and Geo reference Image, which assigns real-world coordinates to an image.
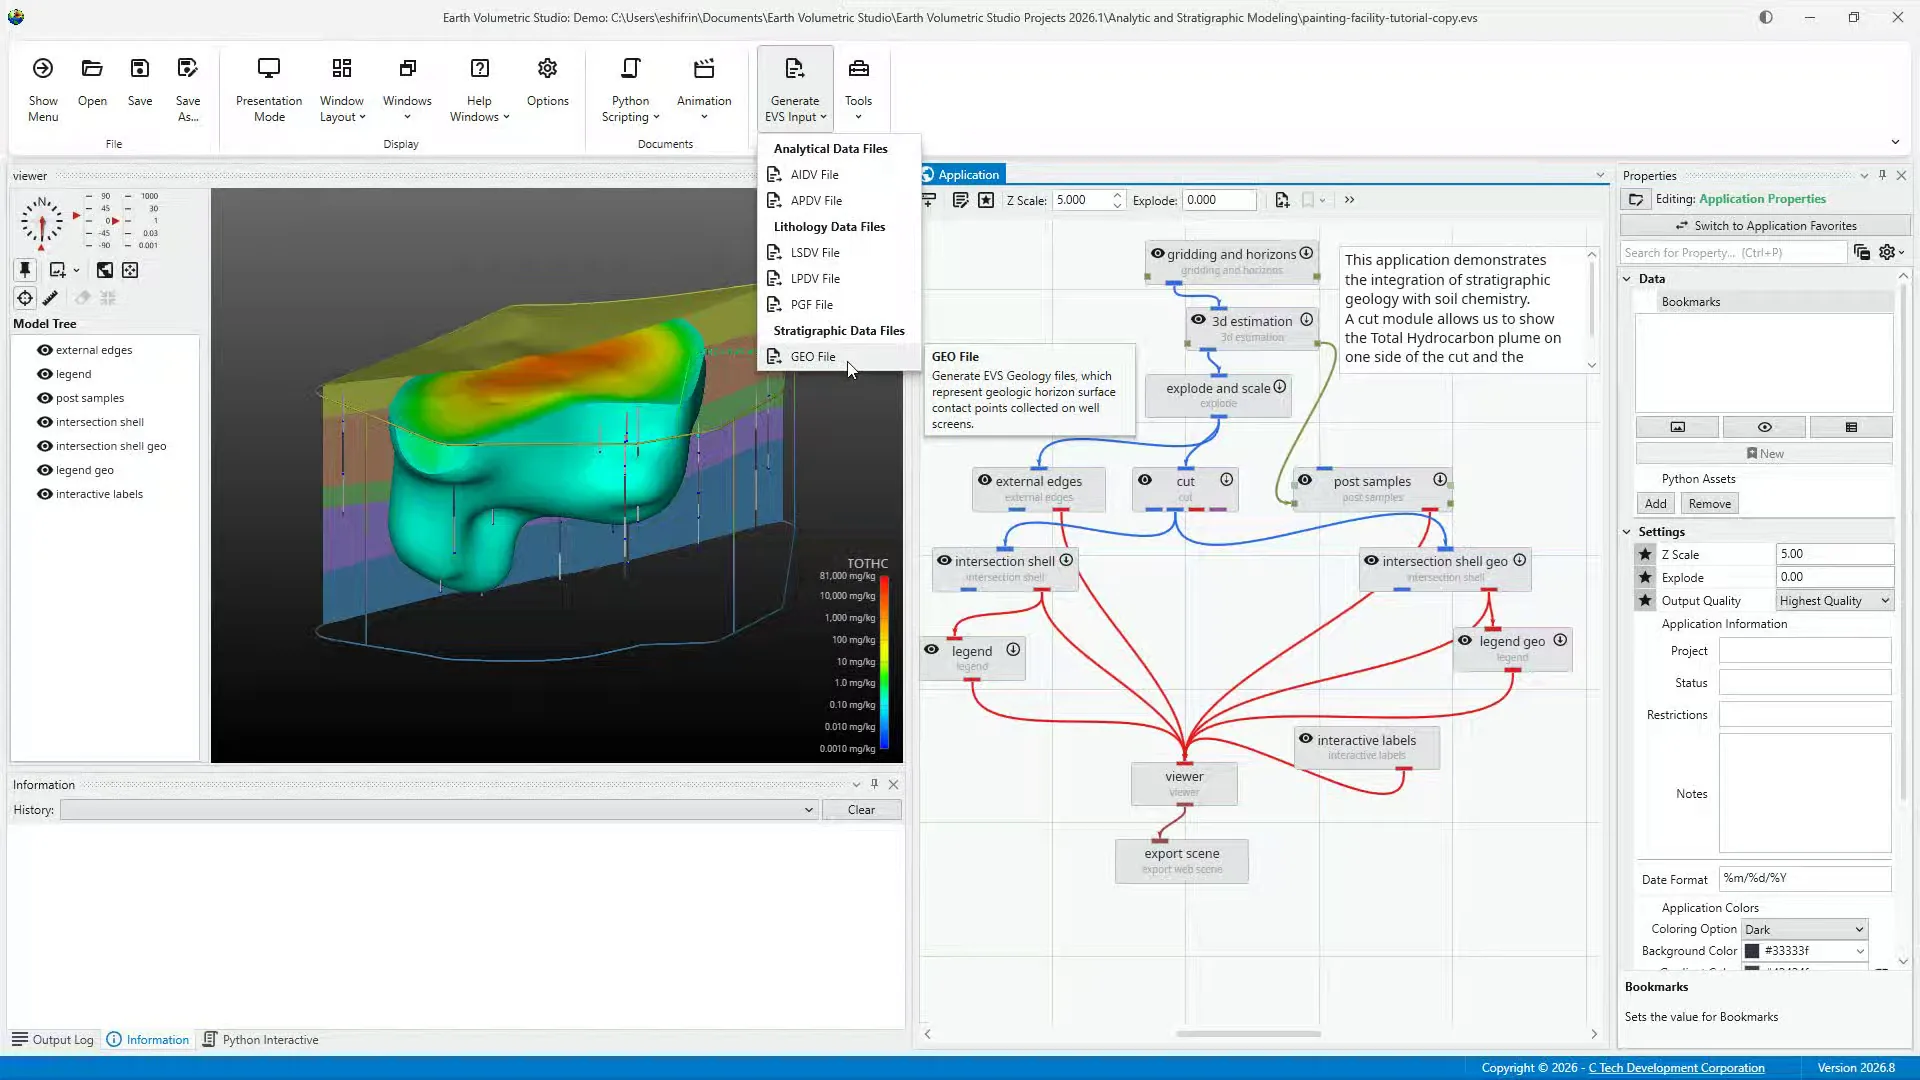
20Options
Select Options to open EVS's application-wide settings. This window allows you to customize user preferences, interface behavior, system resources, and default settings for new applications and modules. The settings are organized into sections to make them easier to navigate. We'll explore these controls in a future tutorial.
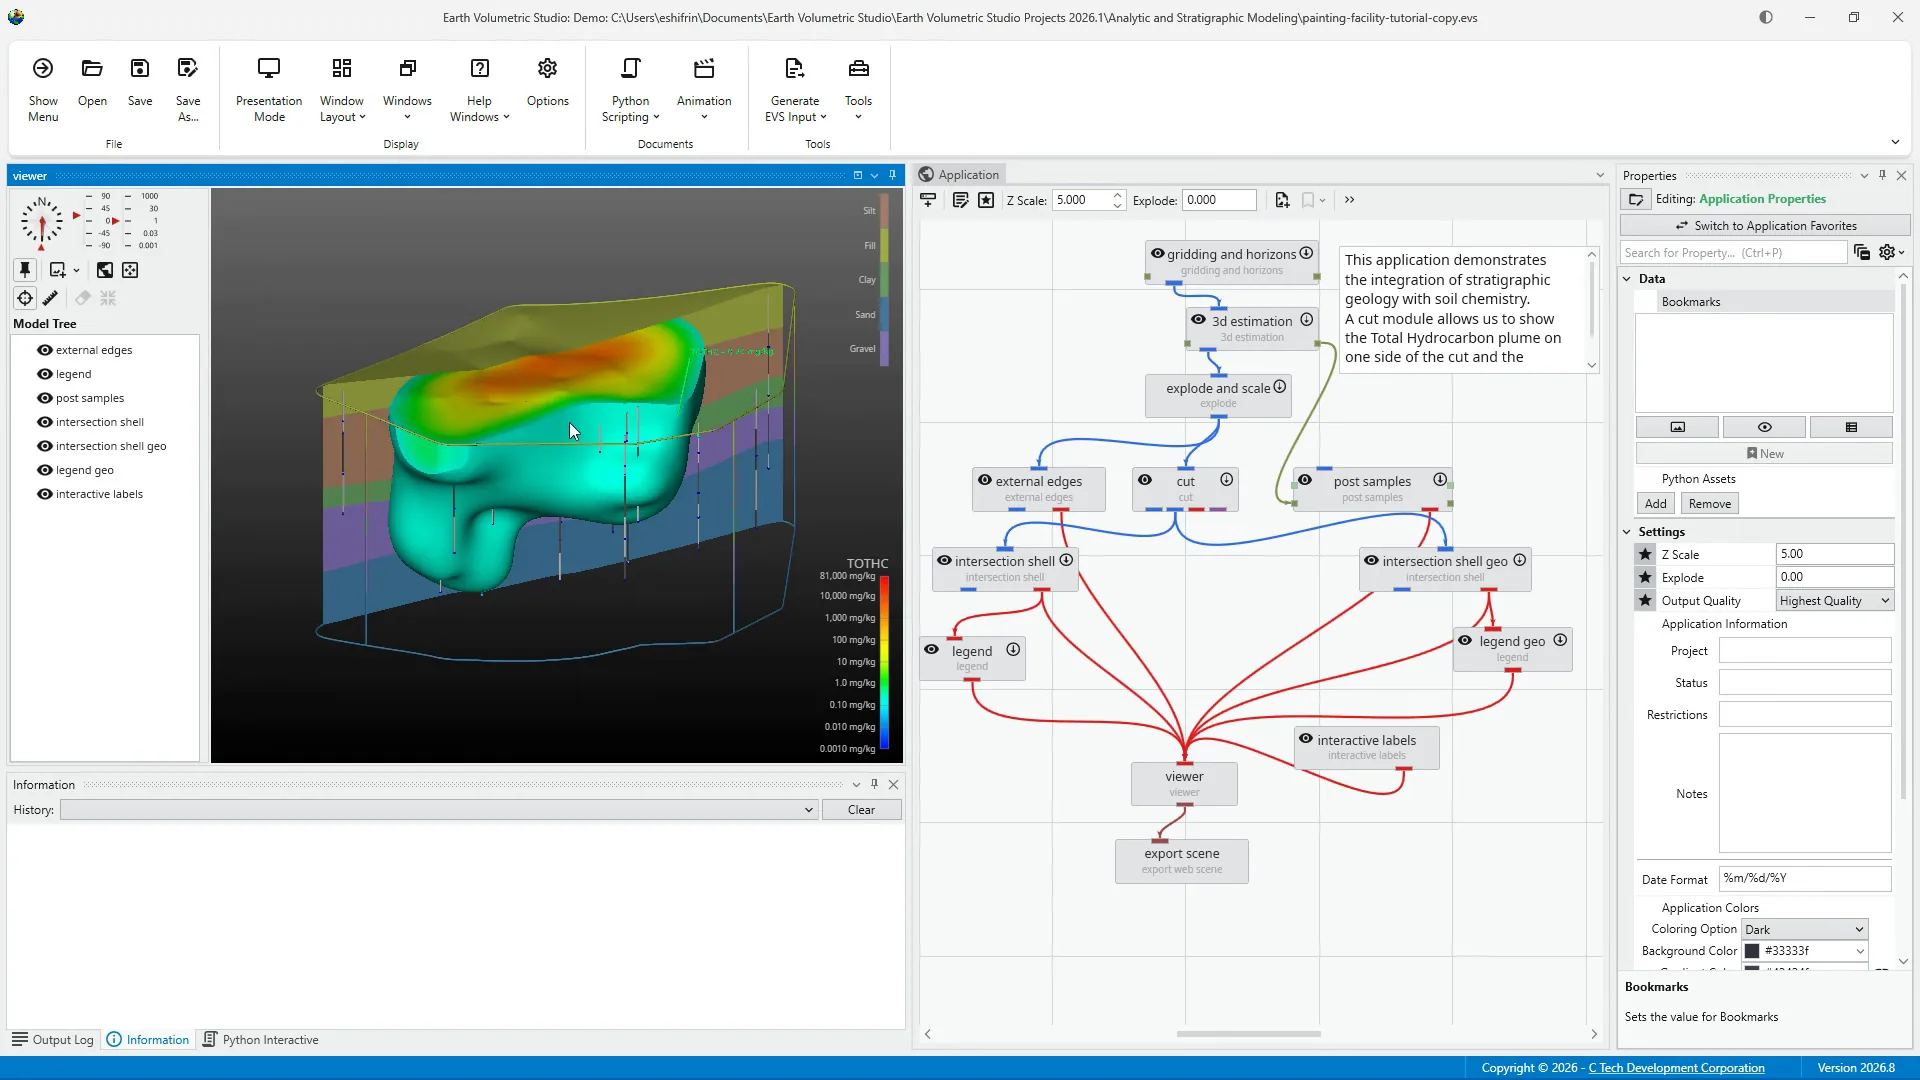
21Return to EVS workspace
Select return to application to return to the EVS workspace.
Summary
In this tutorial, we explored the Main Toolbar and main application Menu, opened a Sample Project, and saved it as a separate working copy. We also located the data-transformation and supporting utilities available from the Tools section.