
As mentioned in the video, the following files are available for download:
- EVS application: the application used to create the animation
- Final animation (MP4): the rendered output
Introduction
This tutorial explains how to use the animator tool to create dynamic titles with updating slice values. You will learn the process from setting up modules to rendering the final animation.
This video will show how we can use the animator tool to generate dynamically updating titles.
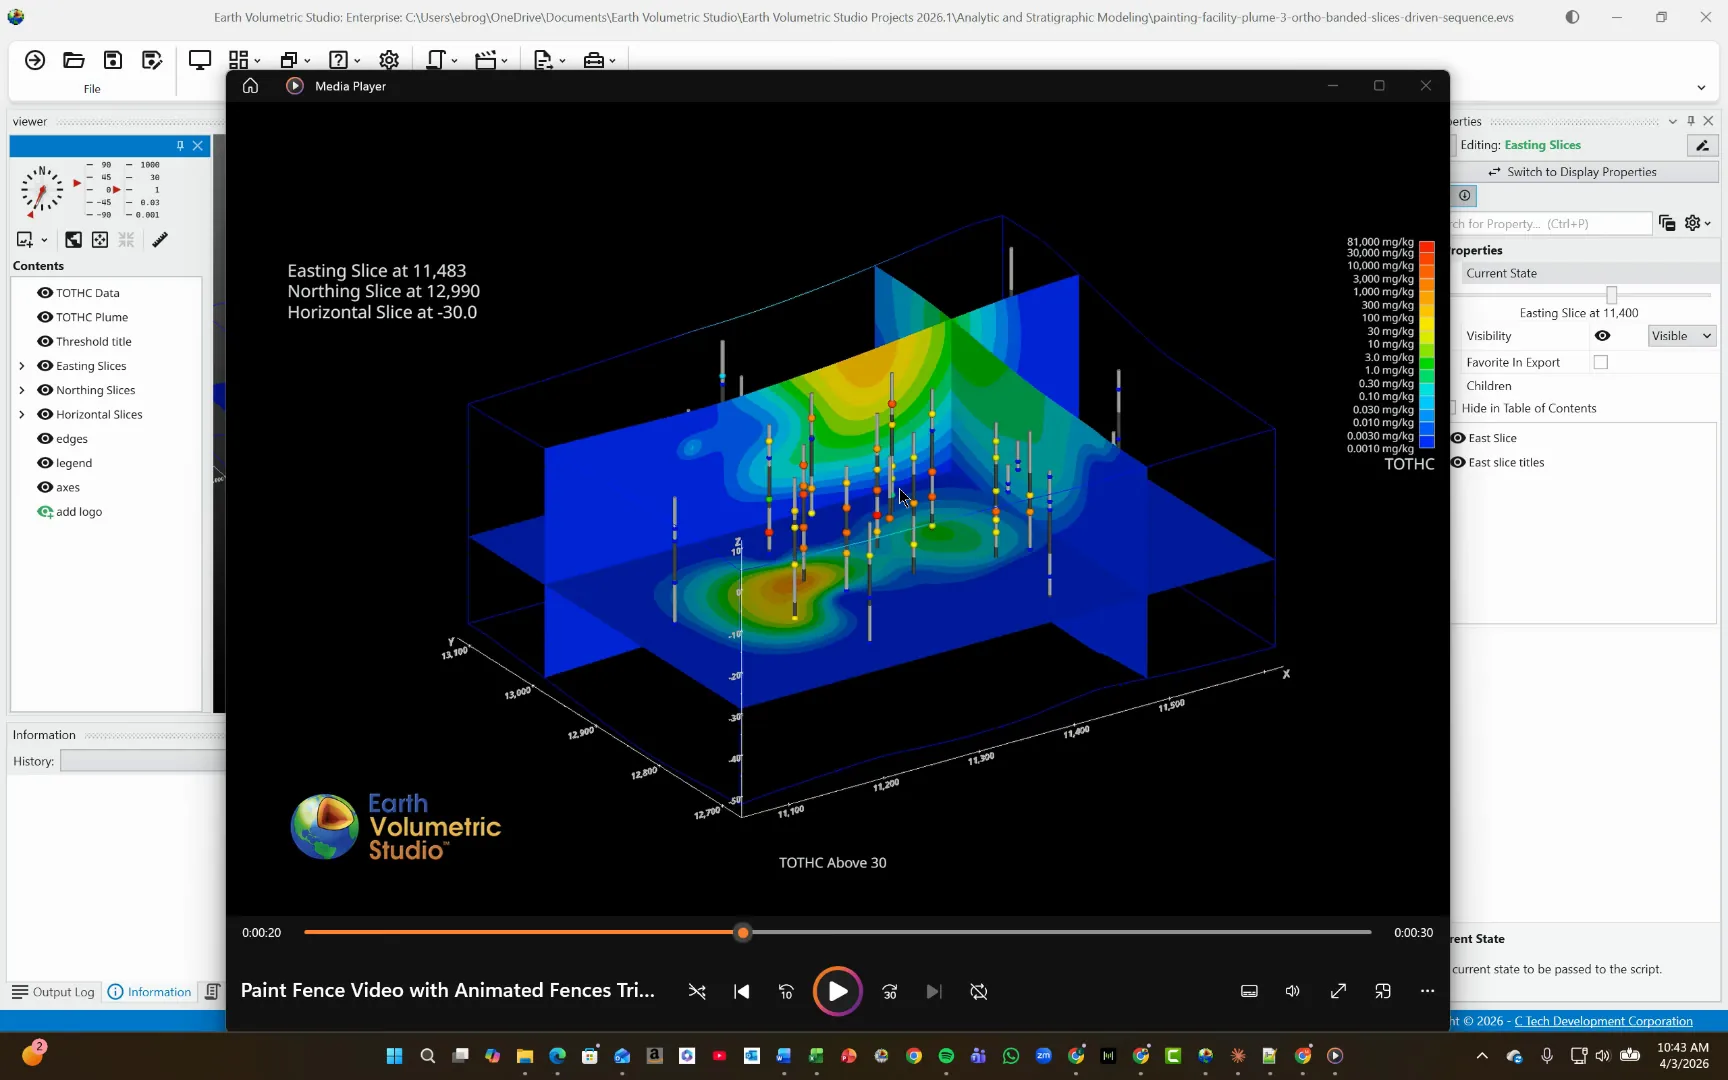
Notice how, as we move through these slices in the animator, you see the easting slices, northing slices, and horizontal slice values update. The X values are changing here.
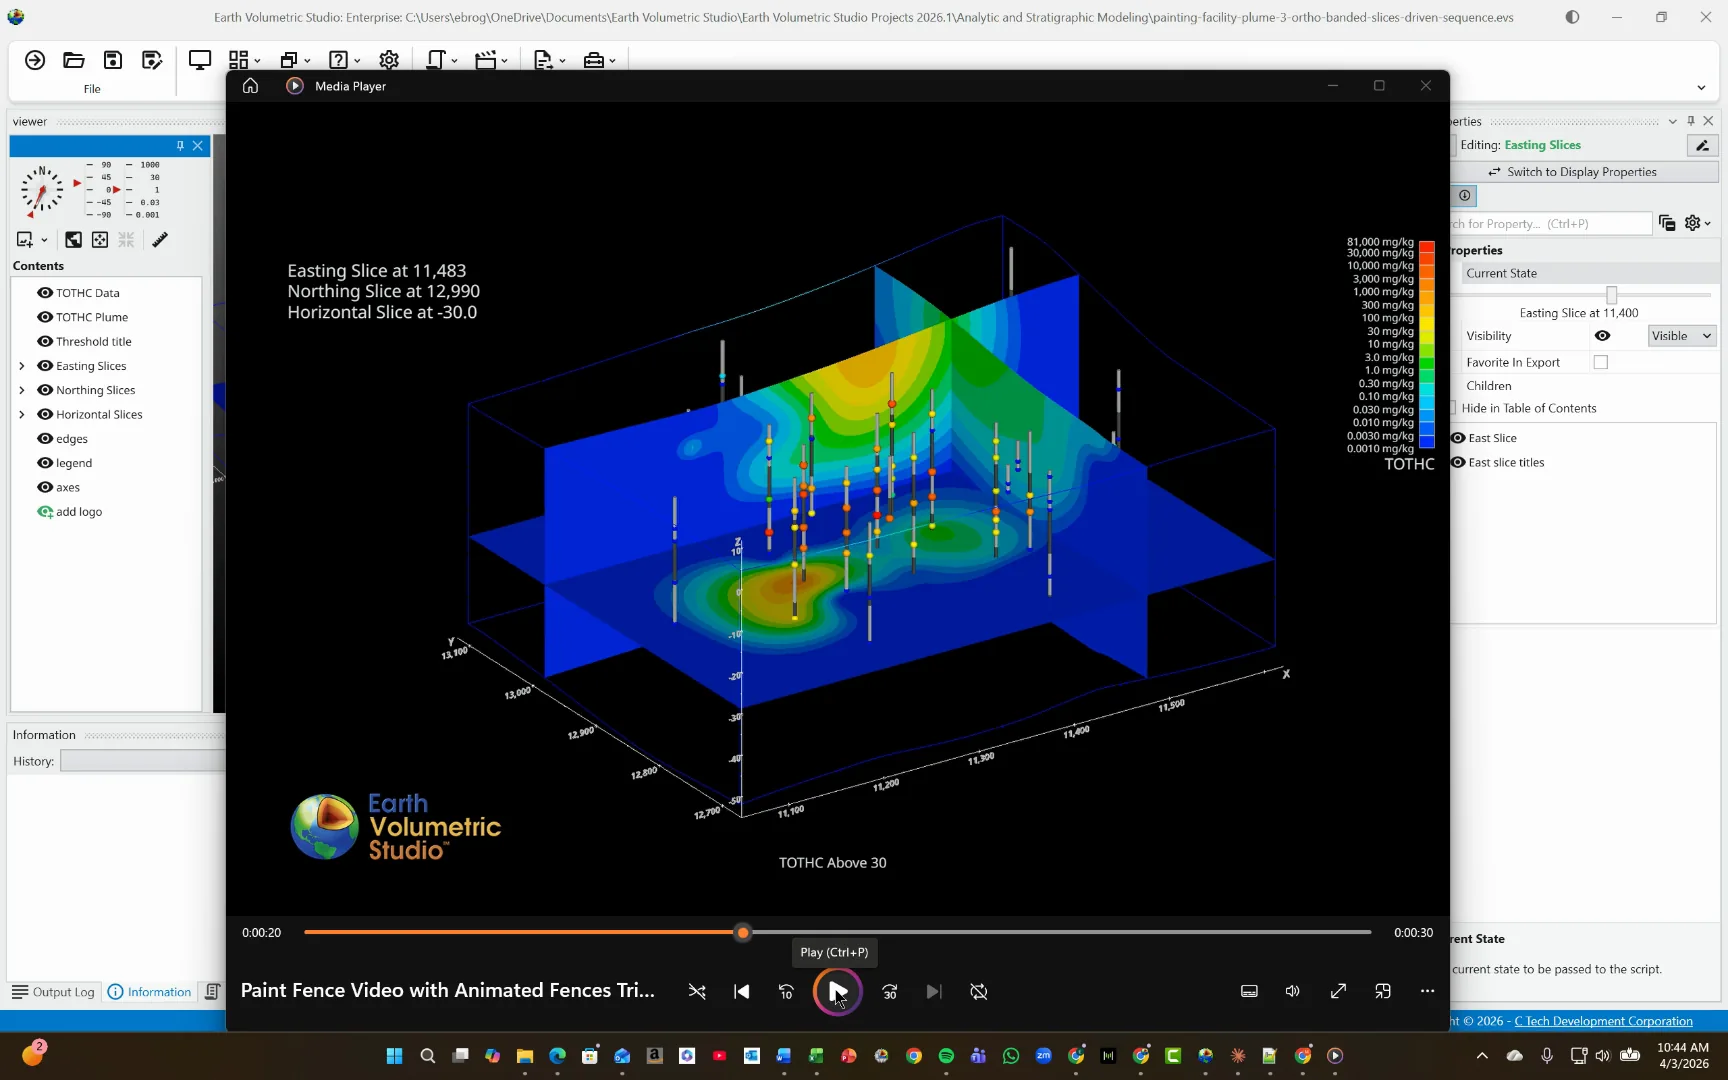
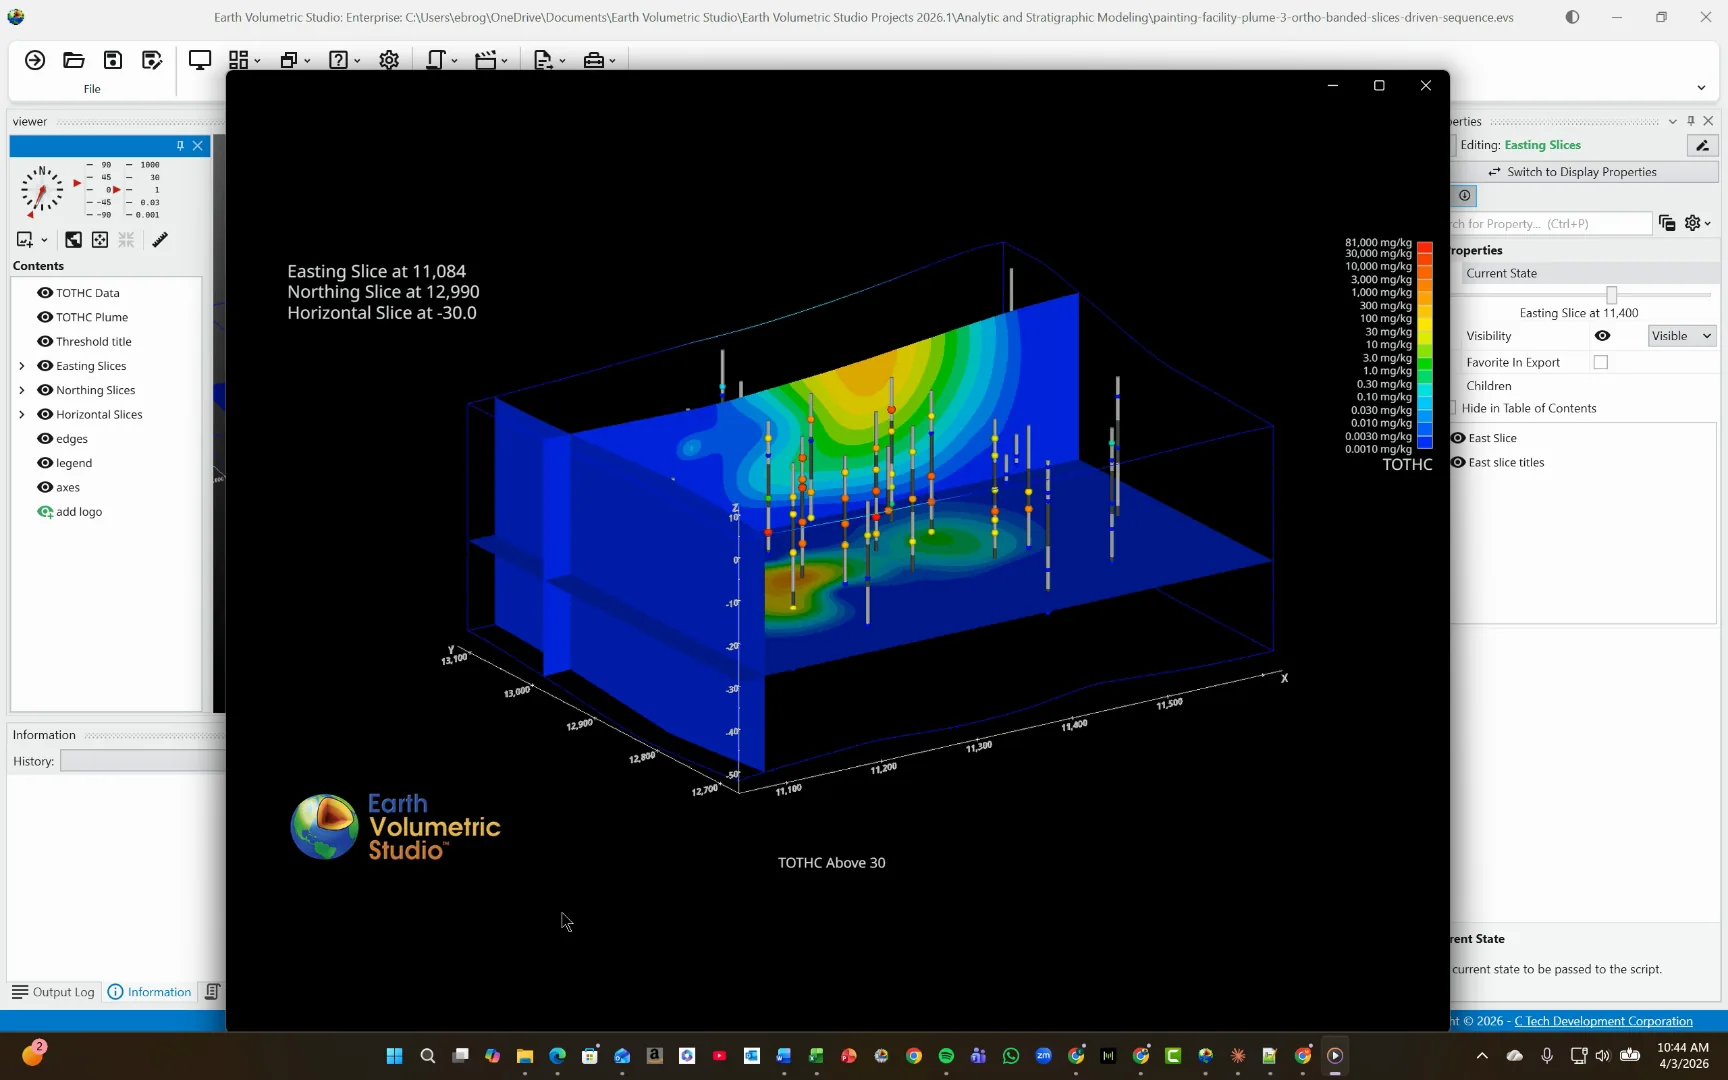
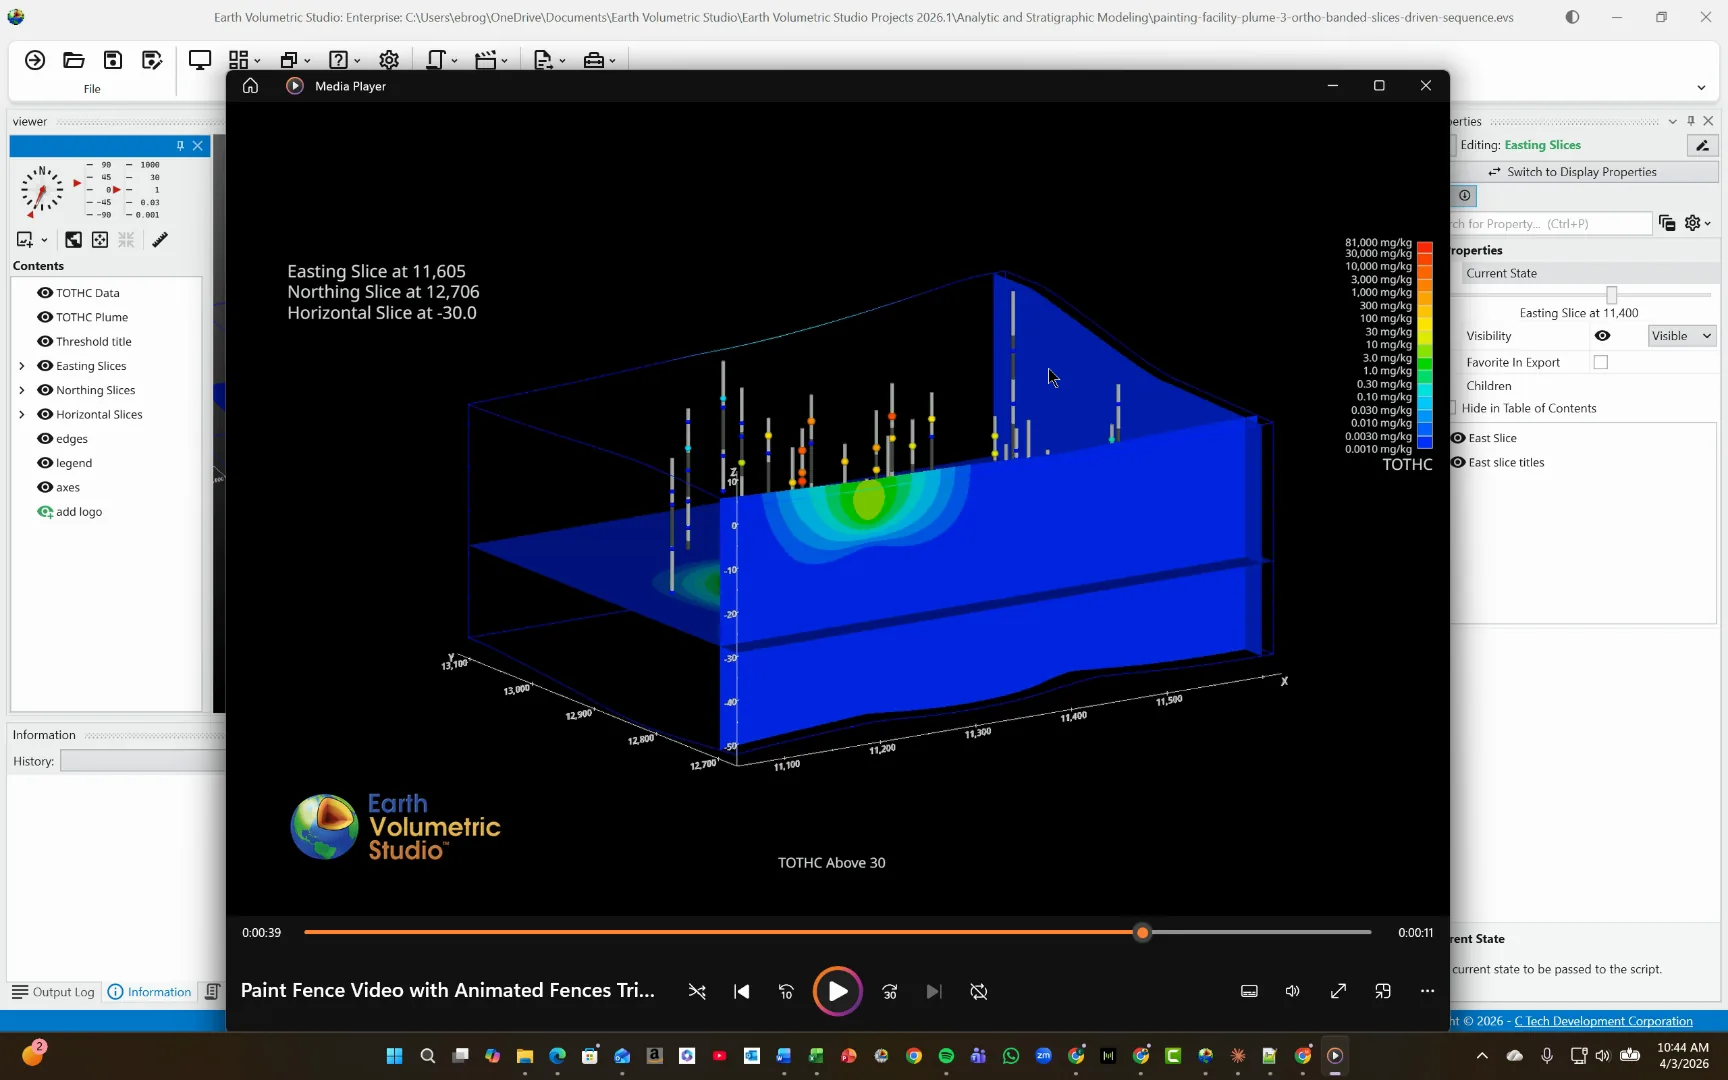
And now we'll see how the y values are changing. You can stop the video at any time and move it backwards or forward.
Now let's see how this is done.
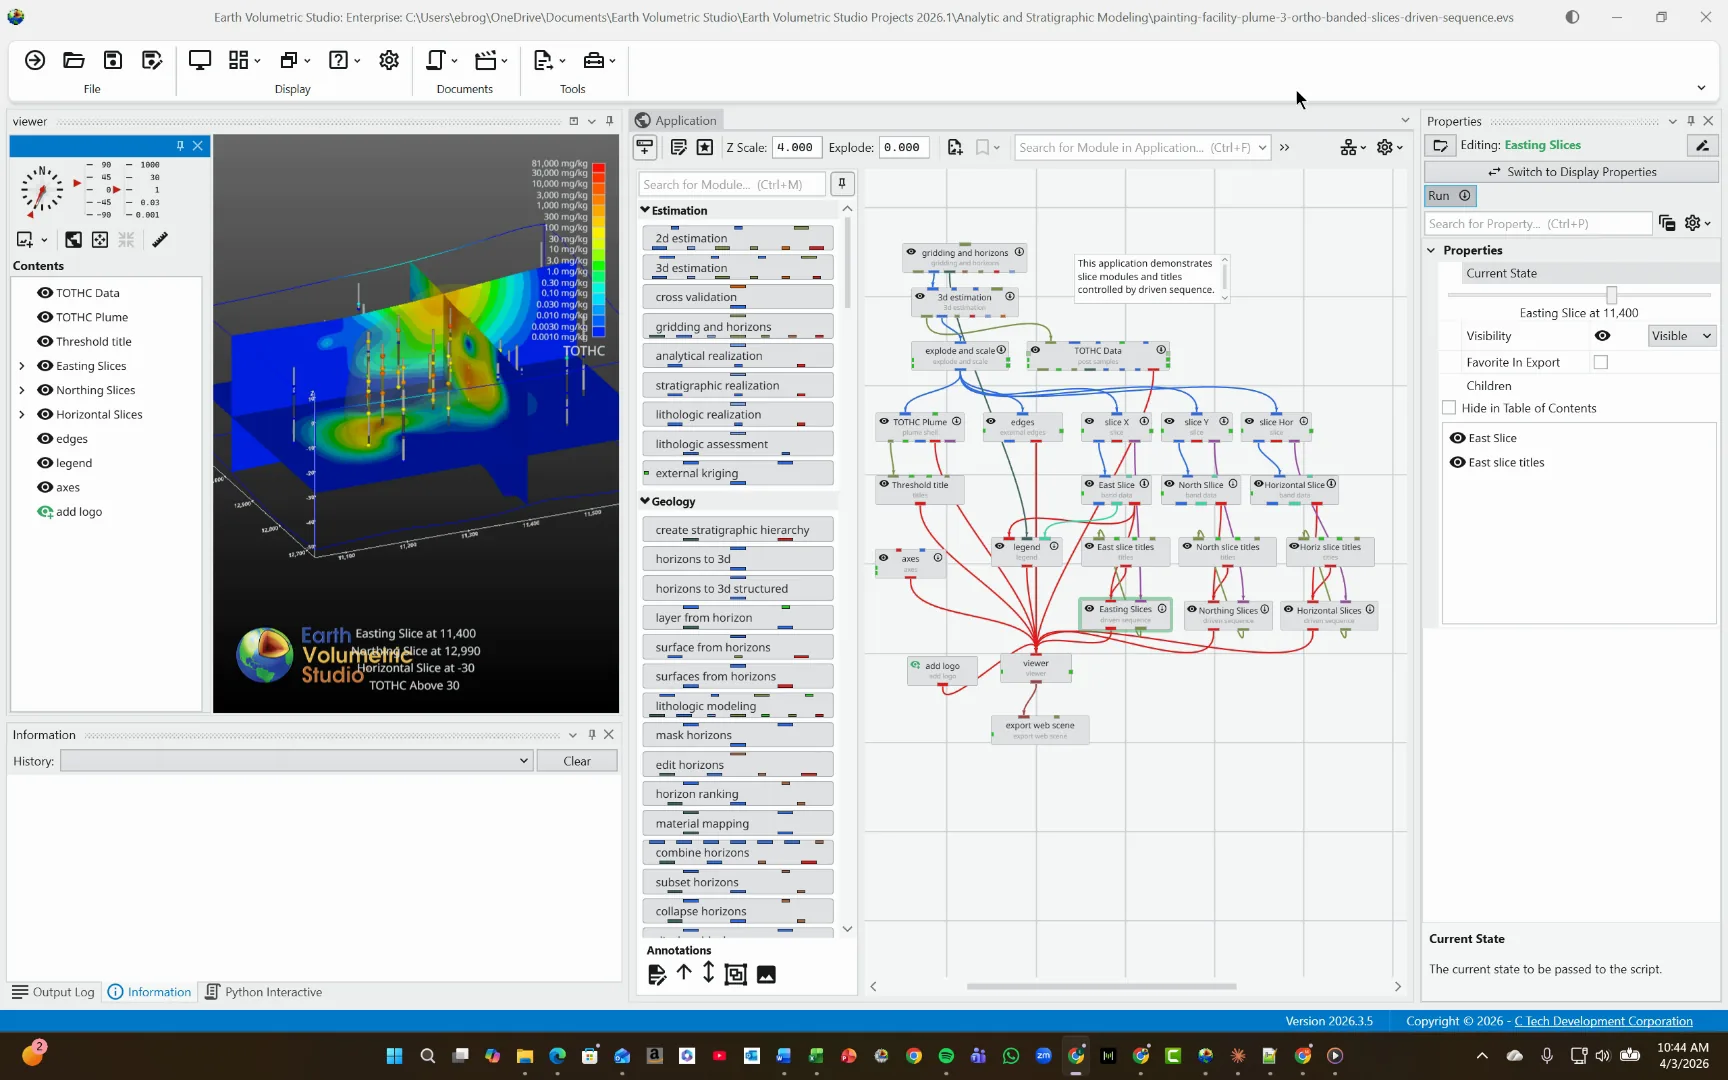
This example uses a sample project entitled Painting Facility Plume 3 Ortho Banded Slices Driven Sequence. It is in the Earth Volumetric Studio\Earth Volumetric Studio Projects 2026.1\Analytic and Stratigraphic Modeling folder.
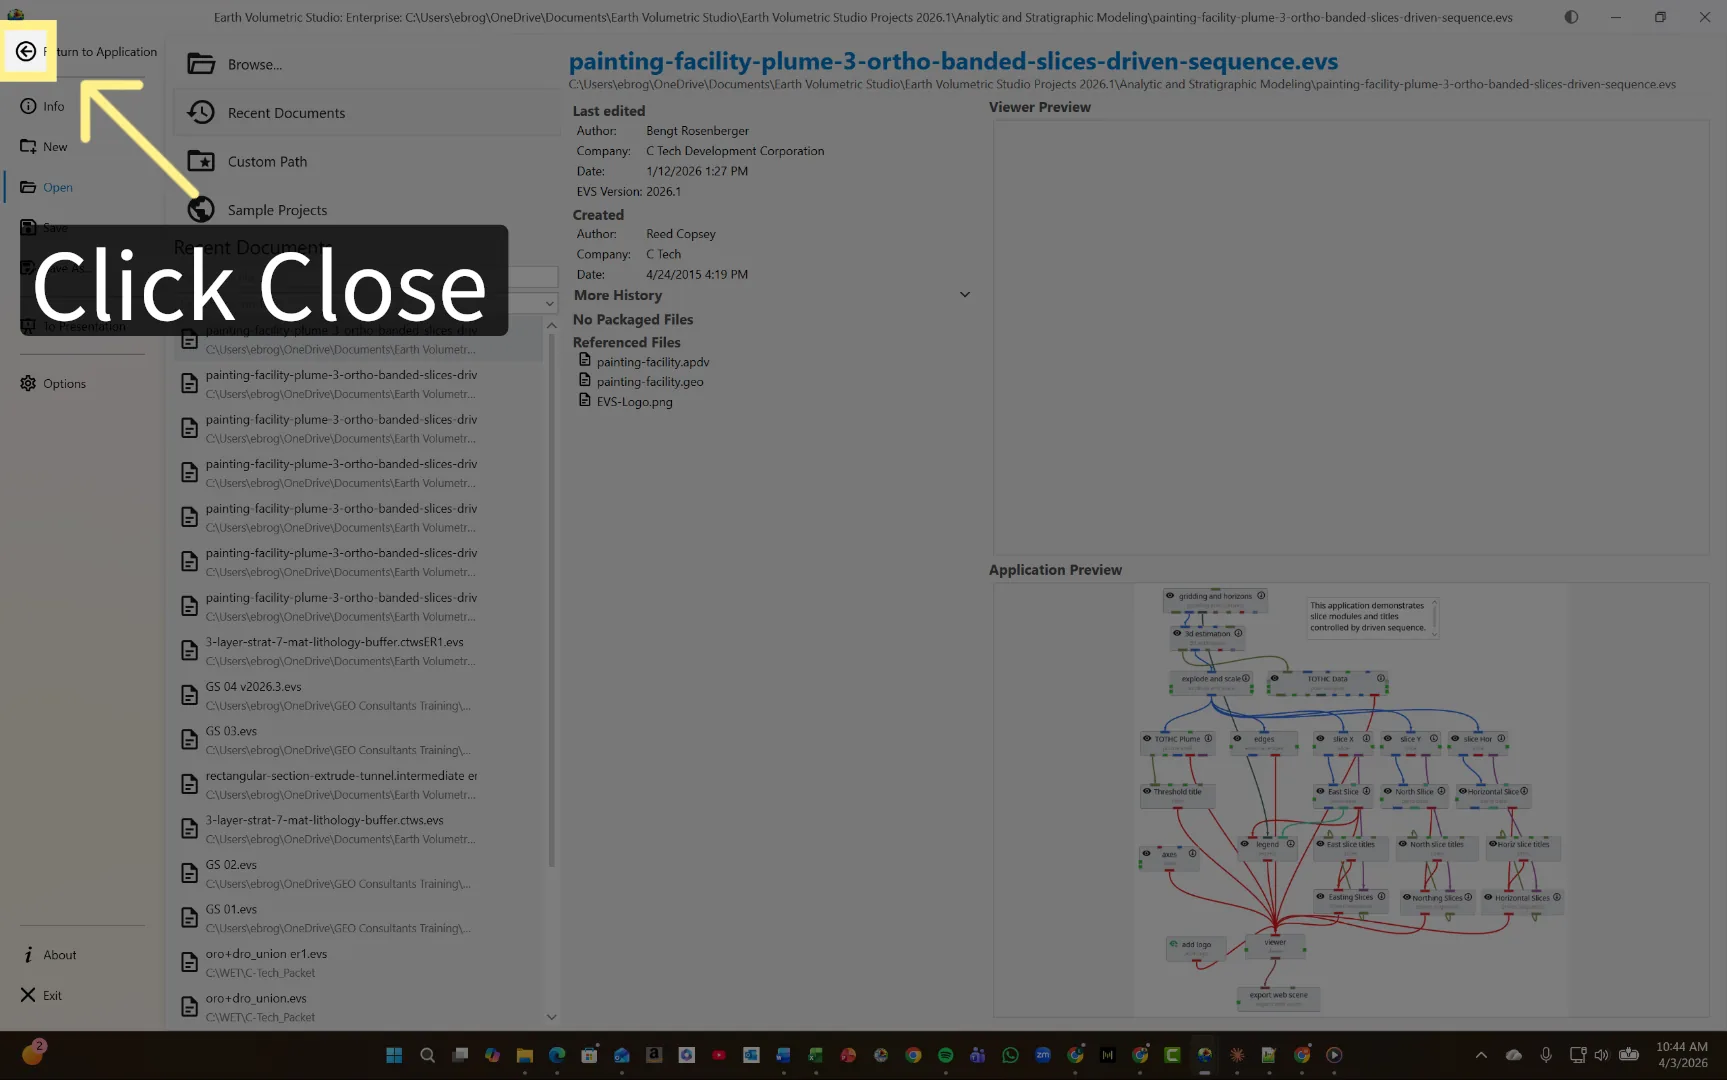
Close the current window to proceed.
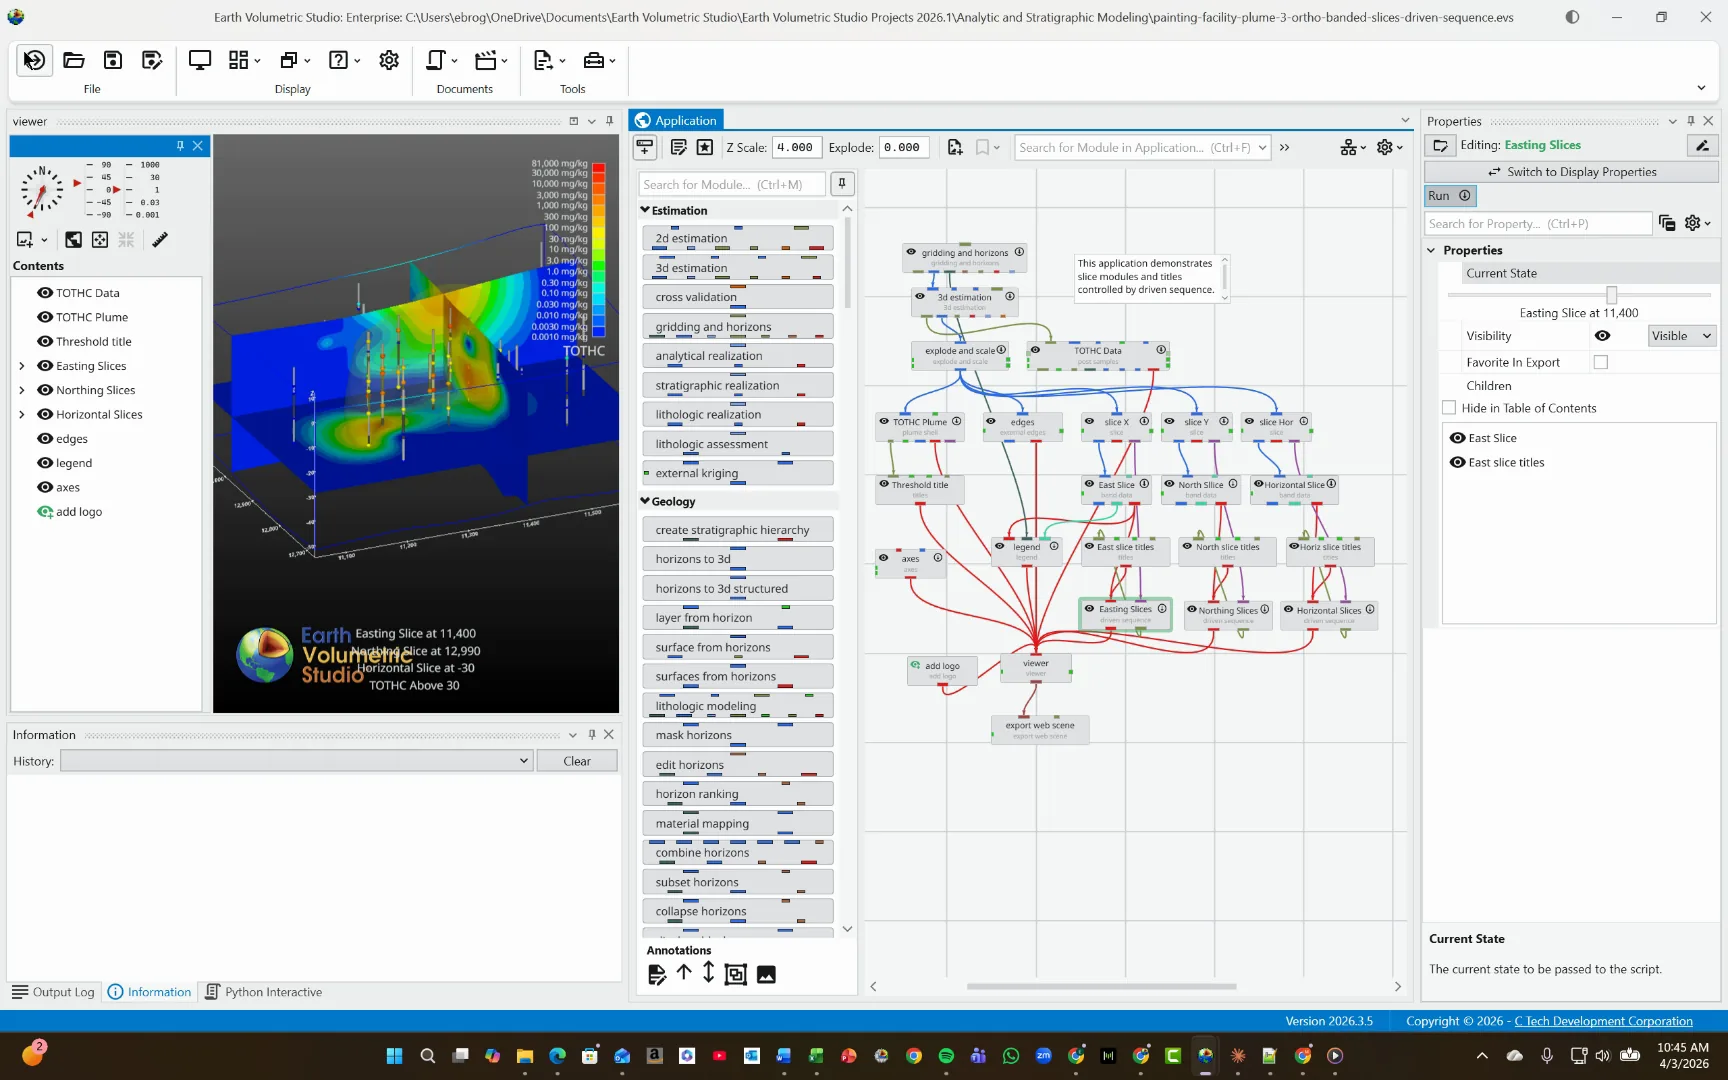
Now let's look at the application. You'll notice it has driven sequence modules, which allows you to make C Tech Web Scene Viewer files, or CTWS files, which are fully interactive.
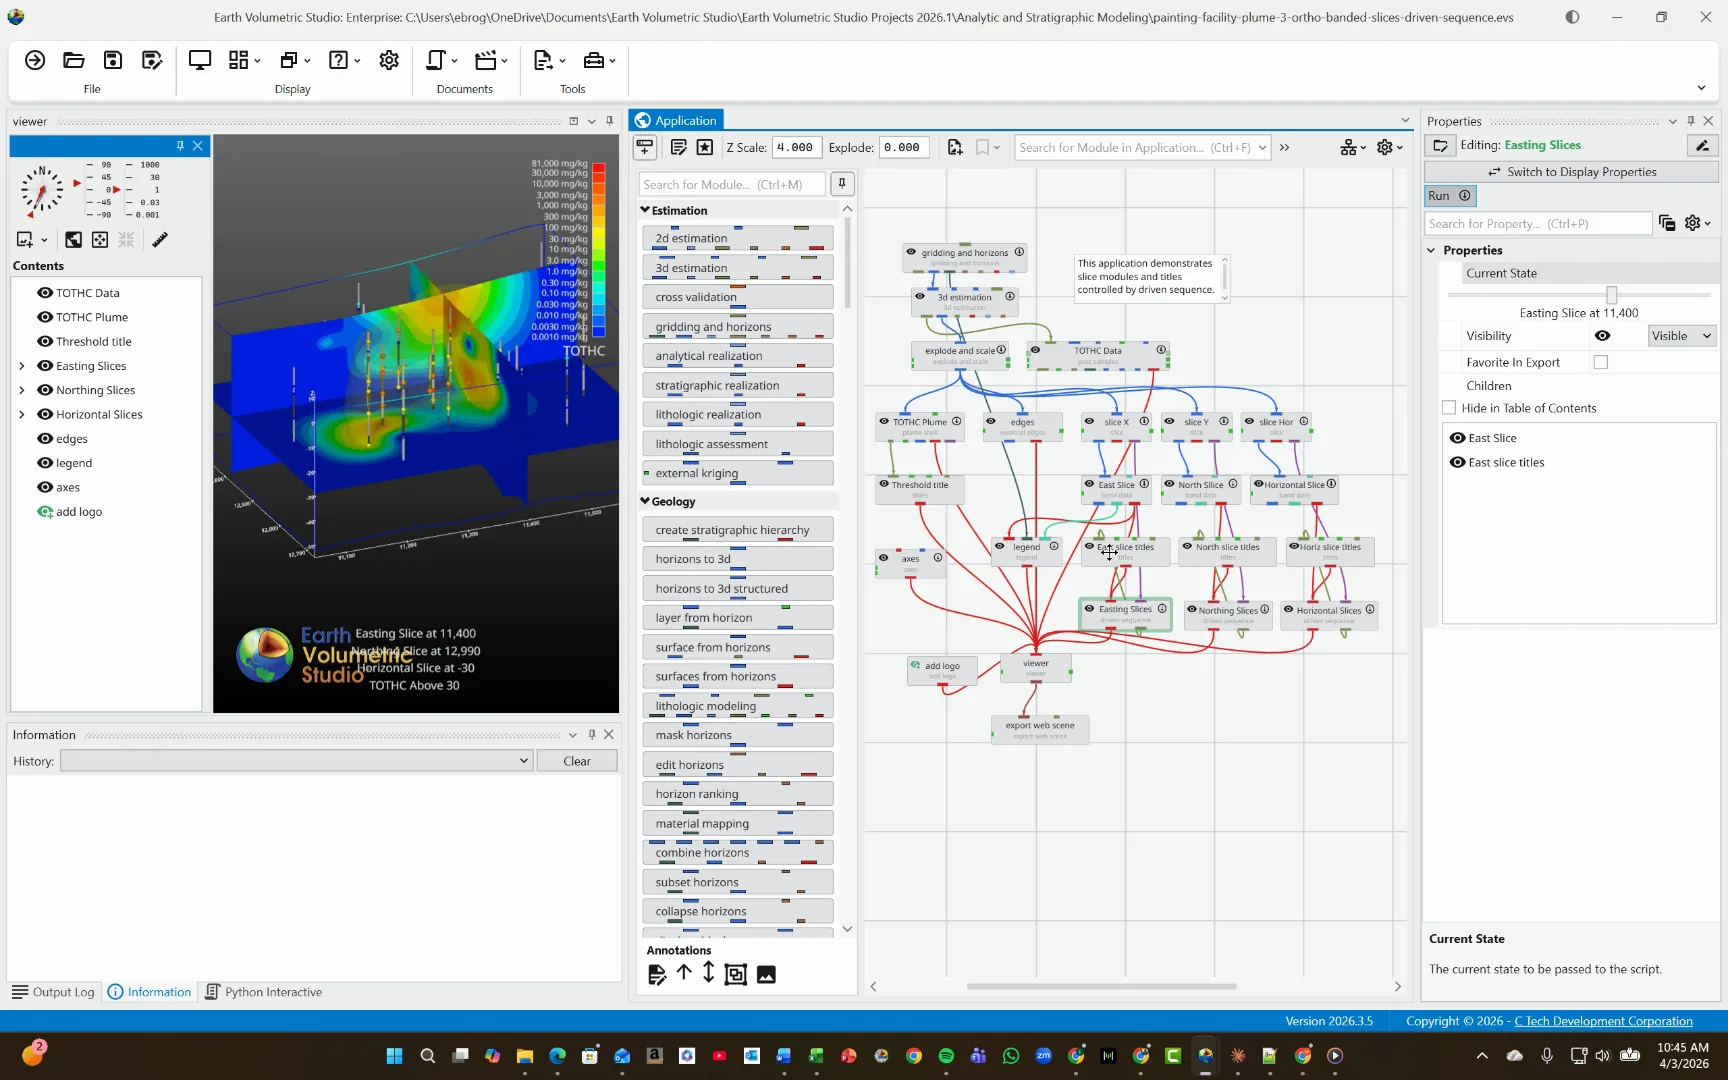
Driven sequences will automatically generate updating titles in CTWS files.
But if you are making a video with the Animator tool, although you can select the Driven Sequence in the animator tool and set up the starting and ending values, unfortunately the titles will not update in the resulting video.
To simplify the application and avoid confusion, I've deleted all the driven sequence modules. I have hooked up red ports from all three band data modules to the Viewer.
So now we have the three band data modules for East Slice, North Slice, and Horizontal Slice all connected to the viewer.
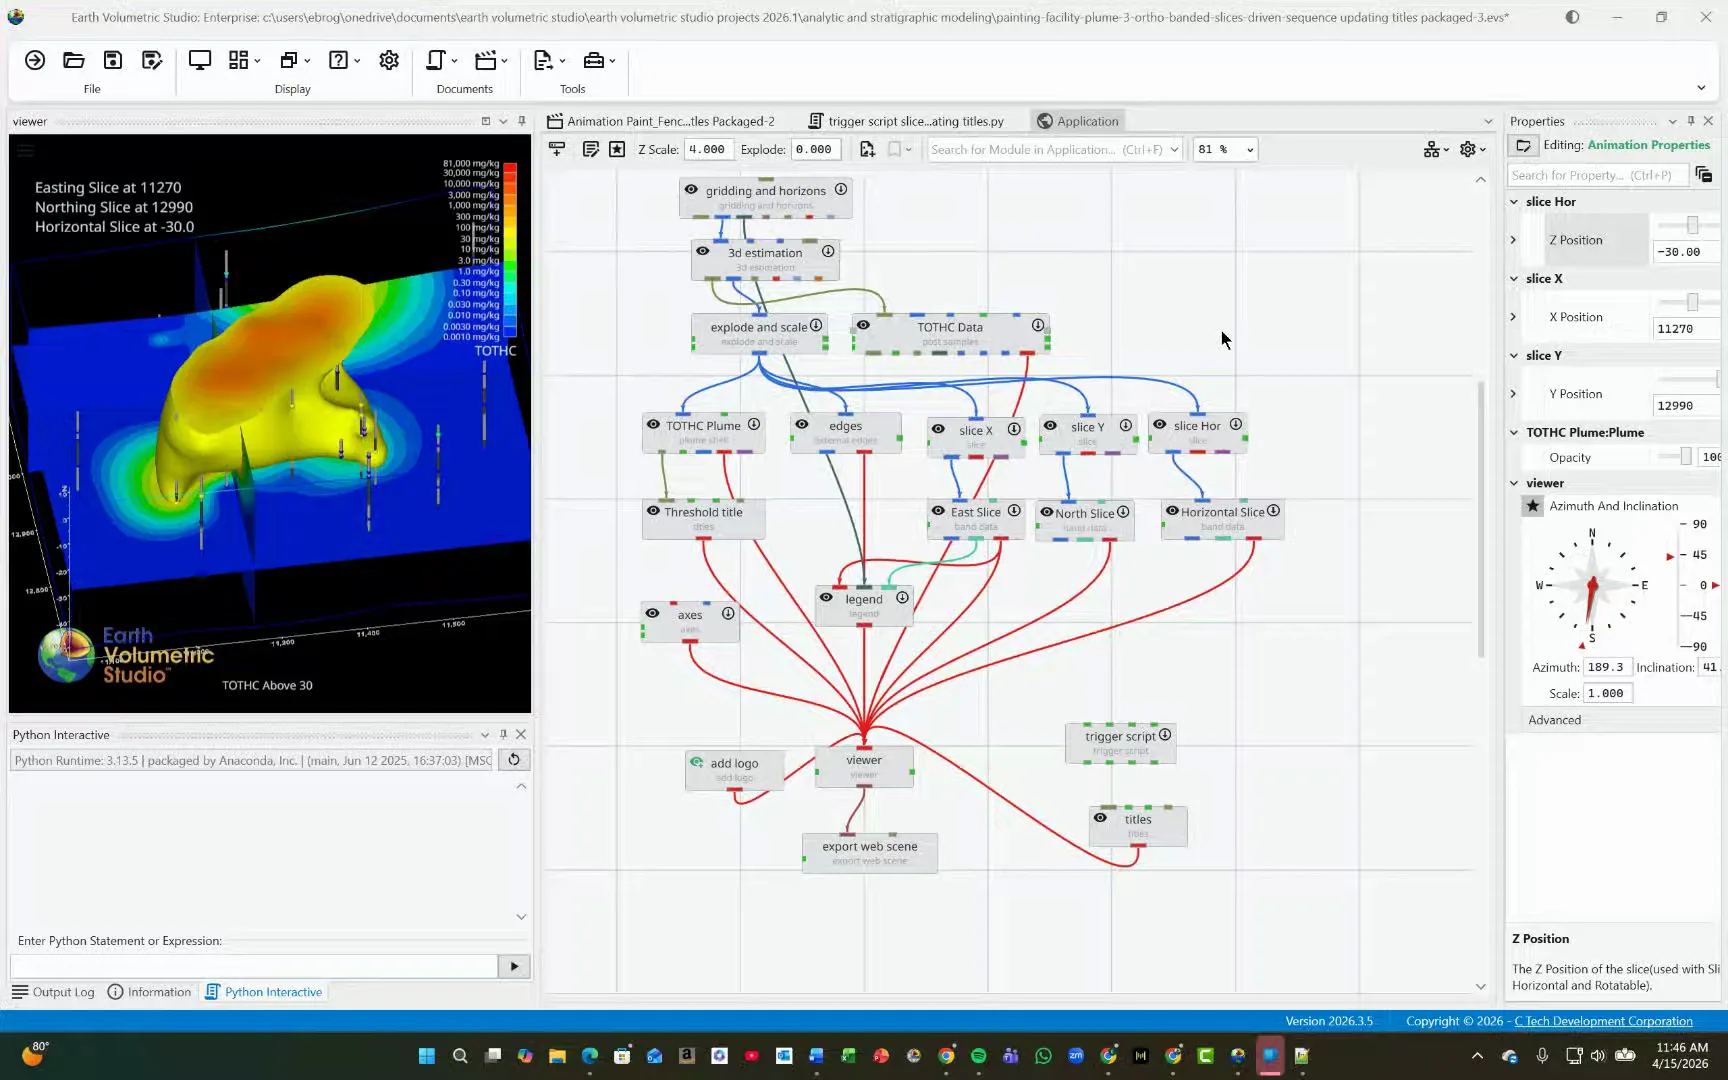
We have added two modules to produce the updating sliced titles. The first is a title's module connected to the viewer. The second is a trigger script module with no connections needed.
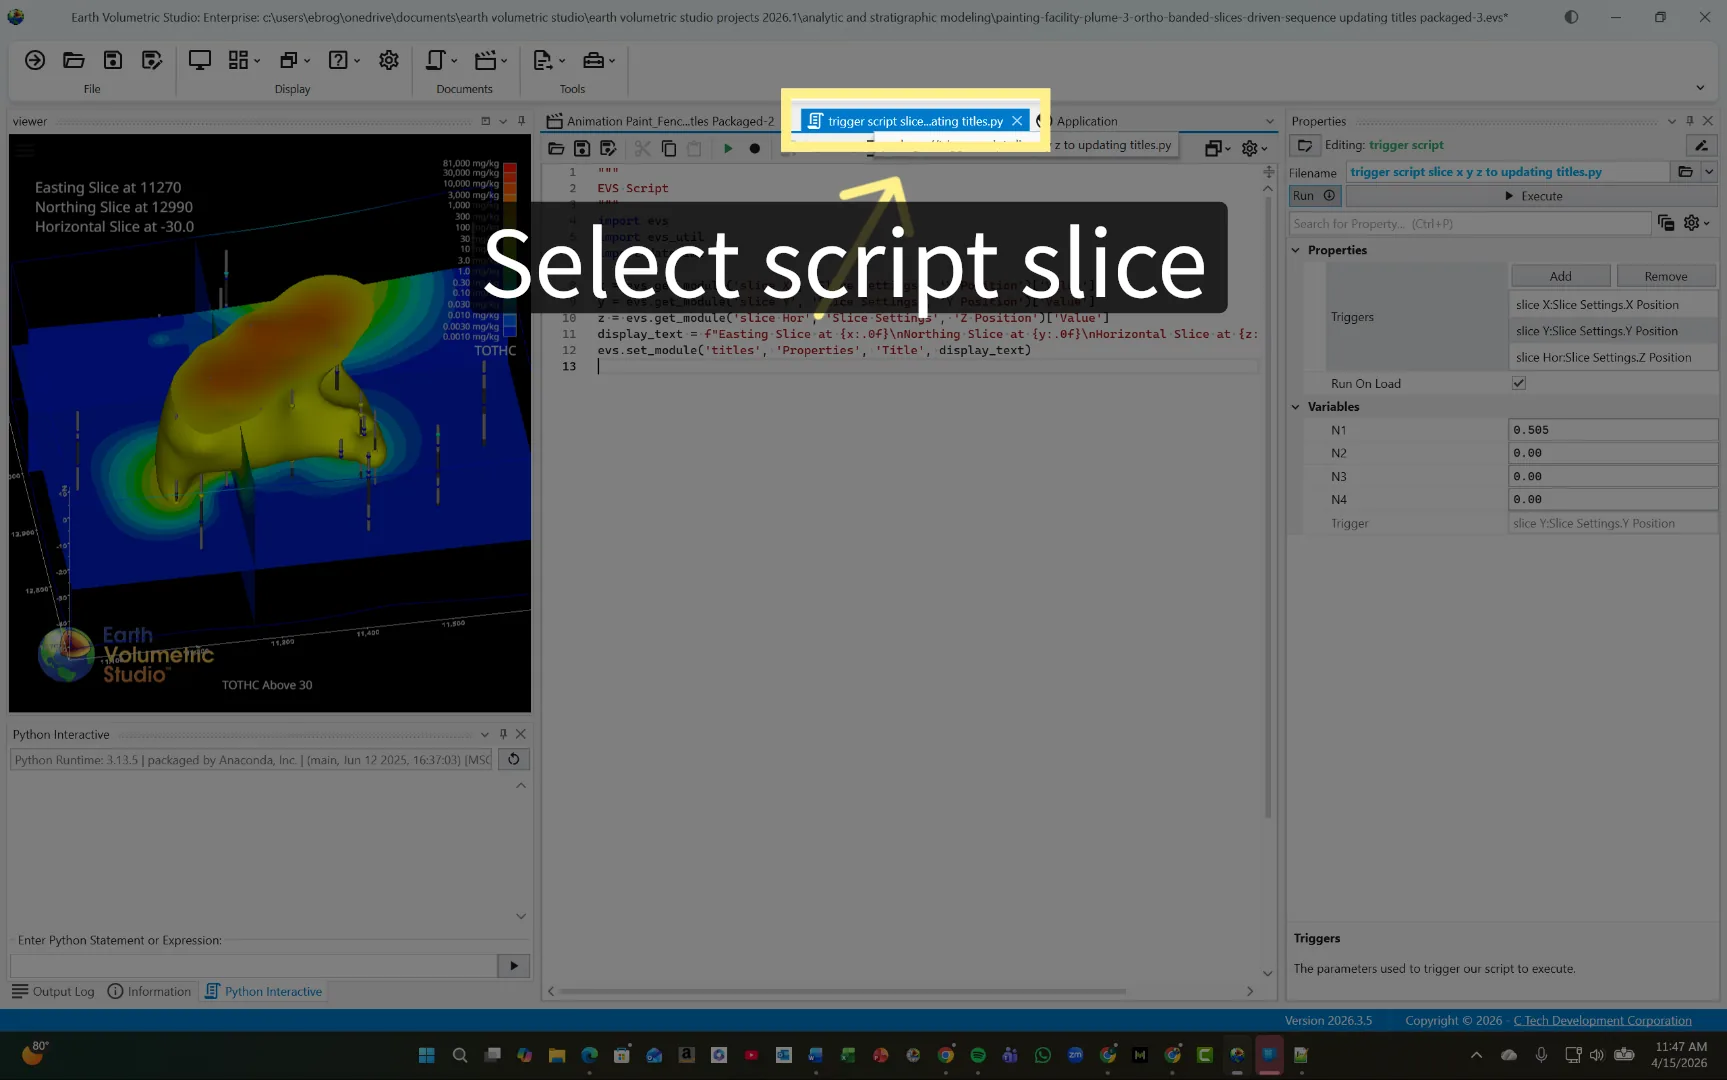
See the filename in the trigger script properties panel. Open the file in the python script editor.
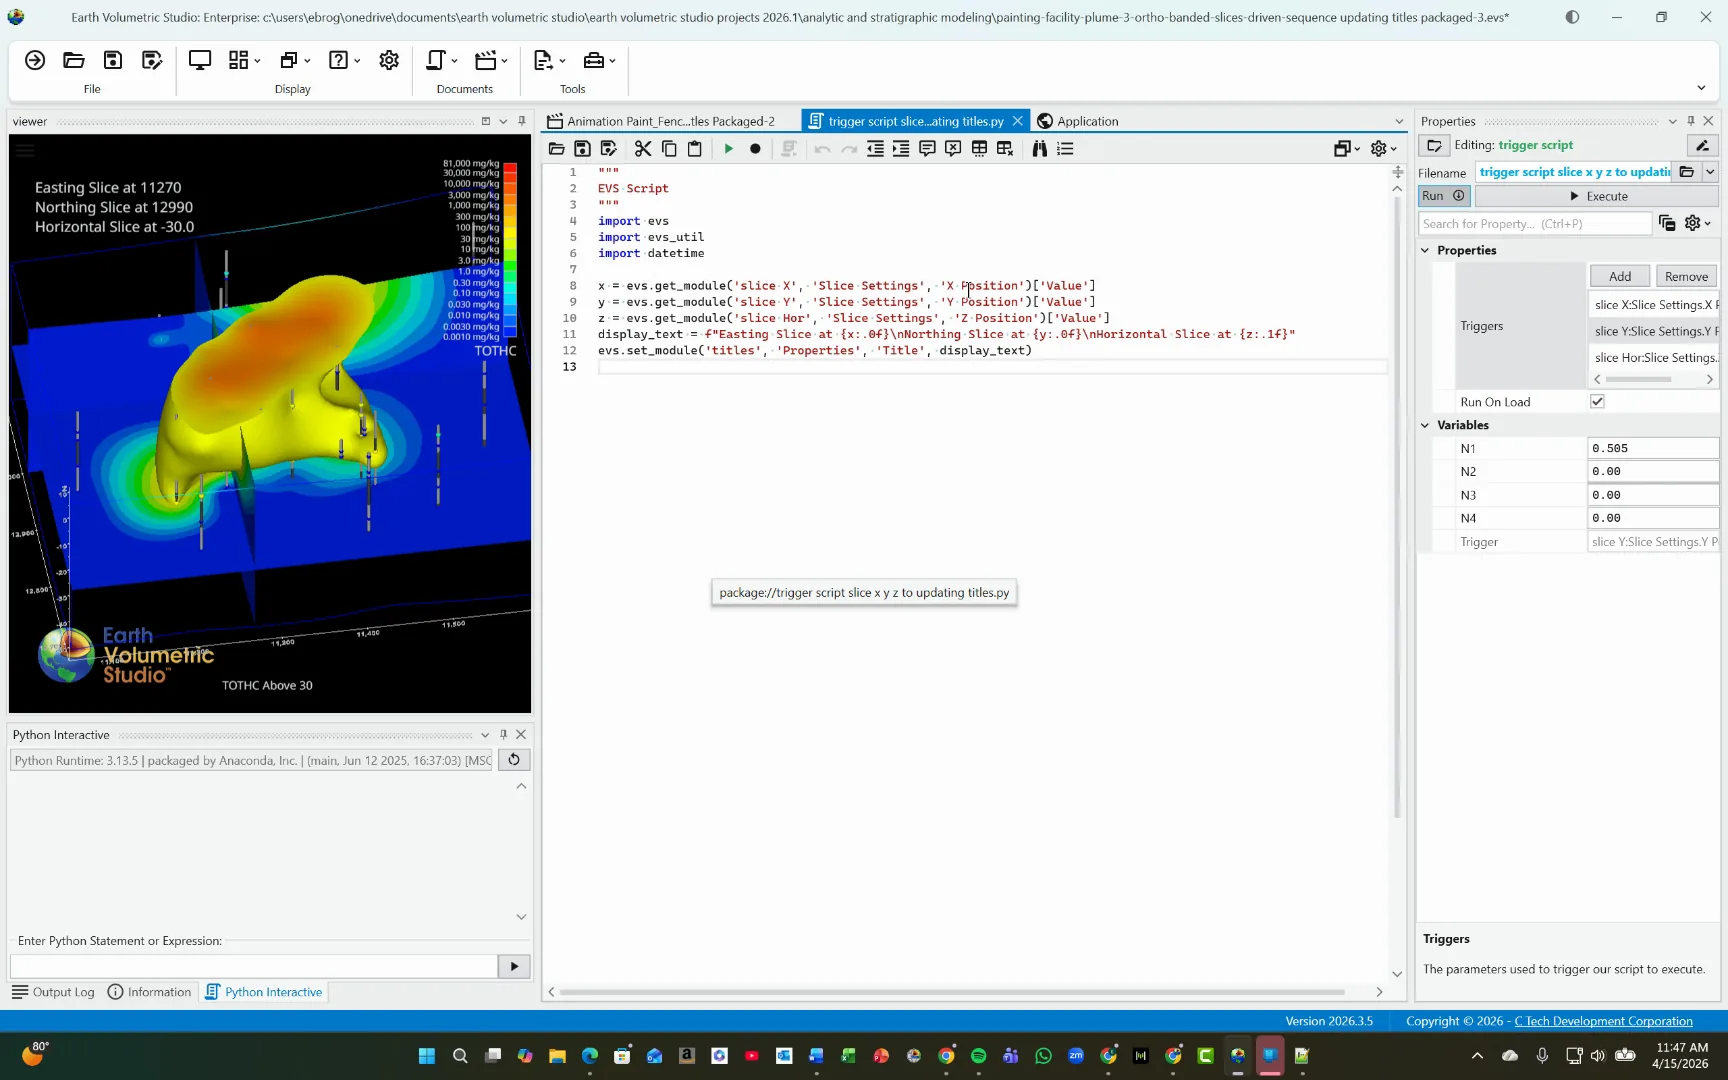
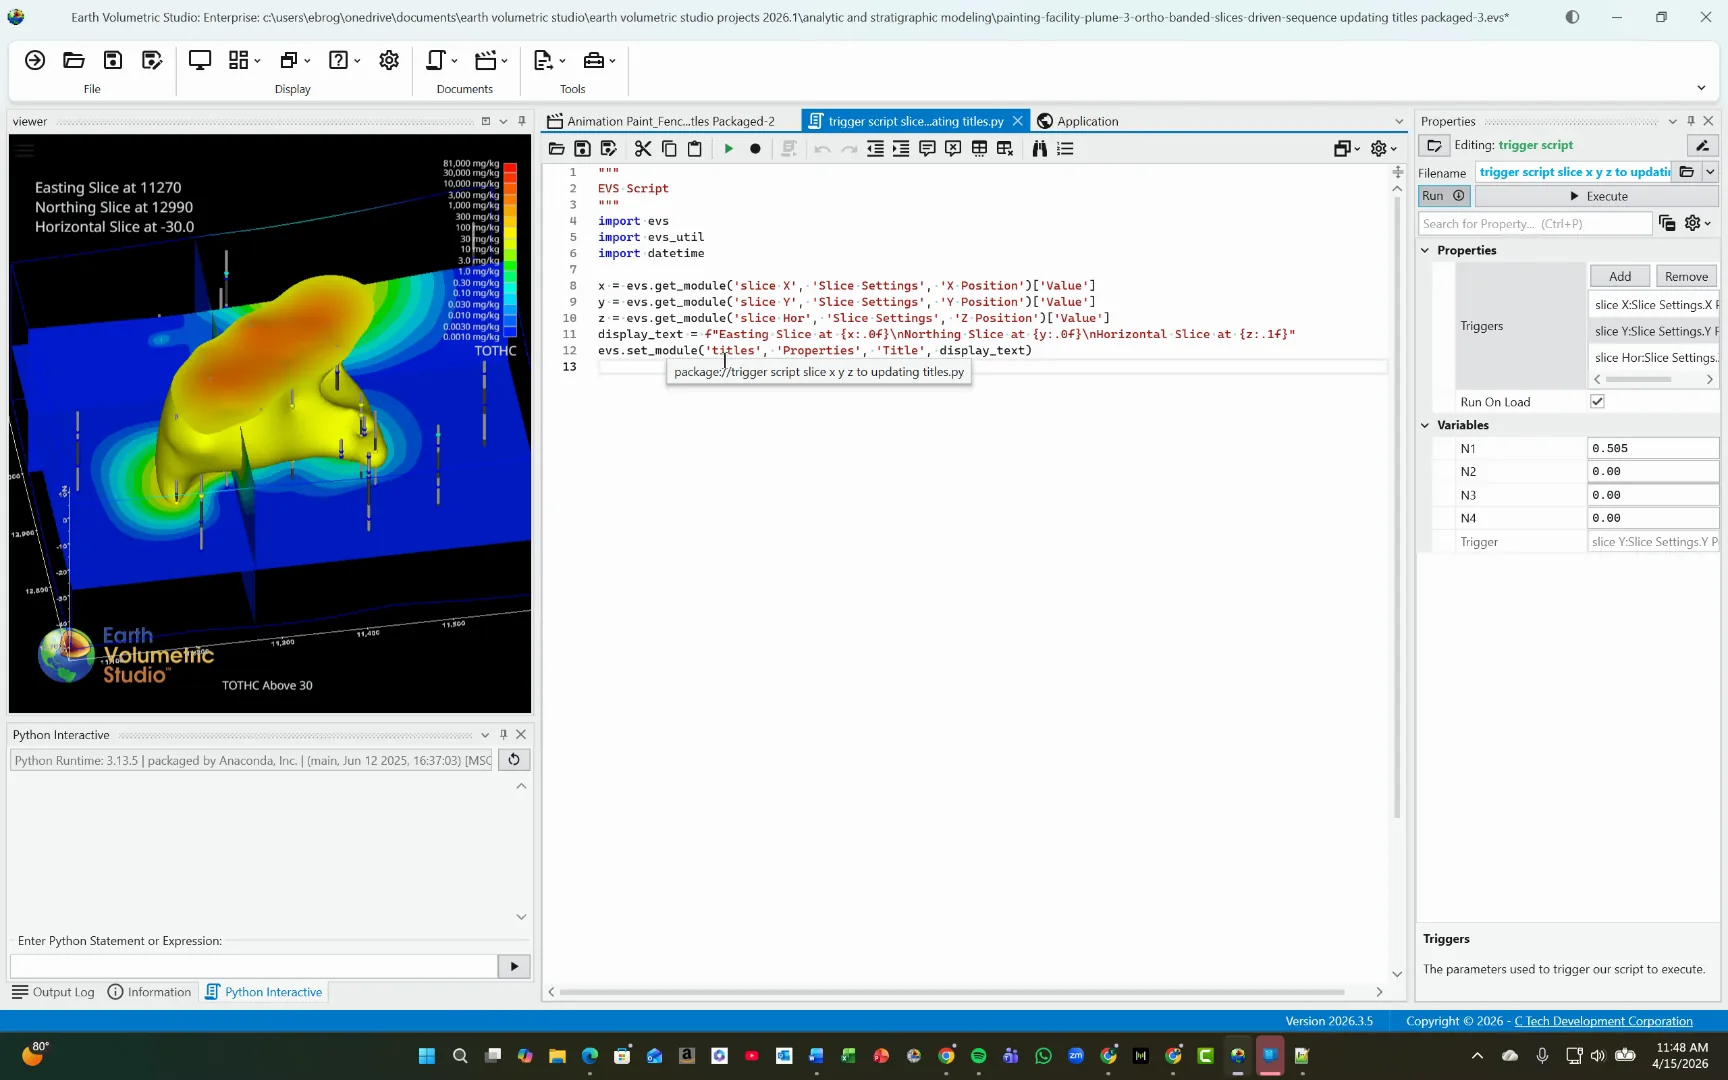
The python script assigns variables x, y, and z in lines 8 through 10. The "evs.get_module" syntax pulls the values out of the respective slice modules. The "display text" variable gets the X, Y, and Z values and formats the text string. Lastly, the "evs set module" line collects the current "display text" string and places it in the titles module.
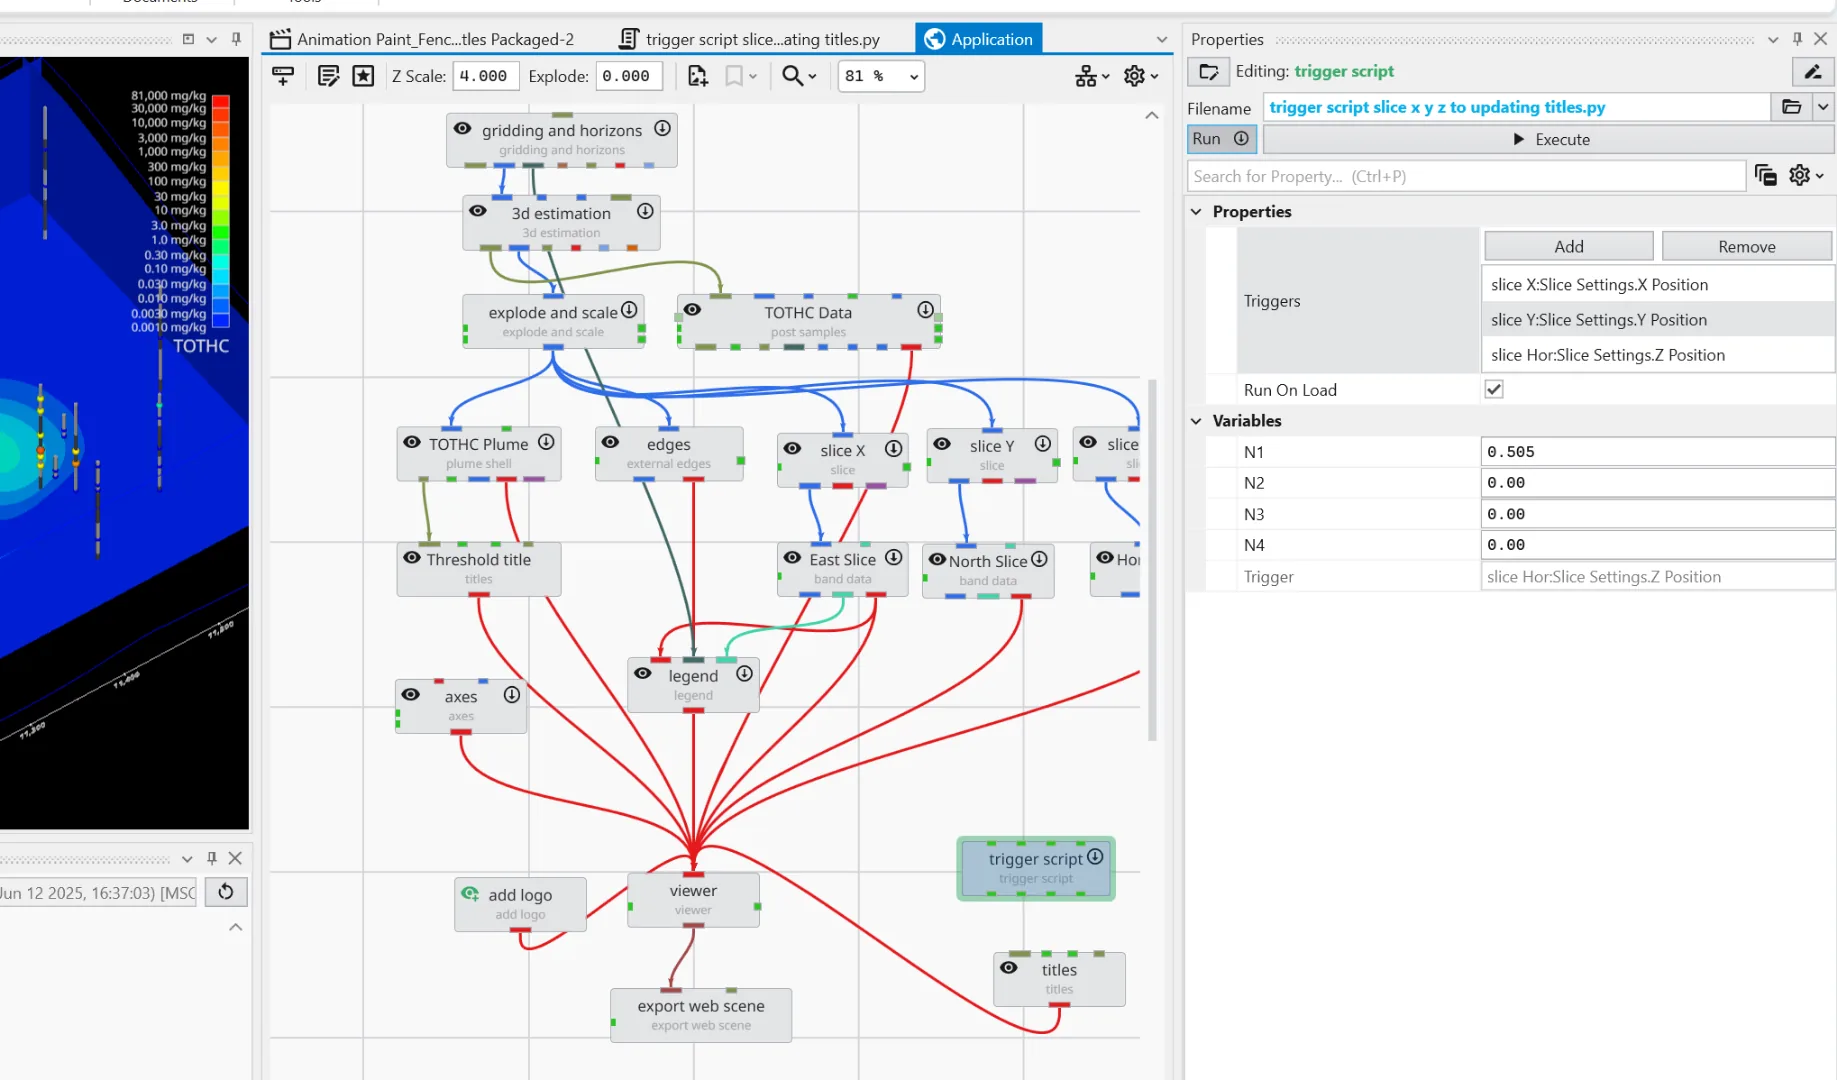
In the Editing trigger script panel in the Properties window, we have already added the triggers needed for this demonstration: one for the slice x position, one for the slice y position, and one for the slice Z or horizontal position.
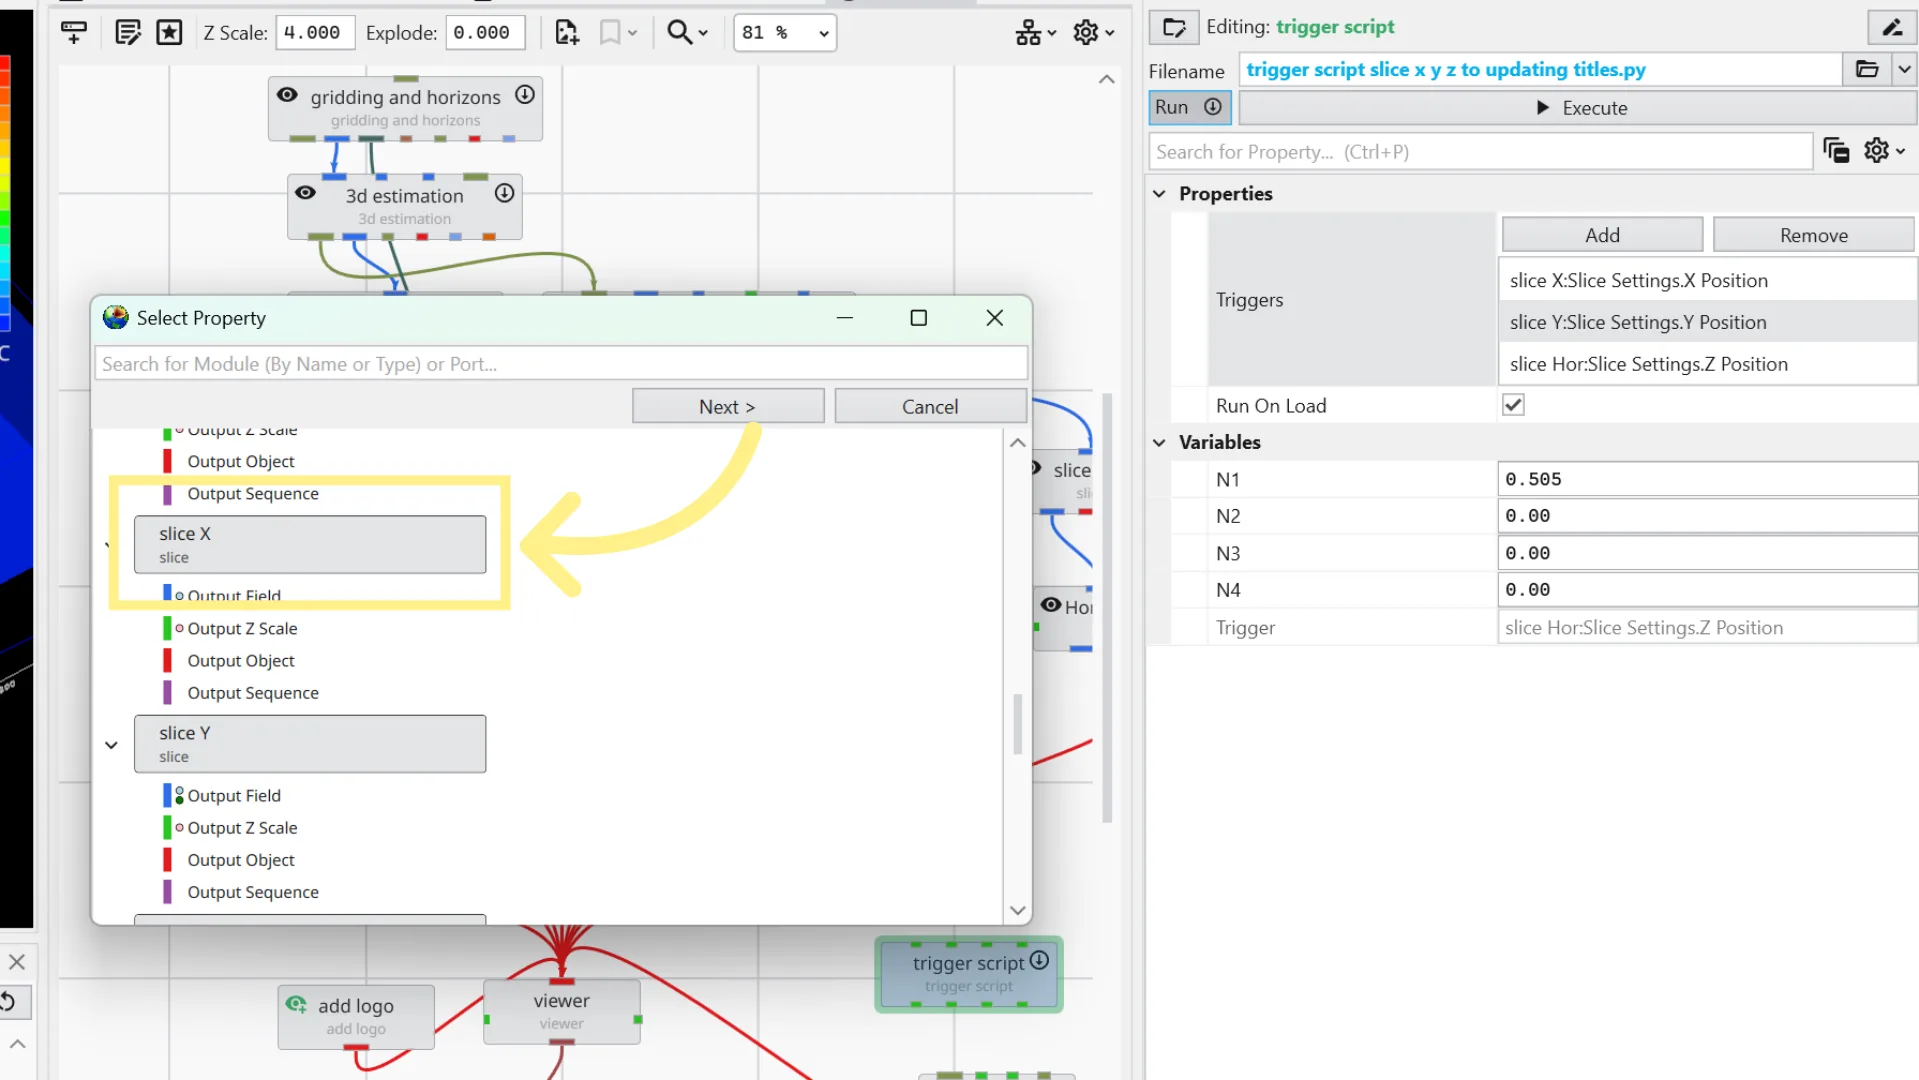
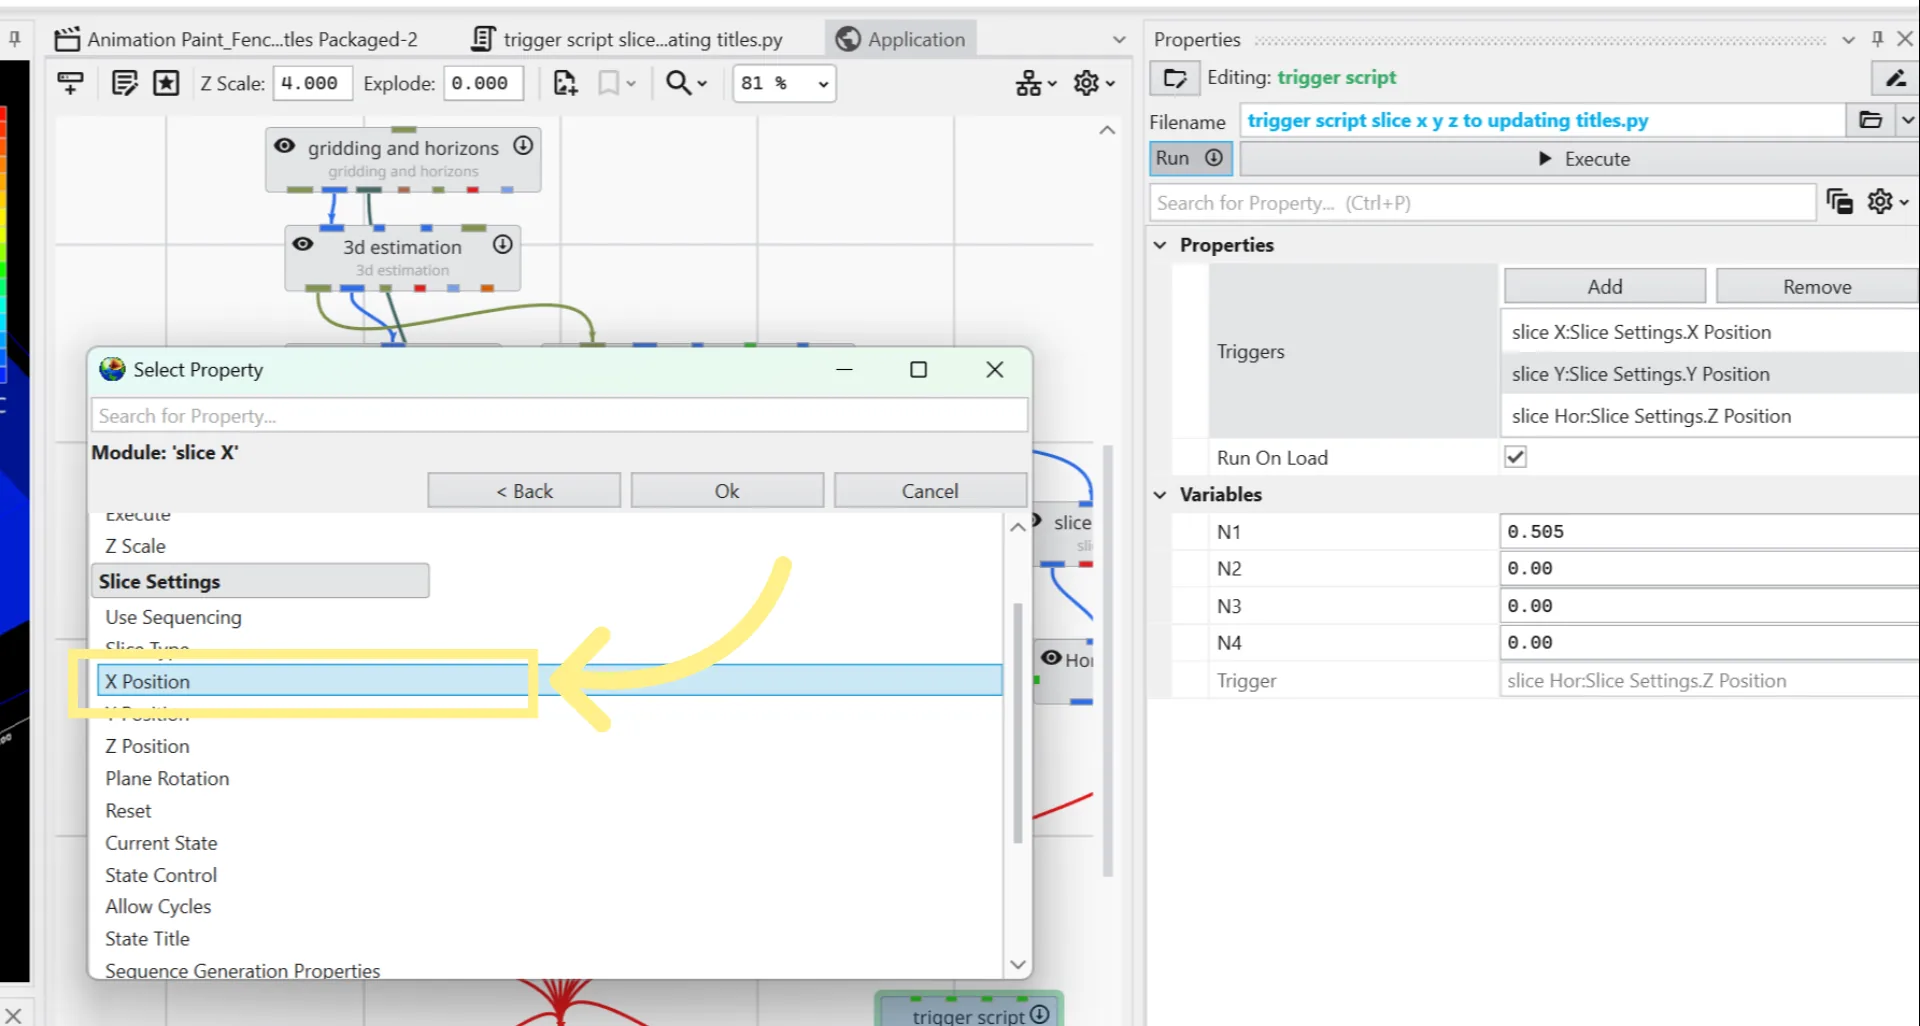
Here's how to add your own triggers for future applications. Click on the "Add" button. A "Select Property" window will pop up. Scroll using the slider on the right until you have your desired module to add as a trigger. Here we have selected slice X.
Select the X Position as a trigger, then hit OK. Continue this process for the slice Y, slice Z, or any other triggers you desire. In this example we have already added the triggers. Note there is a button to remove triggers as well.
The display text variable is assigned to collect the Easting, Northing, and Horizontal Slice values in one place. In the next line, the evs set module statement places the current display text values directly into the titles module.
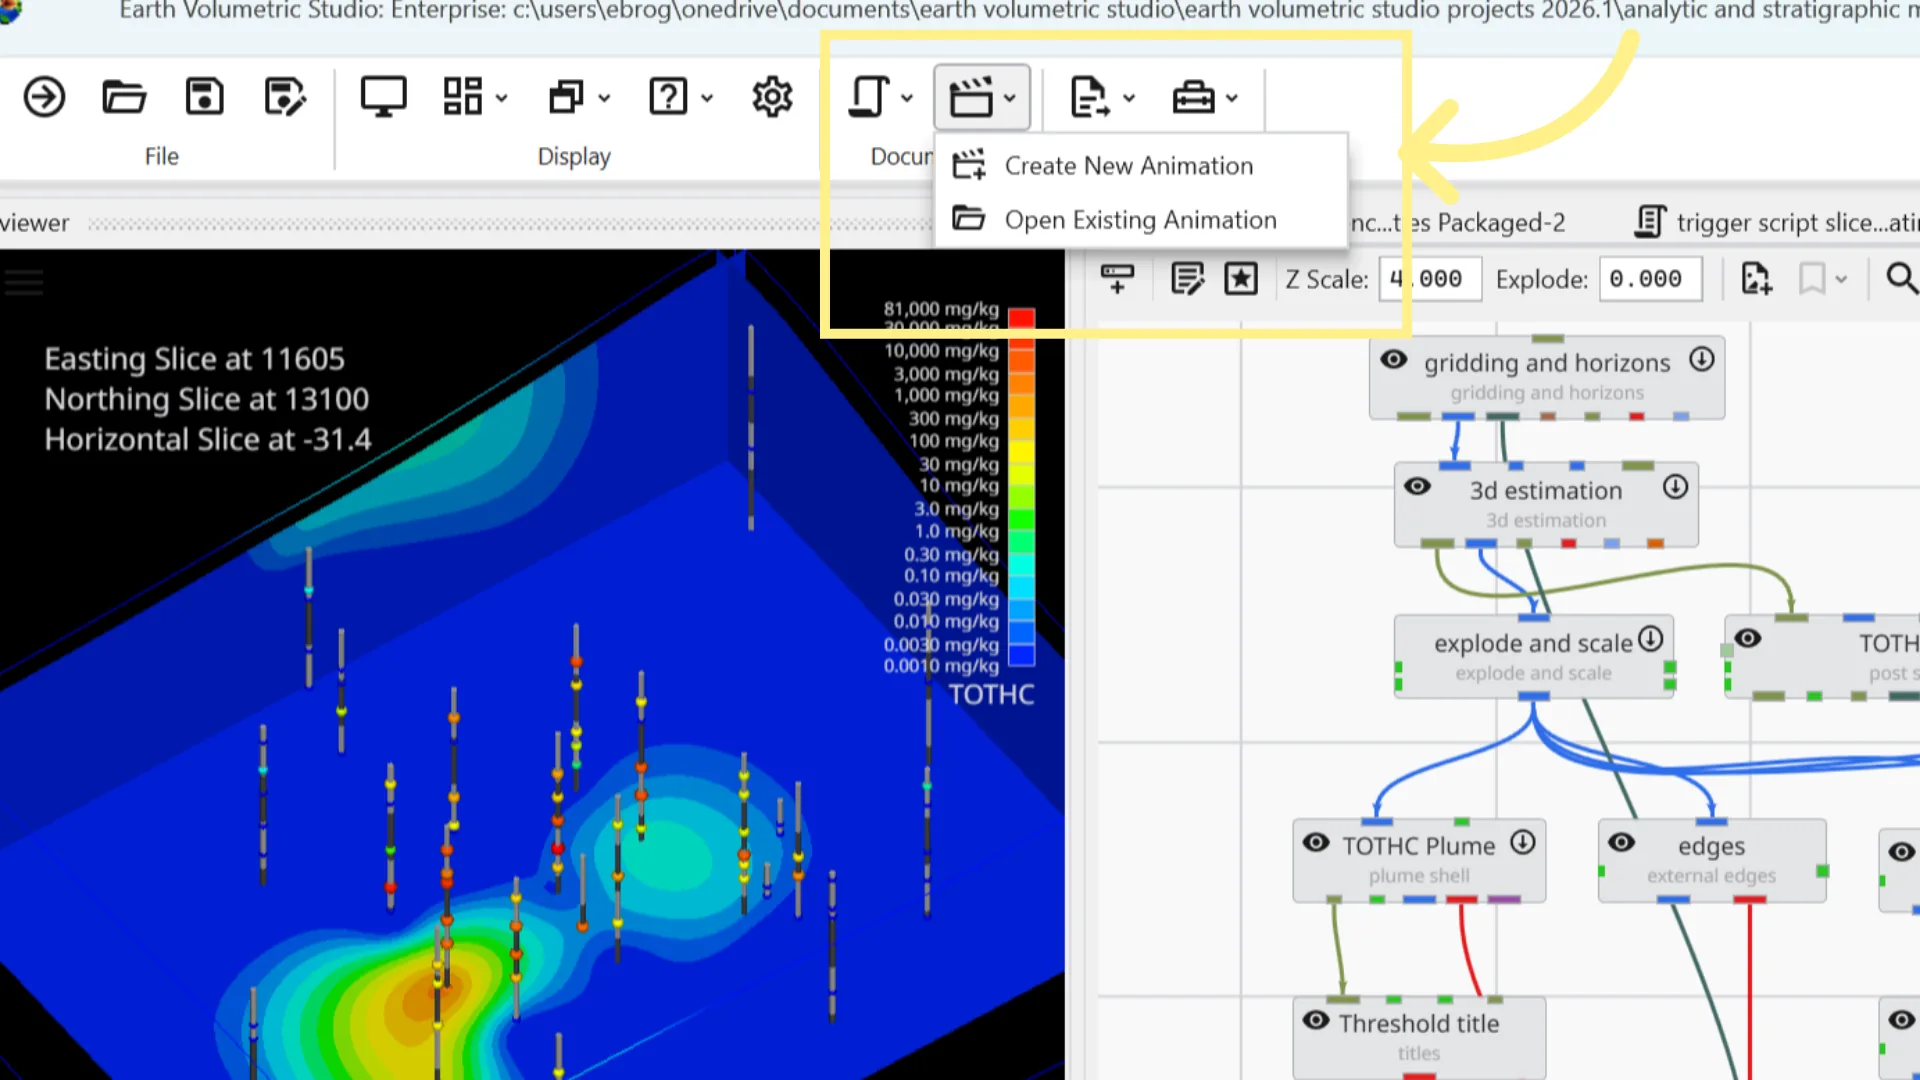
To open an existing animation script, click on the Animation button on the top ribbon, then select Open Existing Animation.
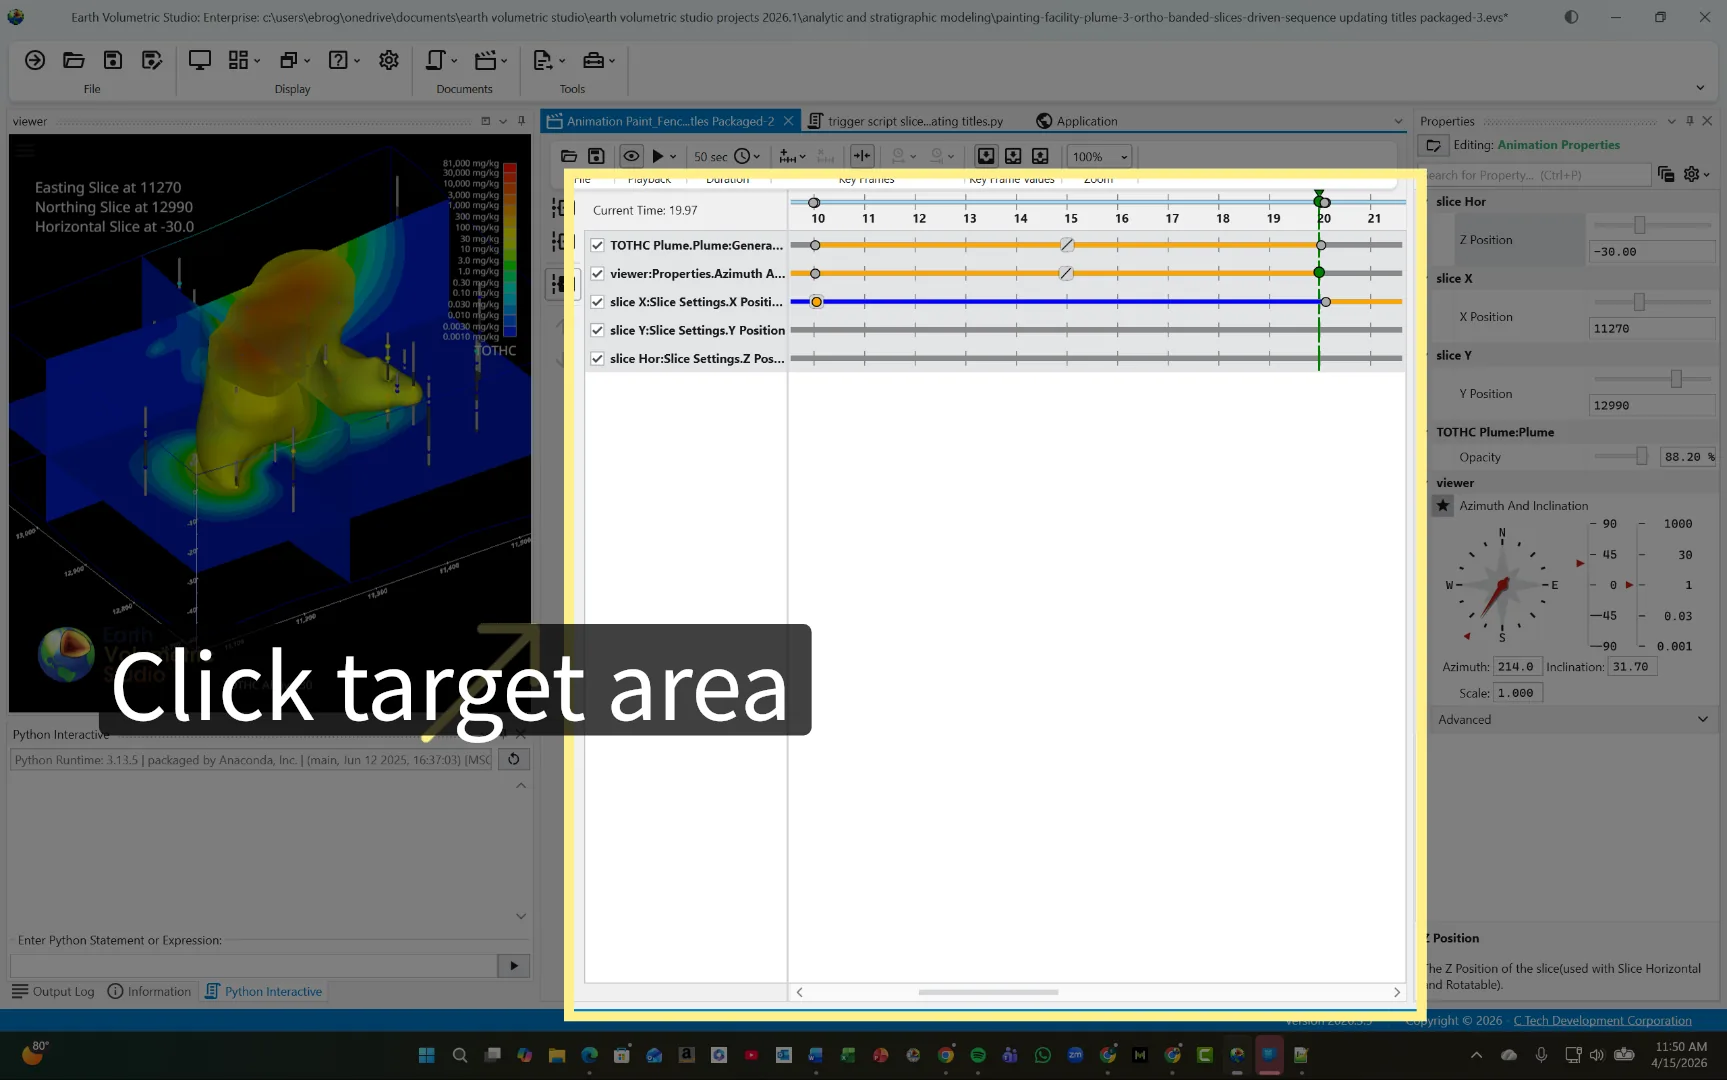
Open the existing animation script titled "Paint_Fence_Video_Updating_Slice_Titles Packaged-2.evsani". You will see timelines set for the modules that change over the course of the video.
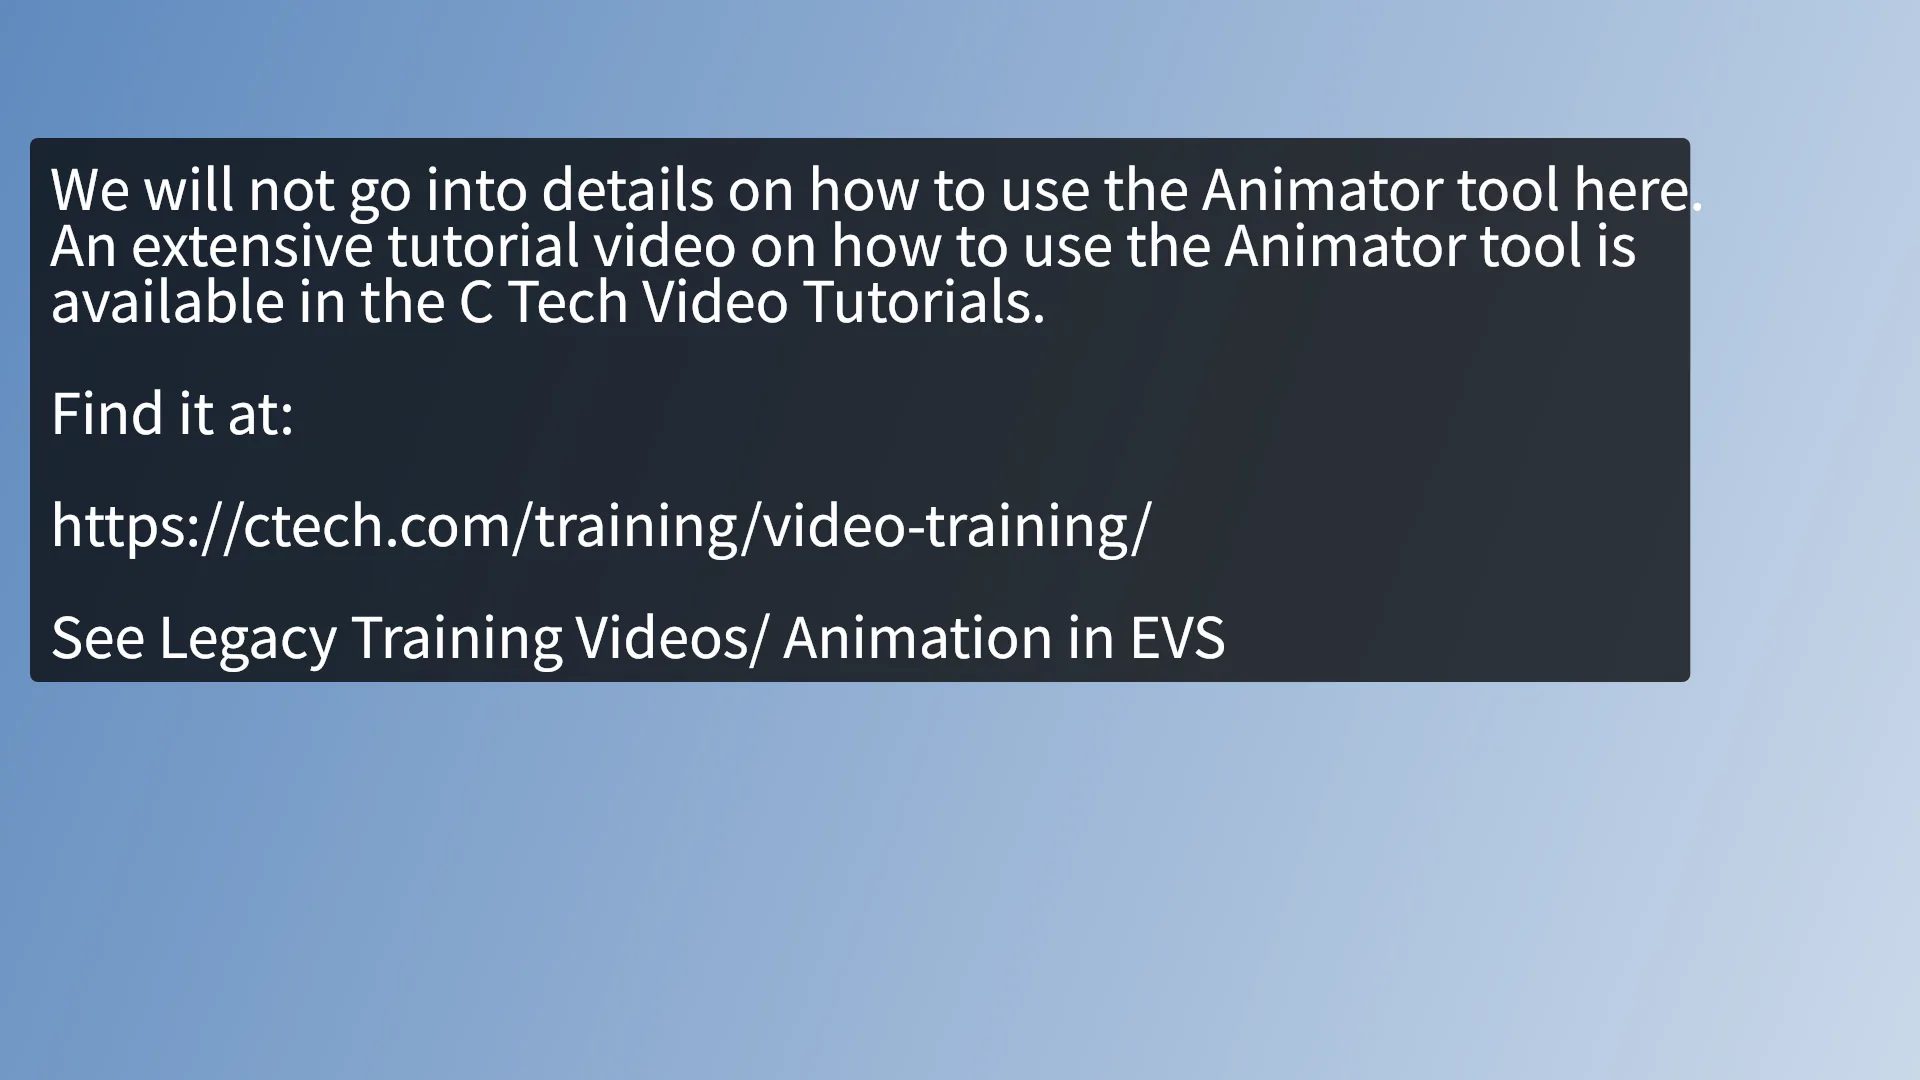
We will not go into details on how to use the Animator tool here. An extensive tutorial video on how to use the Animator tool named "Animation in EVS" is available in the legacy training videos section on ctech.com.
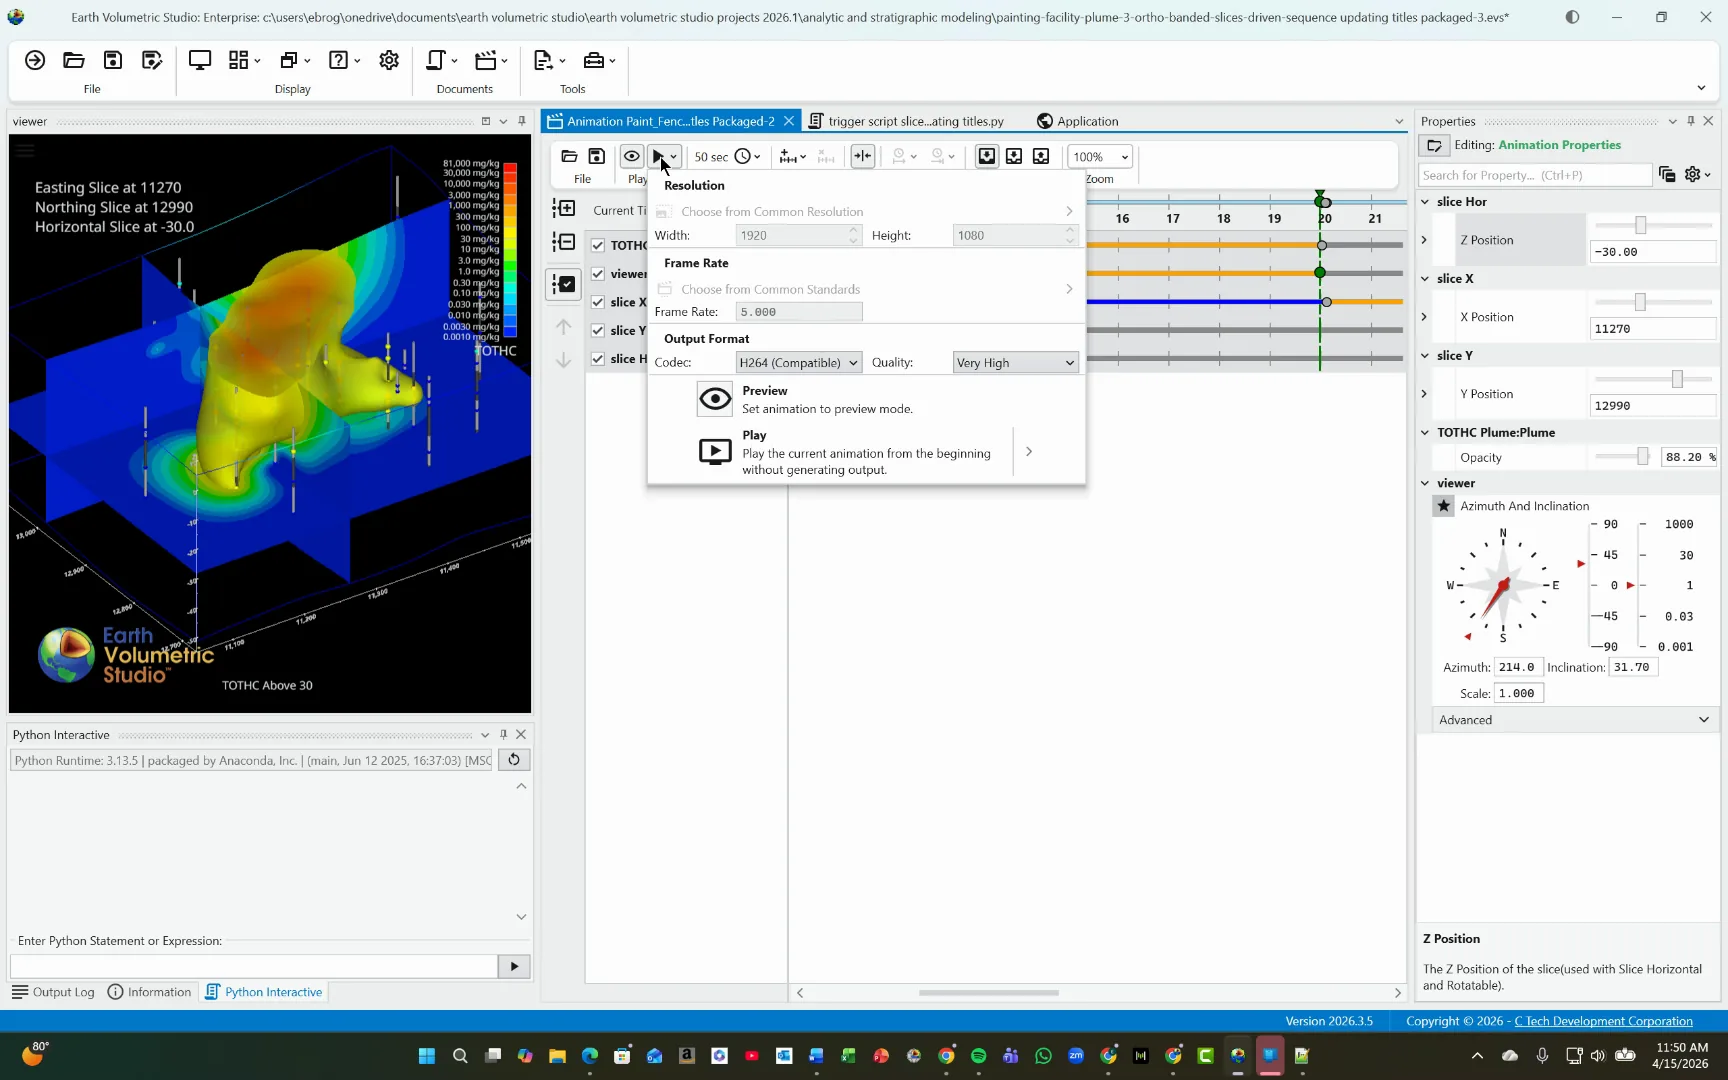
Click the setting shown to select Preview. Then select Play to preview the animation
The files used to make this tutorial are attached - so be sure to download them and open them to see how they work.
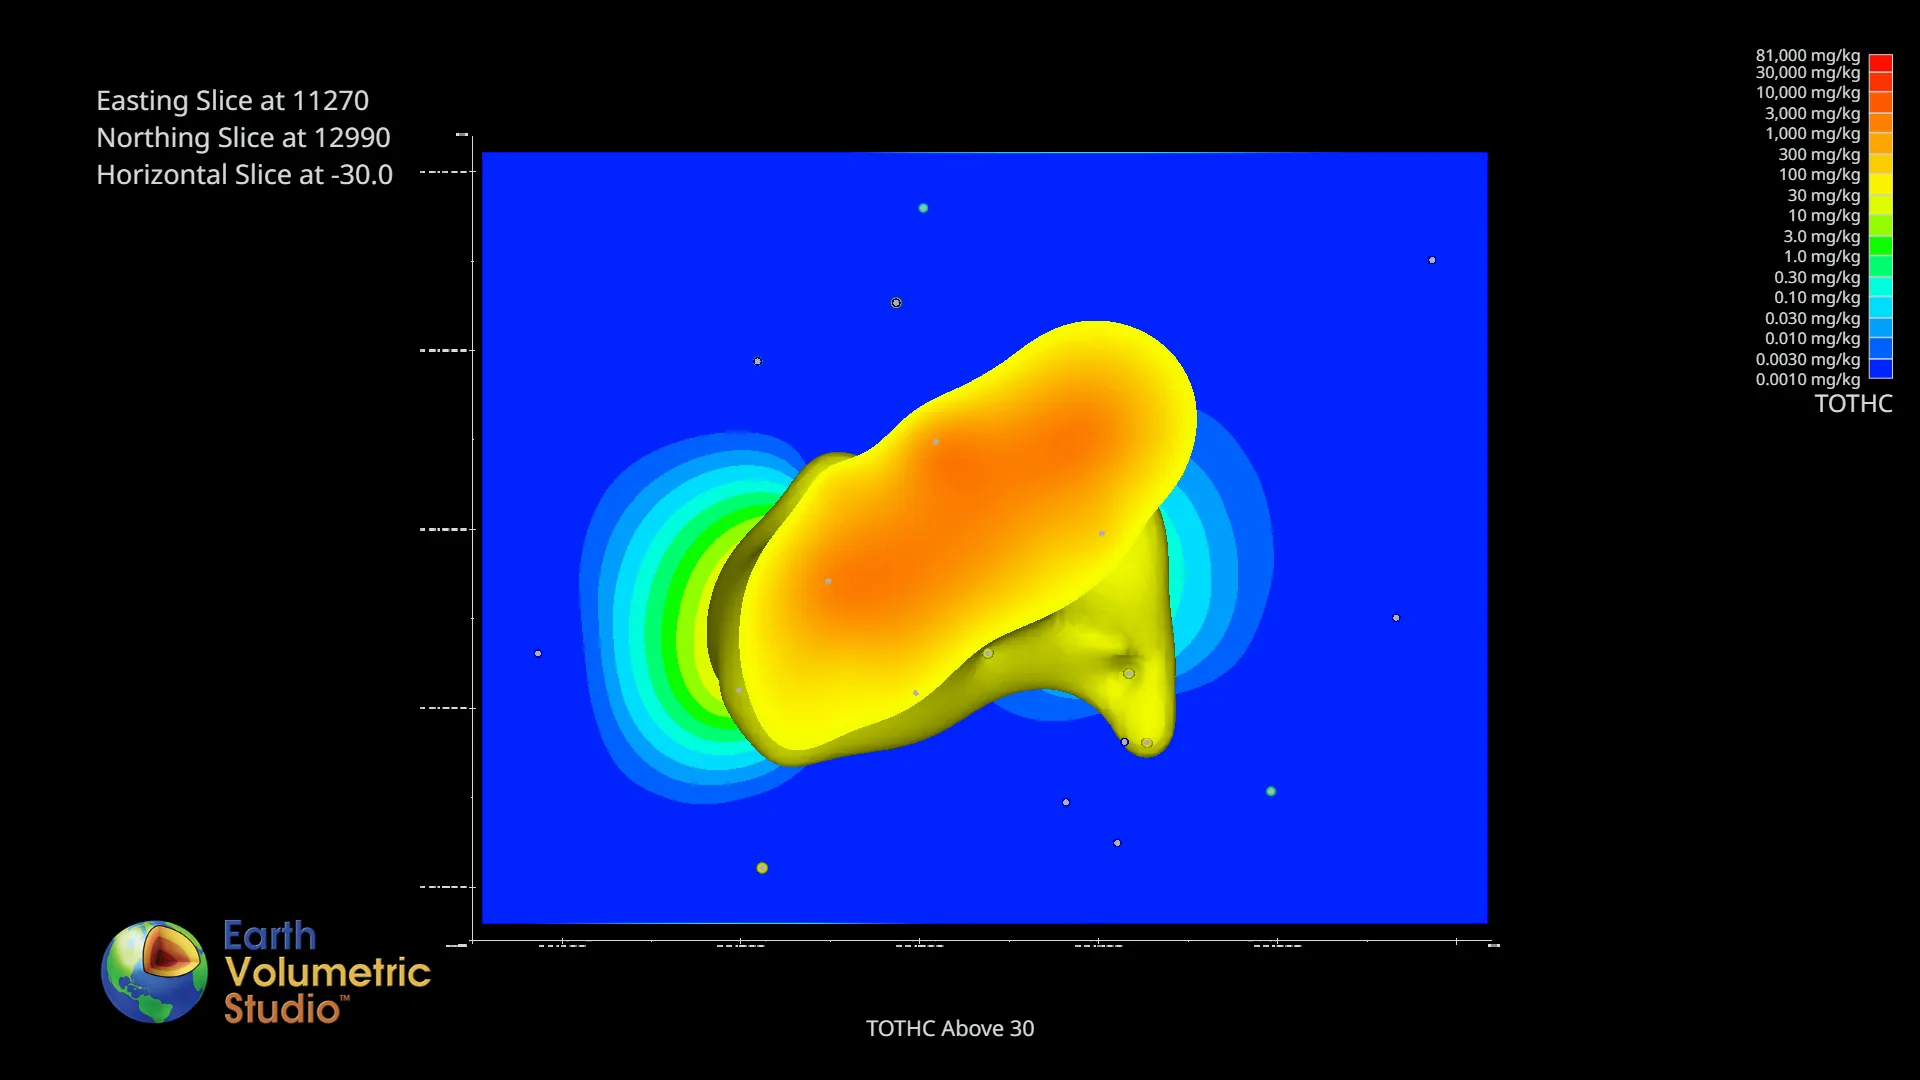
Here's the final video product.
This tutorial guided you through triggering scripts, managing animation playback, and selecting titles within EarthVolumetricStudio. You can now explore further customization or advanced scripting features to enhance your projects.
Introduction
This tutorial explains how to use the animator tool to create dynamic titles with updating slice values. You will learn the process from setting up modules to rendering the final animation.
1Introduce Animator Tool Usage
This video will show how we can use the animator tool to generate dynamically updating titles.
2Observe Slice Values Updating
Notice how, as we move through these slices in the animator, you see the easting slices, northing slices, and horizontal slice values update. The X values are changing here.
3Watch X And Y Values Change
And now we'll see how the y values are changing. You can stop the video at any time and move it backwards or forward.
4Transition To Method Explanation
Now let's see how this is done.
5Identify Sample Project
This example uses a sample project entitled Painting Facility Plume 3 Ortho Banded Slices Driven Sequence. It is in the Earth Volumetric Studio\Earth Volumetric Studio Projects 2026.1\Analytic and Stratigraphic Modeling folder.
6Close Current Window
Close the current window to proceed.
7Review Driven Sequence Modules
Now let's look at the application. You'll notice it has driven sequence modules, which allows you to make C Tech Web Scene Viewer files, or CTWS files, which are fully interactive.
8Understand Auto-Generated Titles
Driven sequences will automatically generate updating titles in CTWS files.
9Note Animator Title Update Issue
But if you are making a video with the Animator tool, although you can select the Driven Sequence in the animator tool and set up the starting and ending values, unfortunately the titles will not update in the resulting video.
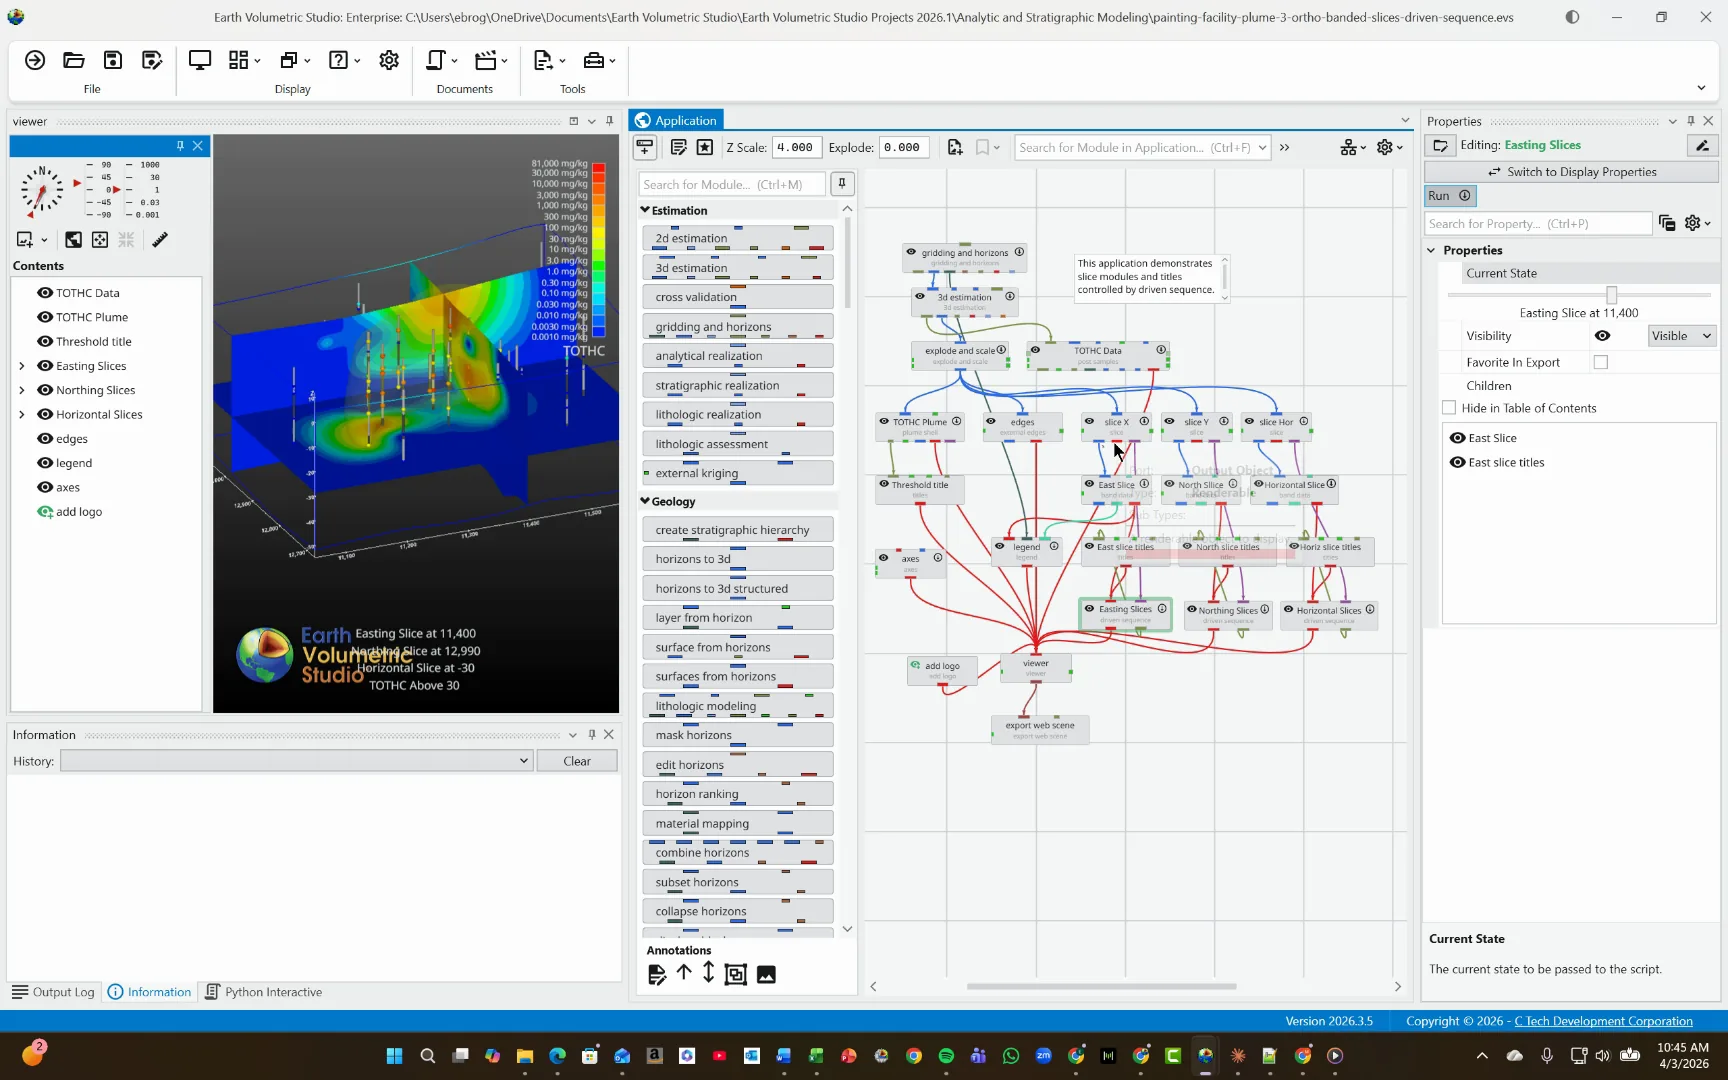
10Delete Driven Sequence Modules
To simplify the application and avoid confusion, I've deleted all the driven sequence modules. I have hooked up red ports from all three band data modules to the Viewer.
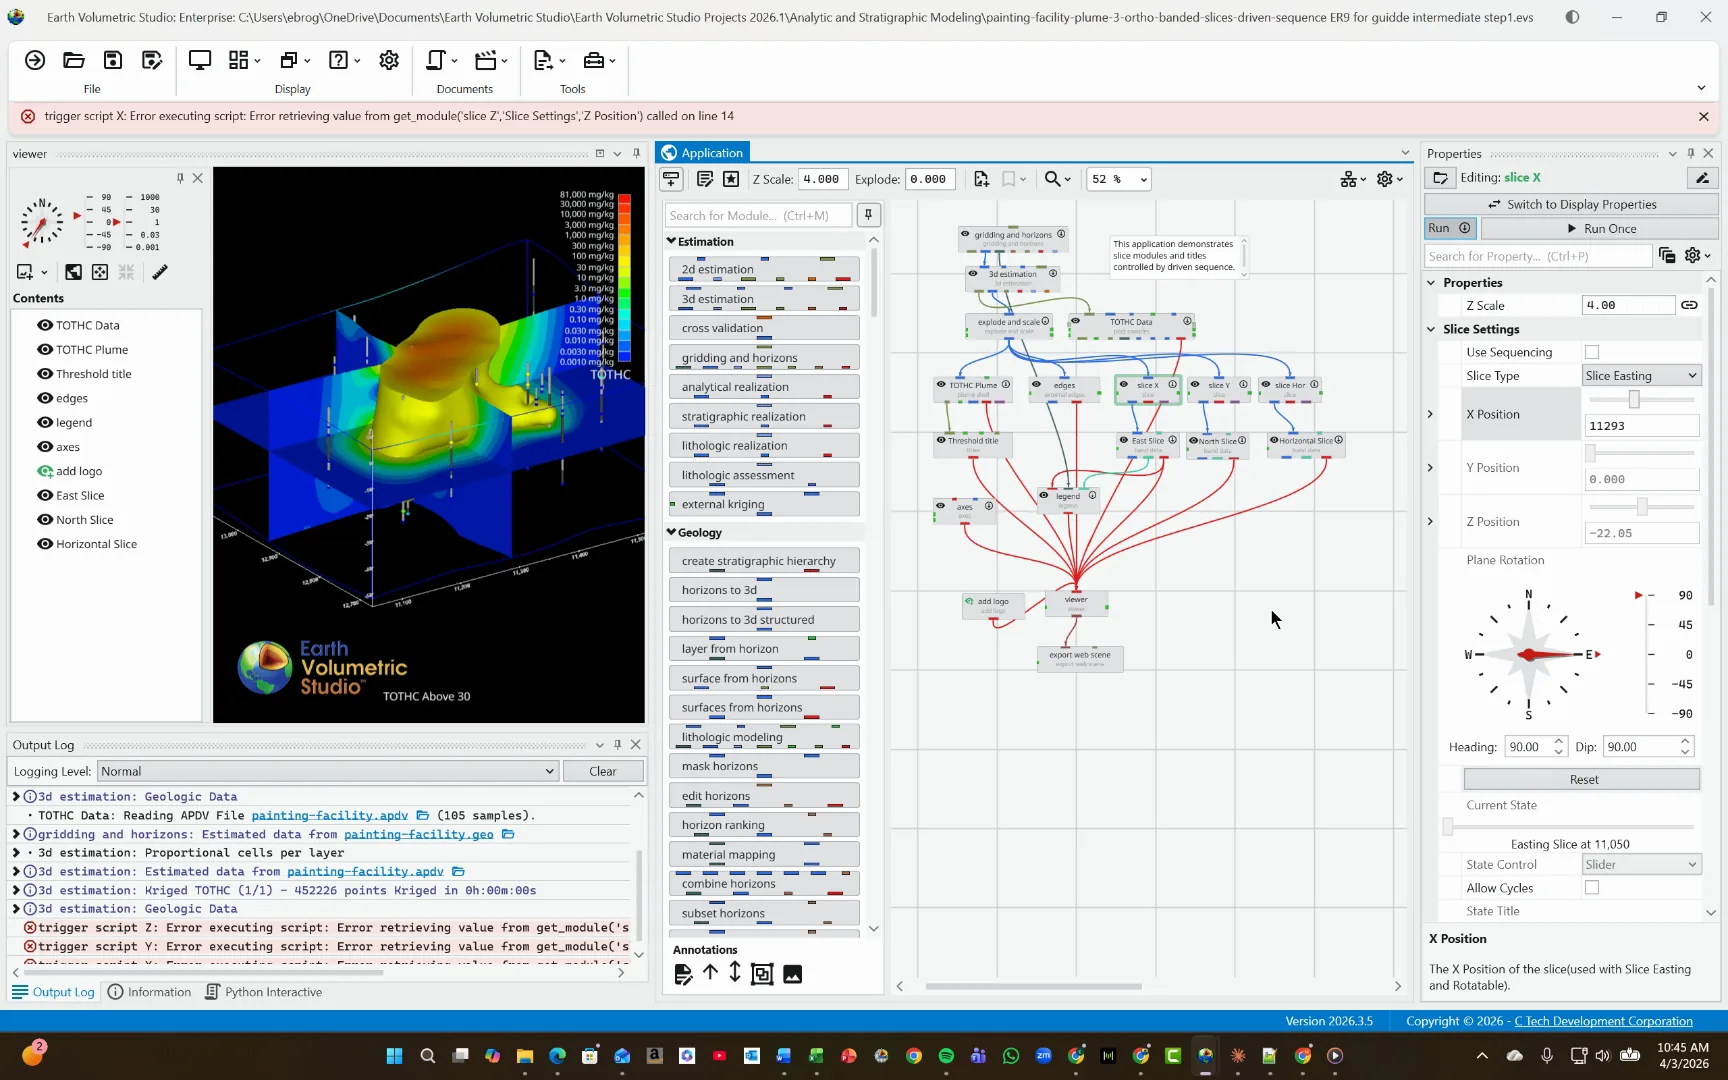
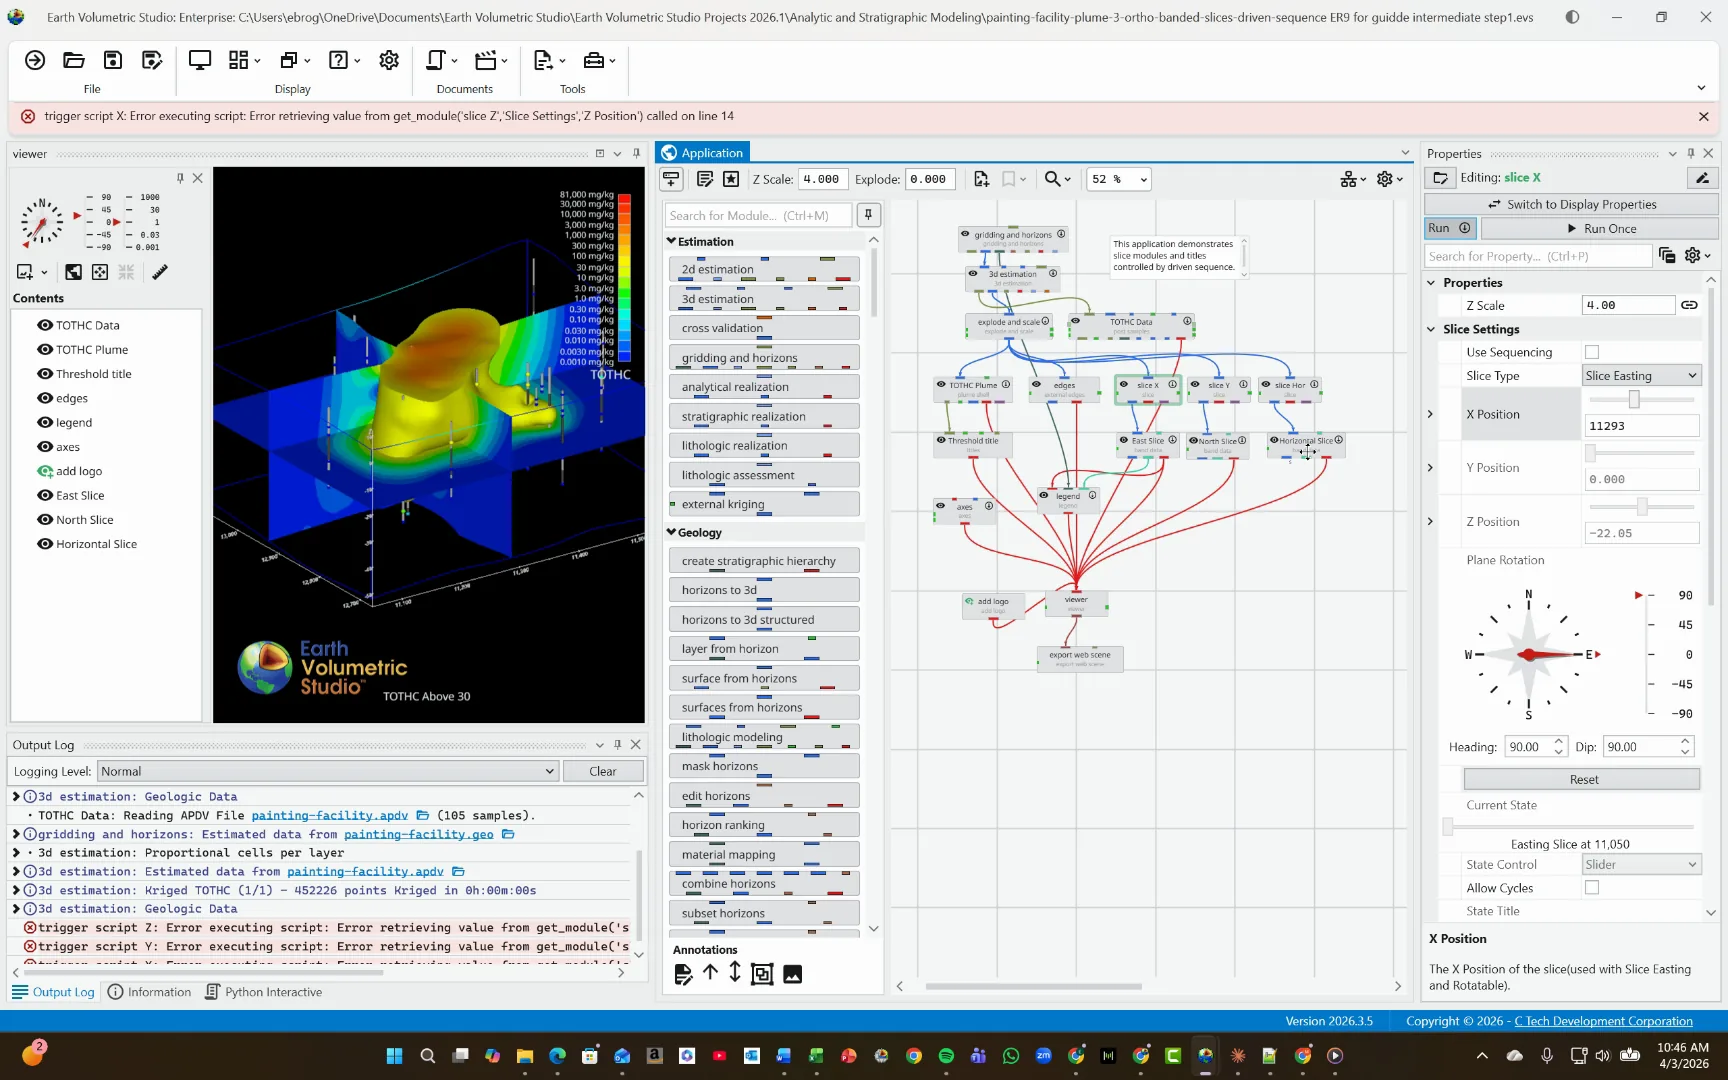
11Connect Slice Data To Viewer
So now we have the three band data modules for East Slice, North Slice, and Horizontal Slice all connected to the viewer.
12Adding a titles module and a trigger script module
We have added two modules to produce the updating sliced titles. The first is a title's module connected to the viewer. The second is a trigger script module with no connections needed.
13Select the Python Script Window
See the filename in the trigger script properties panel. Open the file in the python script editor.
14Explaining the python script
The python script assigns variables x, y, and z in lines 8 through 10. The "evs.get_module" syntax pulls the values out of the respective slice modules. The "display text" variable gets the X, Y, and Z values and formats the text string. Lastly, the "evs set module" line collects the current "display text" string and places it in the titles module.
15Add the triggers for the slices
In the Editing trigger script panel in the Properties window, we have already added the triggers needed for this demonstration: one for the slice x position, one for the slice y position, and one for the slice Z or horizontal position.
16How to Add a Trigger
Here's how to add your own triggers for future applications. Click on the "Add" button. A "Select Property" window will pop up. Scroll using the slider on the right until you have your desired module to add as a trigger. Here we have selected slice X.
17Now select the X Position to trigger
Select the X Position as a trigger, then hit OK. Continue this process for the slice Y, slice Z, or any other triggers you desire. In this example we have already added the triggers. Note there is a button to remove triggers as well.
18Explaining the titles generation
The display text variable is assigned to collect the Easting, Northing, and Horizontal Slice values in one place. In the next line, the evs set module statement places the current display text values directly into the titles module.
19Open the Animation Script
To open an existing animation script, click on the Animation button on the top ribbon, then select Open Existing Animation.
20Click Target Area
Open the existing animation script titled "Paint_Fence_Video_Updating_Slice_Titles Packaged-2.evsani". You will see timelines set for the modules that change over the course of the video.
21Where to FInd Training on the Animator Tool
We will not go into details on how to use the Animator tool here. An extensive tutorial video on how to use the Animator tool named "Animation in EVS" is available in the legacy training videos section on ctech.com.
22Preview the Animation
Click the setting shown to select Preview. Then select Play to preview the animation
23The files are attached.
The files used to make this tutorial are attached - so be sure to download them and open them to see how they work.
24Paint Fence Video with Updating Slice Titles
Here's the final video product.
25Conclusion
This tutorial guided you through triggering scripts, managing animation playback, and selecting titles within EarthVolumetricStudio. You can now explore further customization or advanced scripting features to enhance your projects.