The Information Window provides detailed, contextual output from various components within Earth Volumetric Studio. Unlike the Output Log, which primarily displays text-based messages and system logs, the Information Window is designed to present data in a structured, readable, and often interactive format.
It is commonly used by modules to display analysis reports or to show detailed data about a specific point in the model that a user has “picked” in the Viewer (via Ctrl+Left Mouse Click or double-click).
Window Components
The Information Window has a simple and functional layout.
| Component | Description |
|---|---|
| History Dropdown | At the top of the window, the History dropdown maintains a list of recently generated reports and data views. Each time a module or action sends new output to the window, a new entry is added to this list, timestamped for easy identification. You can select any item from this list to recall that specific information. |
| Clear Button | The Clear button removes all entries from the history, providing a clean slate. |
| Content Area | The main area of the window displays the content itself. The format of this content is determined by the module or action that generated it. |
Examples of Use
The content displayed in the Information Window is highly contextual. Below are some common examples.
Module Analysis Reports
Many analysis modules, such as volumetrics and statistics, send their summary reports to the Information Window as structured panels. This provides a clean, organized summary of complex calculations, which can be easier to read than plain text logs.
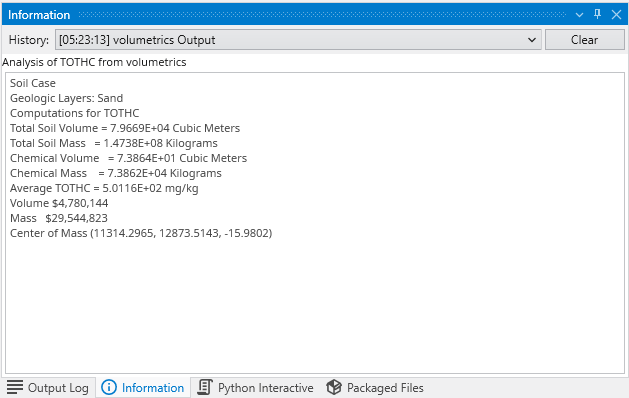
In the example above, the output from a volumetrics analysis includes the total volume and center of mass, the chemical mass, volume and average concentration, and the soil mass, with notes on which inputs each value uses. Collapsible Spatial Distribution and Inputs sections hold further detail, and Copy for Excel copies the results to the clipboard.
Data from Picking
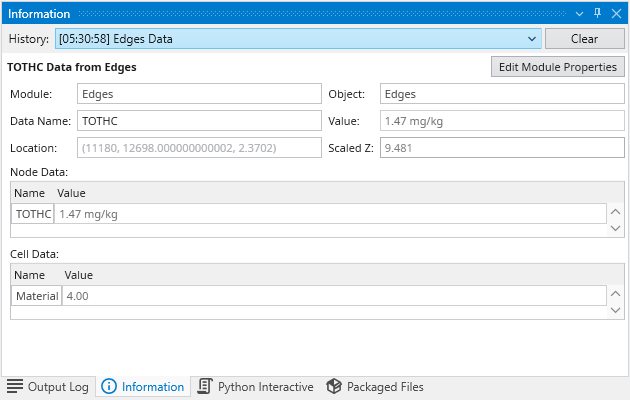
One of the most powerful uses of the Information Window is to display detailed data when you “pick” a location in the Viewer window via Ctrl+Left Mouse Click or double-click (with the Probe tool active in the Viewer toolbar). A marker shows the picked location. This provides an in-depth look at the data values at a specific point in your model.
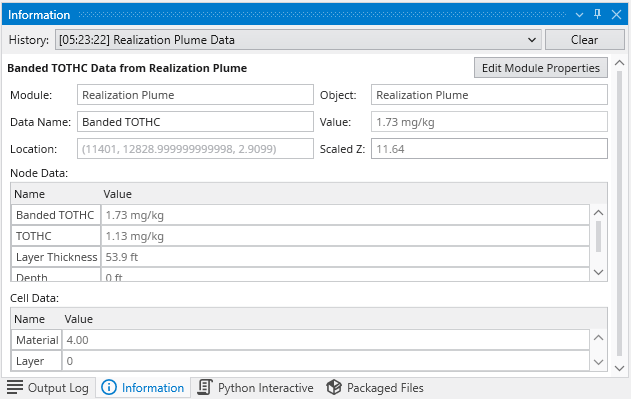
The example above shows the data displayed after picking a point on a plume, with the picked location marked in the viewer. The window can contain structured UI elements, including:
| Element | Description |
|---|---|
| Header Information | Displays the source module and object name (plume), the data component (TOTHC) the object is colored by and its value at the pick, and the precise X, Y, Z location of the pick. |
| Interactive Controls | Buttons like Edit Module Properties may appear, providing a direct shortcut to open the settings for the source module, allowing for quick adjustments. |
| Data Tables | The information is organized into tables, such as “Node Data” and “Cell Data”, which list the interpolated values for all available parameters (e.g., concentration, layer thickness, material type) at the selected location. |
Module-Specific Pick Output
Some modules customize what they send to the Information Window when one of their objects is picked. For example, picking a sample displayed by post samples shows that sample’s details: the analyte name and value, the boring name and top, the sample location, and its depth.