Viewing PGF Files
With the simple application from the previous topic, let's read a PGF file and see that data represented in the viewer.
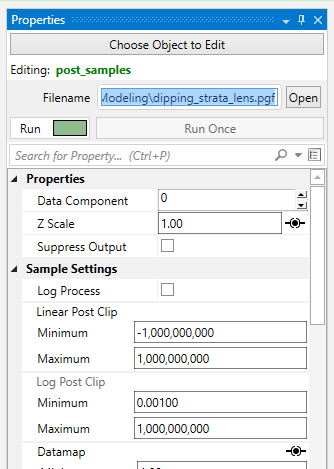
Double-left-click on post_samples in the Application window to make its settings editable in the Properties window.

post_samples will automatically adjust many of its settings based on the type of file read. Click on the Open button and browse to the Lithologic Geologic Modeling folder in Studio Projects and select dipping_strata_lens.pgf.
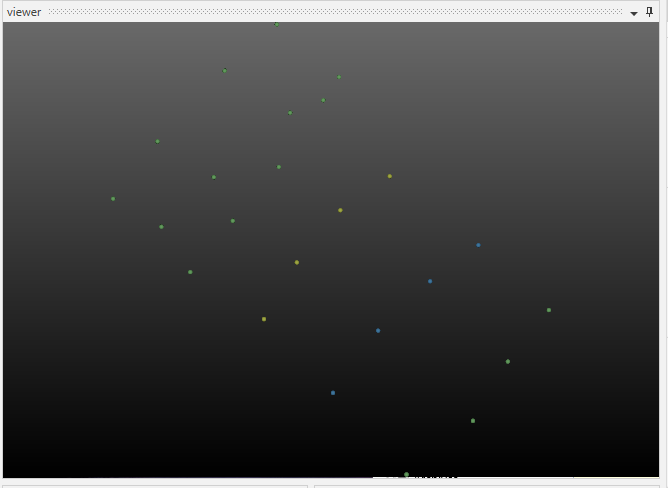
post_samples will automatically run and your viewer should show a top view of:

By default, we are seeing a top view of the borings represented in the PGF file. Using the left mouse button, rotate the view so you can see the 3D borings which are colored by lithology (geologic material).

The image above demonstrates the default display of PGF (pregeology) files. The lithology intervals are colored by material and spheres are located at the beginning and end of each interval.
The colors represent material and range from purple (low) to orange-brown (high). Since this is geology, let's add a legend to make it clear what materials correspond to our colors.
Type "l" in the Modules window and it will display

Copy legend to the Application (left-click and drag) and make the new connections as shown below

You can move the modules around so that your application and the associated connections between modules is as clear as possible. However, the arrangement (placement) of the modules does not affect how the application behaves. With legend our view becomes:

In the next topic, Viewing GEO Files, we'll adjust colors