Creating PGF Files - Lithology
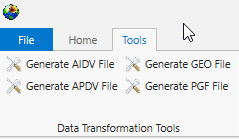
Begin by selecting the Tools tab, and select Generate PGF File.
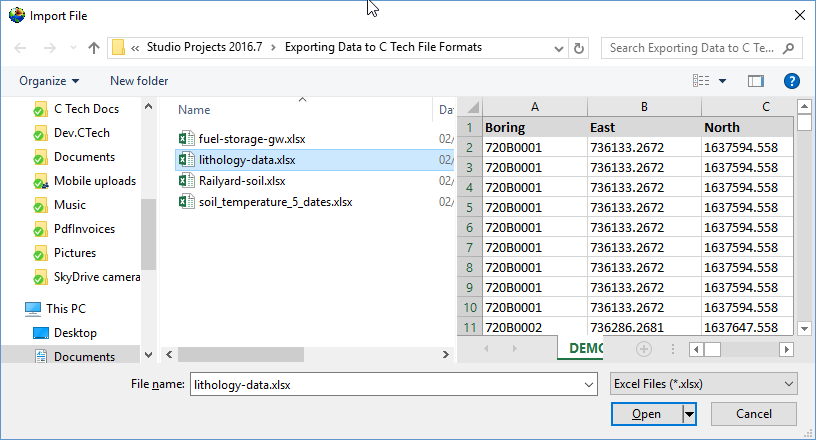
We'll choose lithology-data.xlsx and its only table, DEMO.
When you look at the table, it is clear that we have a Start and End (Top and Bottom), which means that we need to select the toggle in the upper left. This toggle allows us to select separate X-Y coordinates for the Start and End to handle non-vertical borings, but if the borings are vertical, both can and should be the same (as in this case).
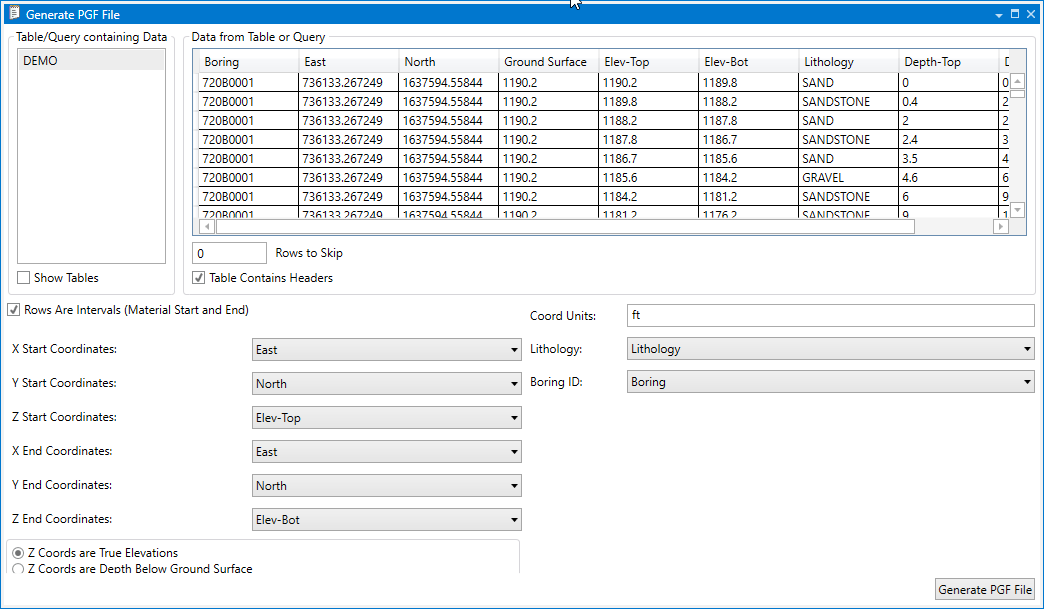
This is another table where we could work in Depths or Elevations. However for a PGF file, the file itself is always in Elevation, so if you choose depth, it just does the conversion before creating the file. We'll just use the elevation fields directly. However, always make sure you've selected the right ones and be consistent.
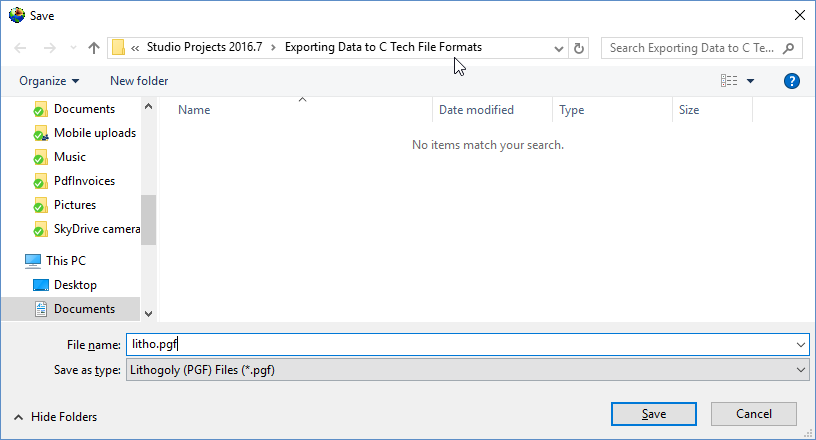
With all of our settings correct as shown above, all we need to do is click the Generate PGF File button, and let's call the file litho.pgf.
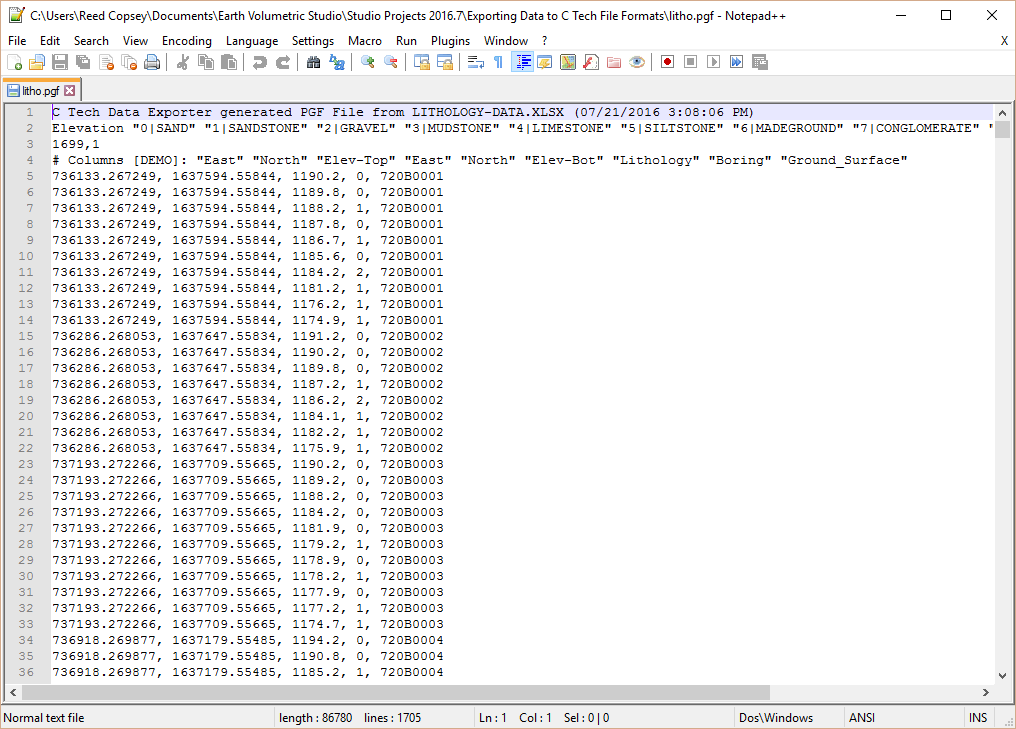
Below is the file in Notepad++
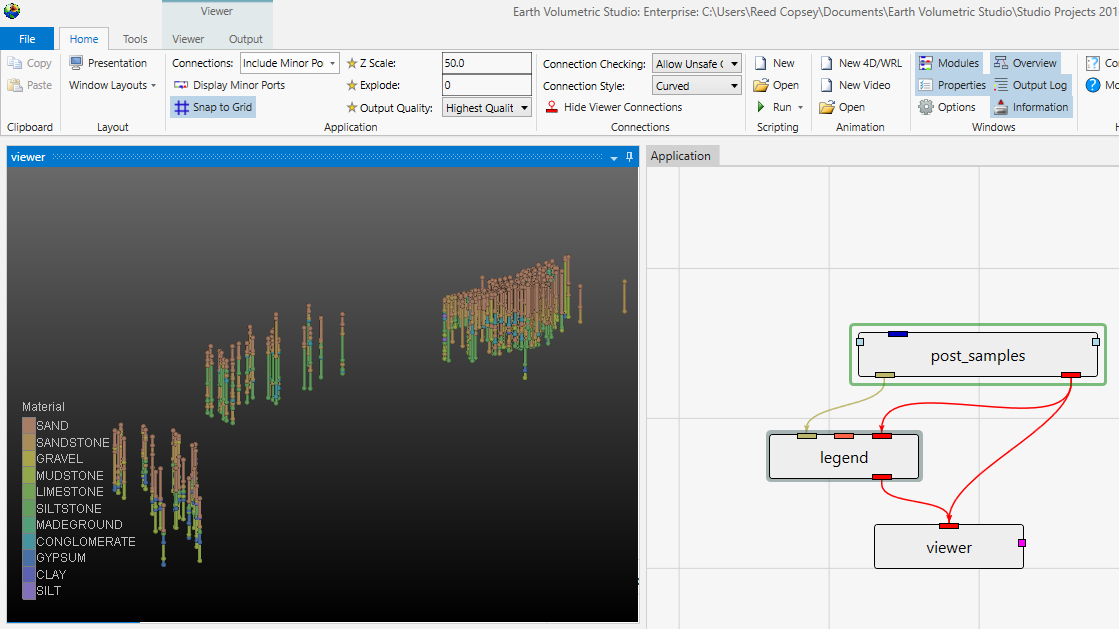
And in post_samples with a legend we can see that this dataset spans a very large set with borings in three distinct groupings. We need a Z-Scale of 50 to be able to see the borings well.
