This tip will explain the differences between the new plume_shell and plume_volume modules. Understanding the important differences between these modules can significantly improve your visualizations. Primarily, the output from plume_shell is a hollow shell and the output from plume_volume is a volume of solid cells. Plume_volume provides a volumetric subset of volumetric input data. It should normally be used only if you plan to have other modules connected to its output. If the end goal is only visualization, you should normally use plume_shell which should be connected to the Viewer.
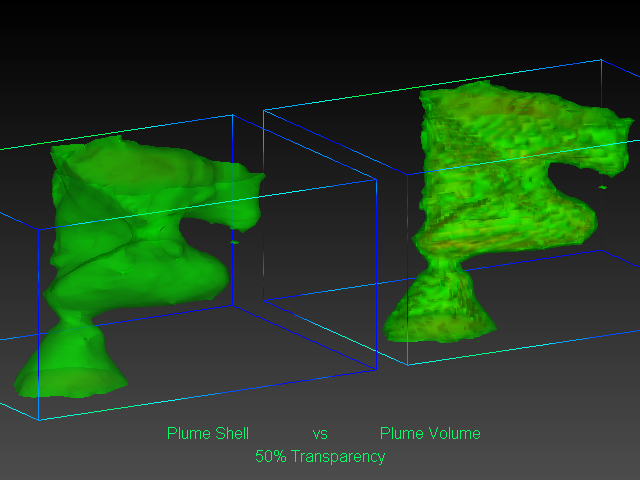
In the image below there are identical plumes displayed using plume_shell and plume_volume. The plume_shell on the left has a much smoother surface.
Image 1 – Default settings for plume_shell and plume_volume
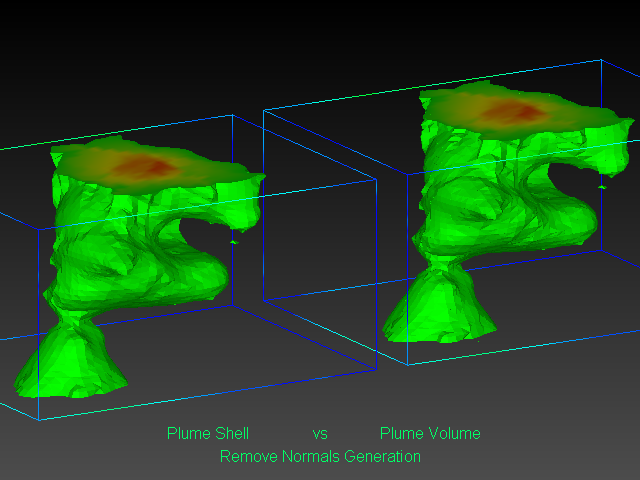
To make the plumes look identical, select ‘Remove Normals Generation’ from each of the plumes.
Image 2 – Remove Normals Off
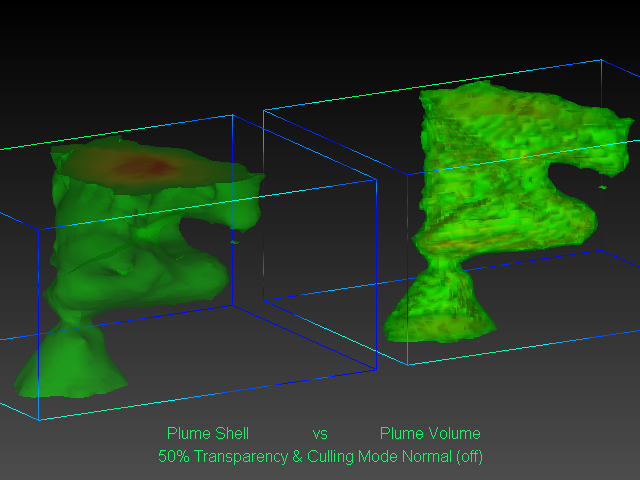
To display transparent plumes, the most visually appealing image is usually plume_shell with the Culling Mode set to normal (off) (Image 4D). The plumes below are shown at 50% transparency.
Image 3 – Culling Mode still on (default)

Image 4 – Culling Mode off
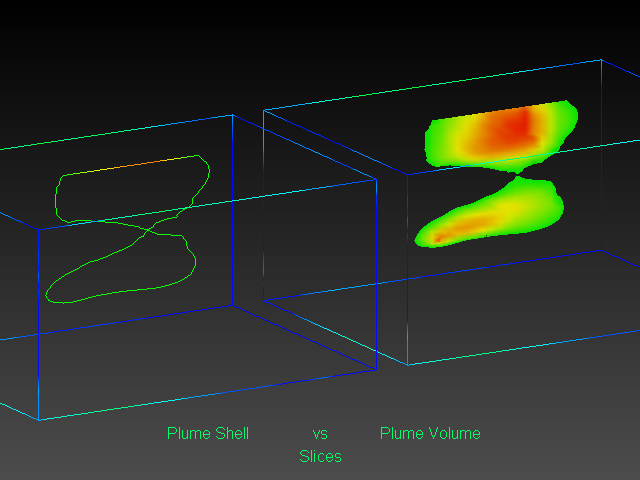
Finally, plume_volume is necessary to show a slice through a plume. As shown in Image 5, slices through plume_shell are only outlines of the plume.
Image 5 – Slices through plume_shell and plume_volume
Hopefully these images demonstrate that plume_shell should be used when possible as the surface of the plume generally looks smoother. Networks using plume_shell will also be faster than networks using plume_volume.
Generally whenever the objective is additional subsetting or volumetric operations on the output plume_volume should be used. For example, you can cut, slice, further subset (E.G. on an additional dataset using plume_volume) the output of plume_volume. However, since plume_shell is only a shell, most subsequent subsetting will not provide the desired effect.


