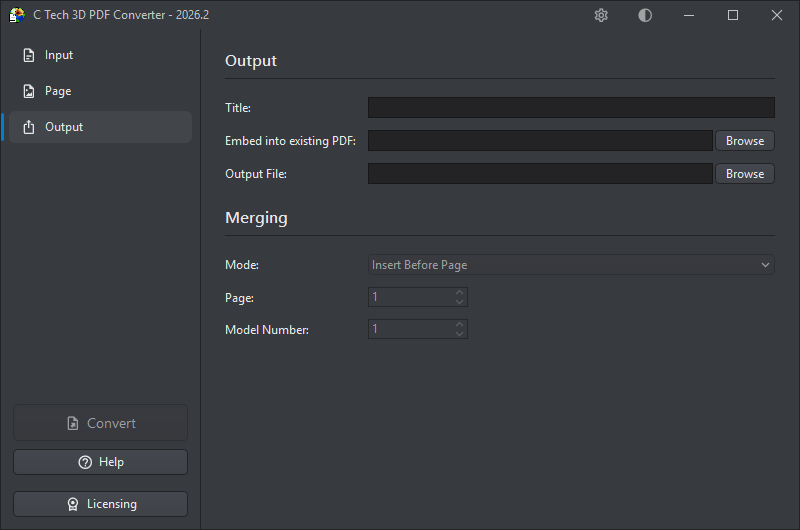
The Output section is where you specify where the generated PDF will be saved, and optionally how it should be merged into an existing PDF document.
Title
An optional title for the PDF document. The title also appears as the root node name in the Model Tree. Titles should be less than 30 characters — if left blank, the title will default to “EVS Scene”.
Embed into Existing PDF
If you want to merge the 3D content into an existing PDF rather than creating a new standalone file, enter the path to the target PDF here, click Browse, or drag and drop a PDF onto the field. Once a template PDF is selected, the Merging options below will become available.
To prepare a template PDF with placeholder 3D annotations that can be replaced with converted models, see Creating Template PDF Files.
For a walkthrough of the full process — from setting up a template to replacing placeholders with 3D content — see Using Template PDF Files.
Tip
Alternatively, you can output a PRC file from the converter and use Adobe Acrobat Pro to insert it into an existing PDF manually. See Using Adobe Acrobat with PRC Files for details.
Output File
Specifies where the generated PDF will be saved. Click Browse to choose a location, or type the path directly. The output file can be set to the same path as the Embed into Existing PDF field — in that case, the converter will read the existing PDF, merge in the 3D content, and write the result back to the same file, effectively updating it in place.
Info
You can also save the output as a .prc file instead of a PDF by changing the file extension. PRC files can be inserted directly into existing PDFs using Adobe Acrobat Pro — see Using Adobe Acrobat with PRC Files for instructions.
Merging
These options control how the 3D content is inserted into the template PDF, and are only available when a template has been specified above.
Mode — Determines how the 3D content is placed within the template:
Mode
Description
Insert Before Page
Inserts the 3D content as a new page before the specified page number
Insert After Page
Inserts the 3D content as a new page after the specified page number
Replace 3D Model
Replaces an existing 3D annotation in the template PDF. This is covered in detail in the Using Template PDF Files topic.
Page — The page number in the template PDF used as the reference point for insertion (for Insert Before/After modes).
Model Number — When using Replace 3D Model mode, this identifies which 3D annotation on the specified page should be replaced, for pages that contain multiple 3D models. Minimum value: 1.
Info
You can only replace or insert one 3D model at a time. For multiple models, perform sequential operations — use the output file from each operation as the input for the next.
Subsections of Output
If you want to embed a 3D model within a page of an existing PDF report (rather than inserting it as a full page), you first need to place a placeholder 3D object in the document using Adobe Acrobat Pro. The C Tech 3D PDF Converter can then replace that placeholder with your actual 3D content.
Info
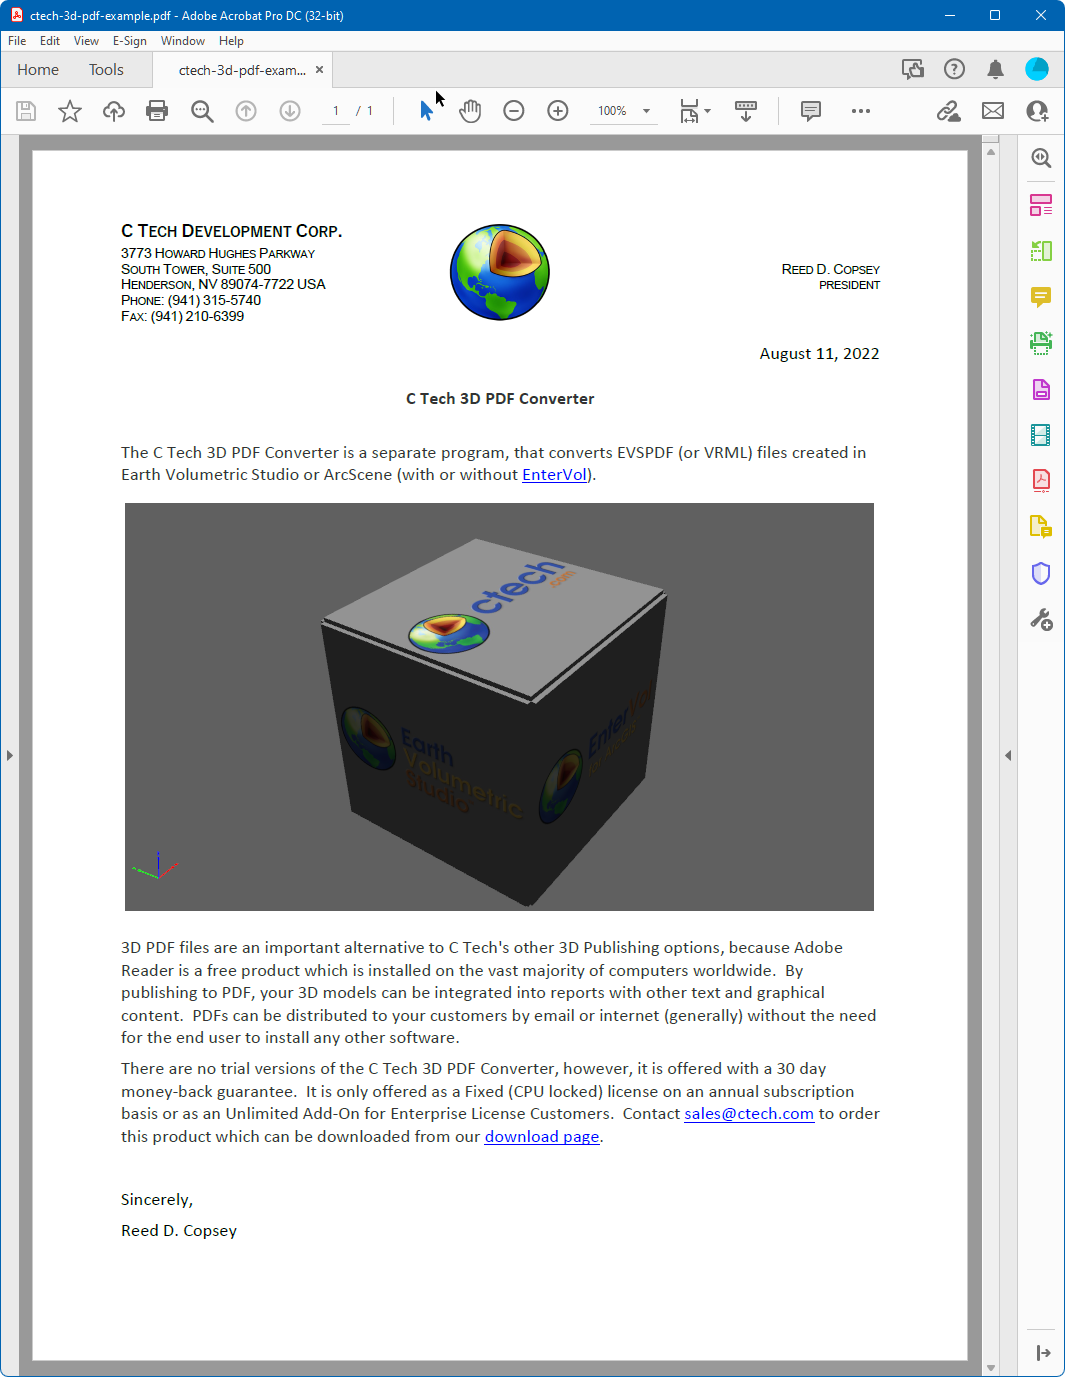
If you want to insert a full-page 3D PDF into an existing document, no placeholder is needed. Use the Insert Before Page, Insert After Page, or Replace 3D Model options in the Output section.
Step 1 — Prepare the Document
In your authoring application (such as Microsoft Word), leave a blank space on the page where the 3D model should appear:
Export or save the document as a PDF in the usual way.
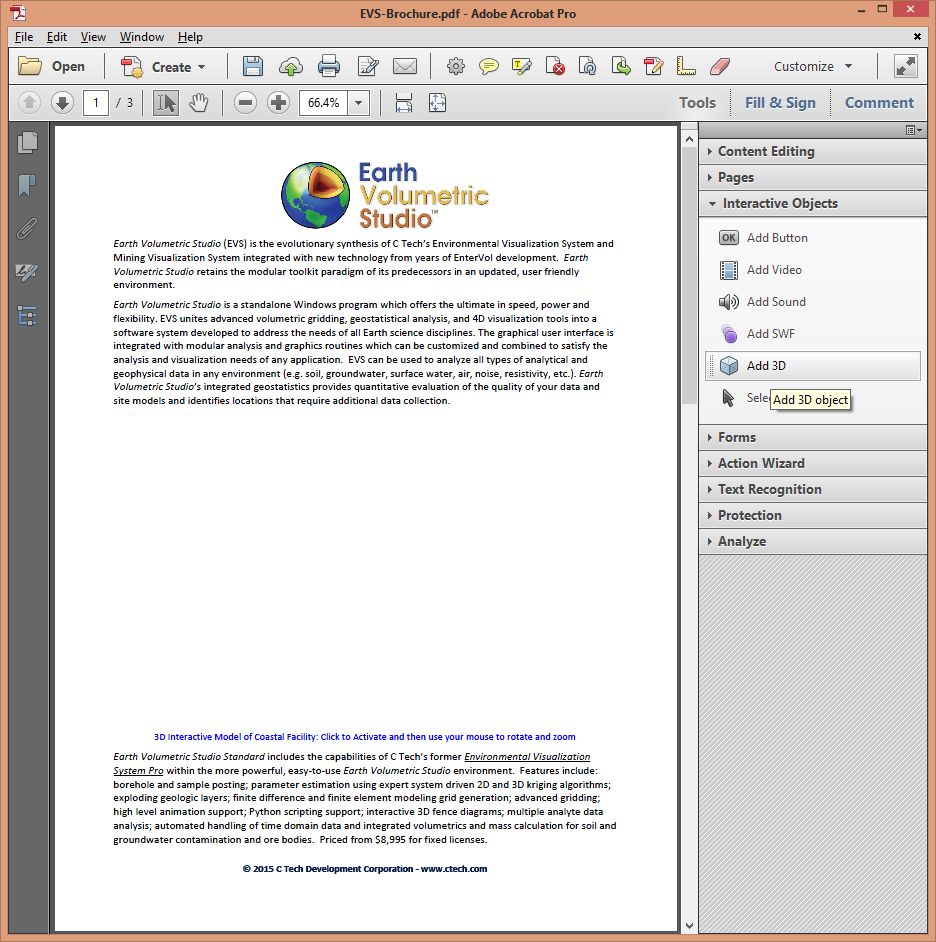
Step 2 — Insert the Placeholder in Adobe Acrobat Pro
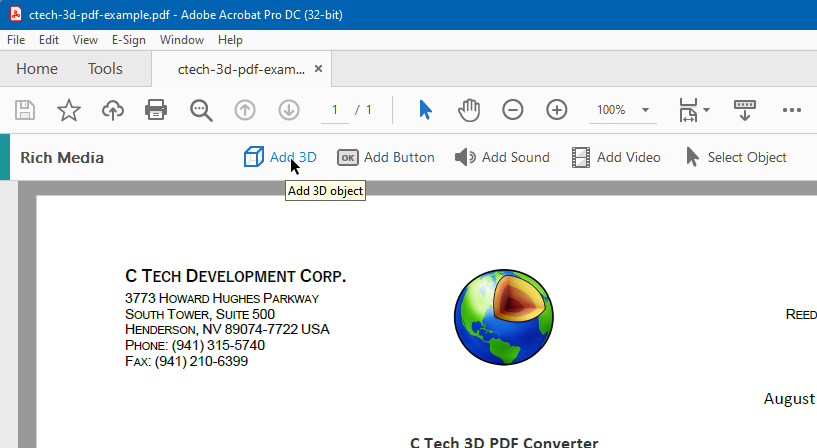
Open the PDF in Adobe Acrobat Pro DC and go to Tools > Rich Media > Add 3D:
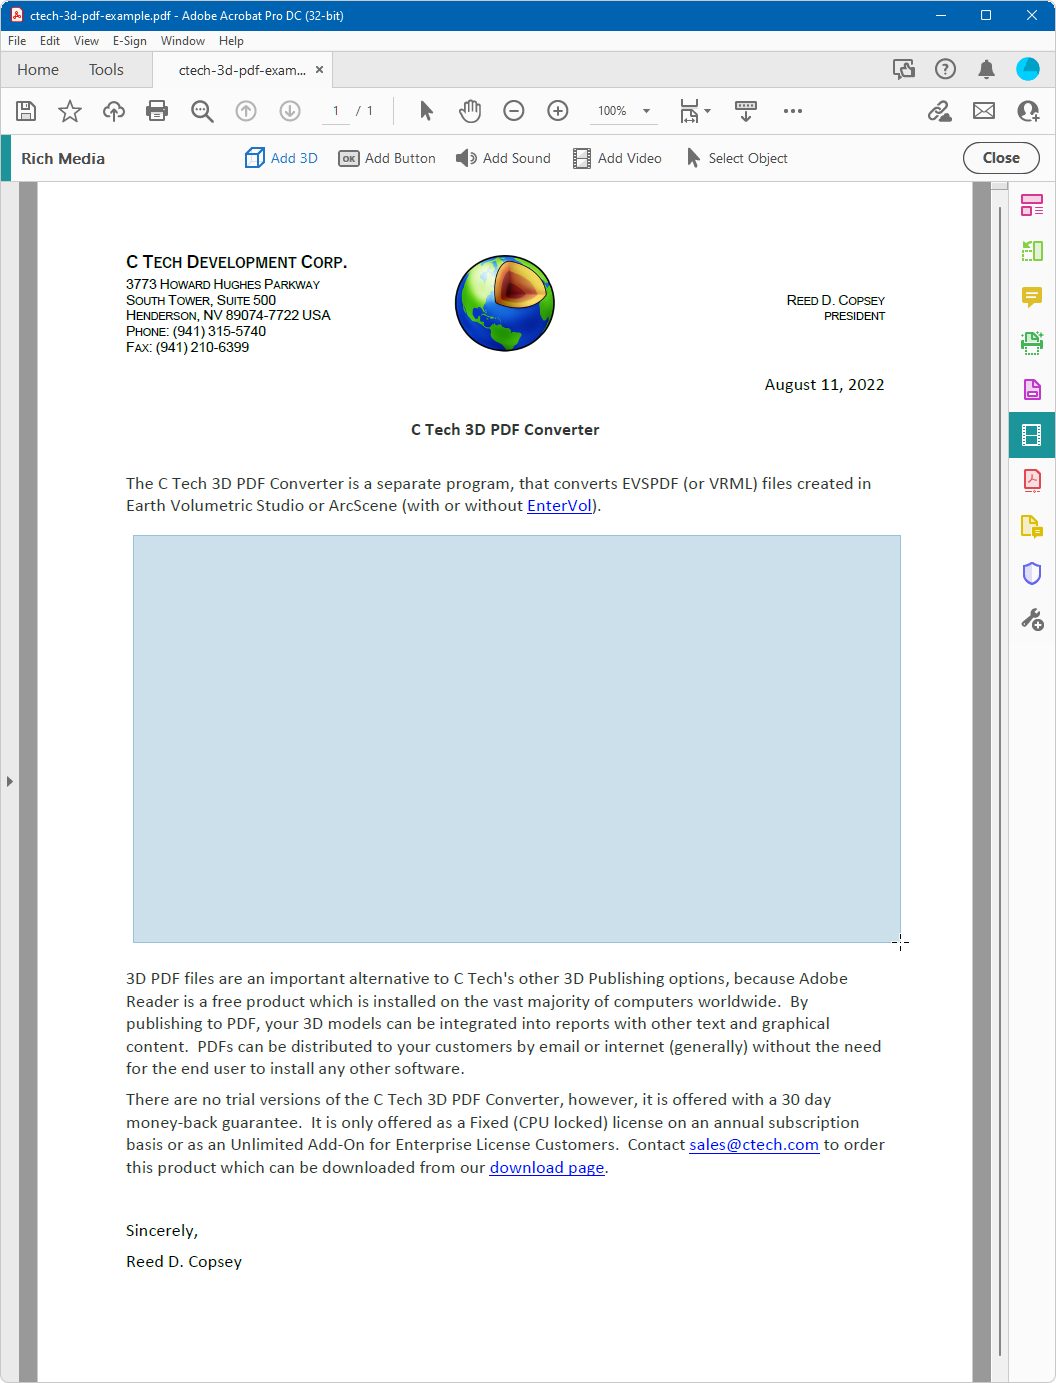
Draw a rectangle over the blank area where the 3D model should be placed:
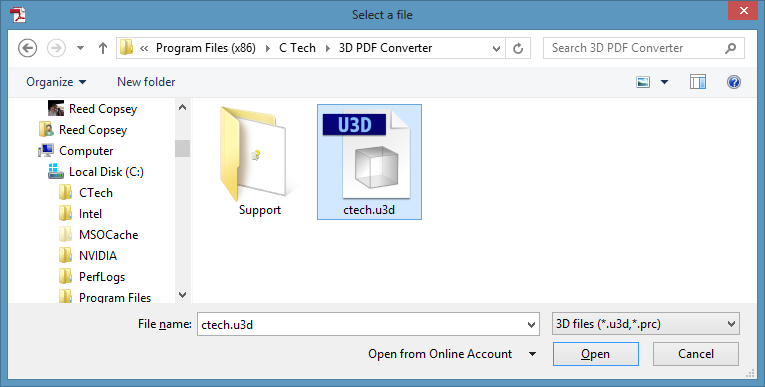
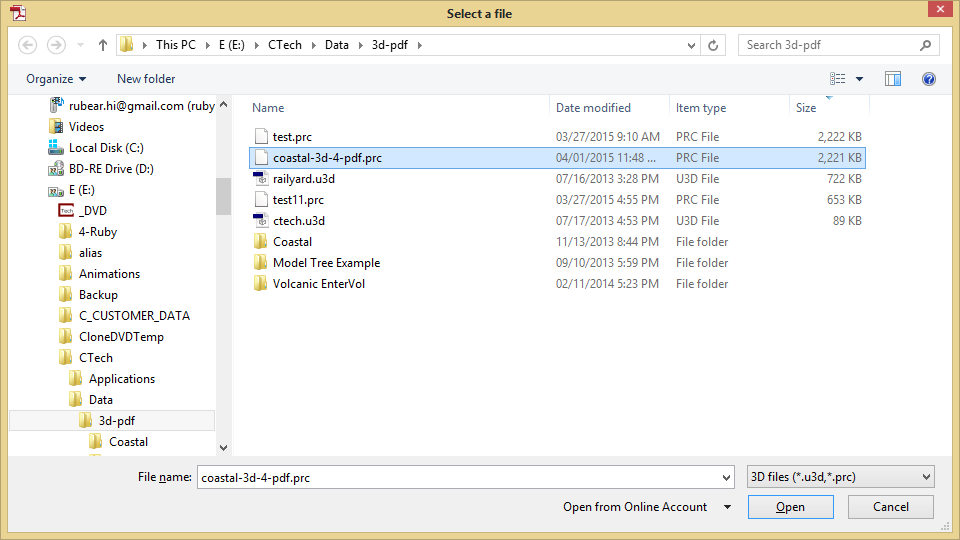
When prompted for a file, click Browse and select ctech.u3d:
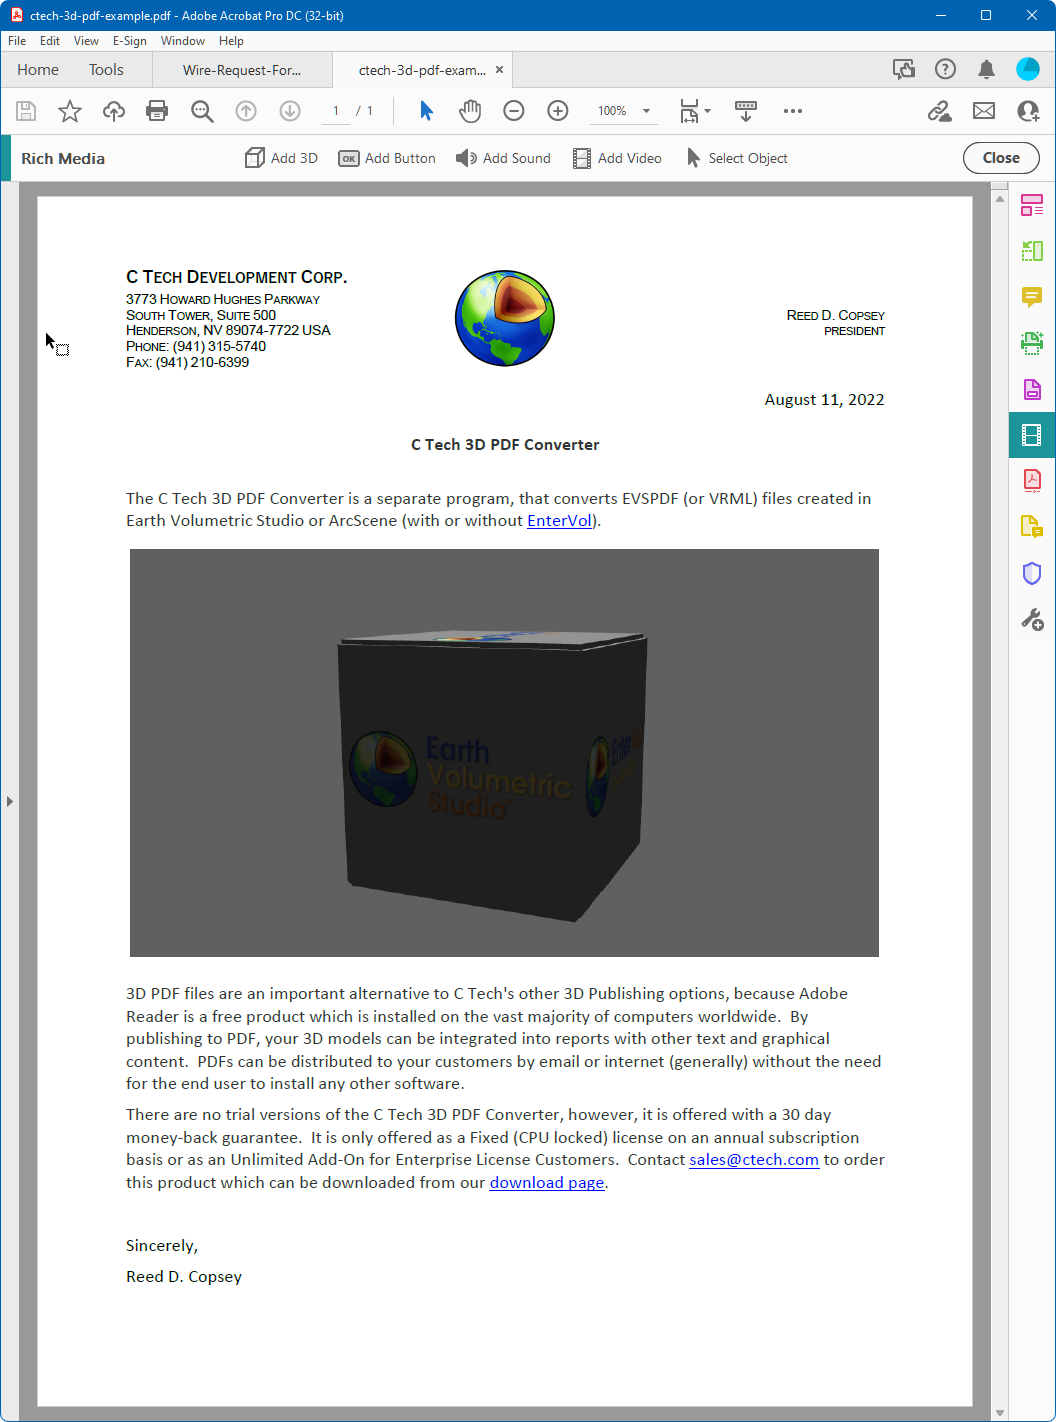
This inserts the placeholder 3D object into the document:
Repeat this process for each additional 3D model you need in the document, then save the PDF.
The Replace 3D Model mode in the C Tech 3D PDF Converter lets you substitute an existing 3D annotation in a PDF with your own 3D content. This is how you update a document that already has a placeholder or an older 3D model embedded in it.
To use this mode, you need a PDF that already contains one or more 3D models or placeholders. A sample PDF with C Tech logo placeholders is included with the installer. For instructions on creating your own template, see Creating Template PDF Files.
Replacing the Annotation
To replace a 3D model, you only need to know which page it is on and which annotation number it is on that page. Open the C Tech 3D PDF Converter and configure the Output section as follows:
Set Embed into Existing PDF to the PDF containing the placeholder
Set Mode to Replace 3D Model
Set Page to the page number containing the 3D annotation
Set Model Number to the annotation number on that page (use 1 if there is only one)
The new 3D content will automatically fill the size and position of the existing annotation.
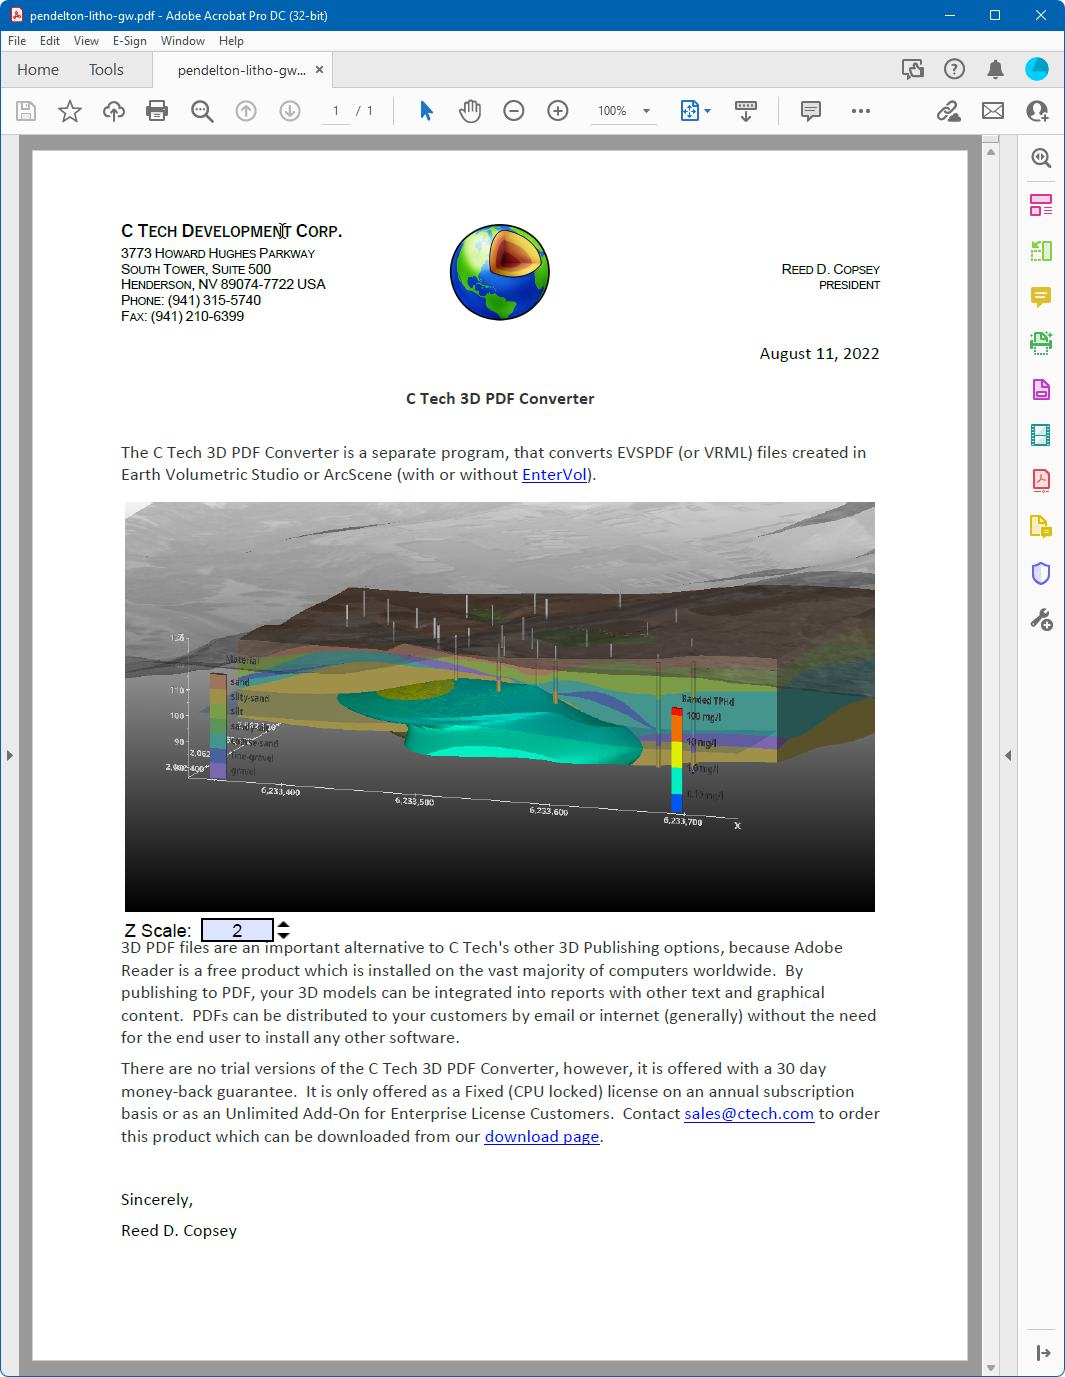
After converting, the placeholder is replaced with your 3D content:
The C Tech 3D PDF Converter can output both PDF and PRC formats. While PDF files can be viewed immediately as interactive 3D documents, PRC files must be inserted into an existing PDF using Adobe Acrobat Pro. This approach is useful when you want to place a 3D model within a specific area of a page in an existing report.
Info
PRC files do not include the lighting and rendering information that is embedded in 3D PDFs. If the visual quality of PRC output is not acceptable, use the PDF output format instead.
Inserting the PRC File
In your authoring application, leave a blank space on the page where the 3D model should appear, then export the document as a PDF. Open the PDF in Adobe Acrobat Pro:
Go to Tools > Rich Media > Add 3D, then draw a rectangle over the area where the 3D model should be placed. When prompted for a file, click Browse and select your PRC file:
Result
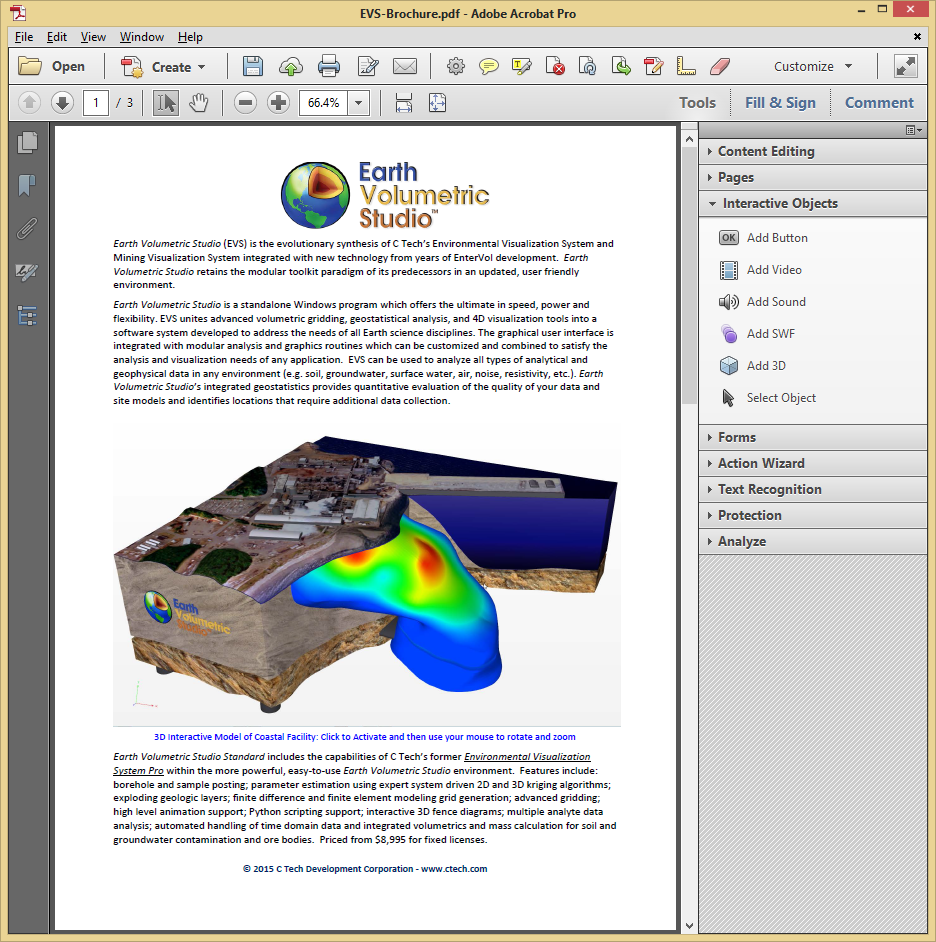
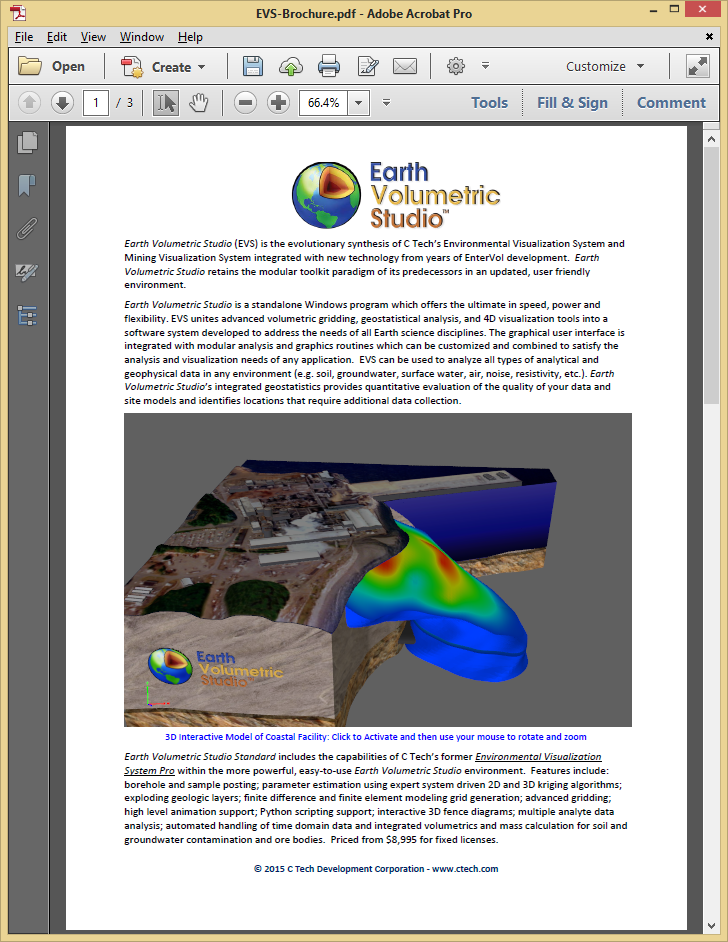
When the document is first opened, the poster image is displayed in place of the 3D model:
Clicking on the image activates the interactive 3D content: